2019’s Apex Legends is a free-to-play first-person shooter online battle royale games that have become very popular in the gaming industry. Respawn Entertainment and Electronic Arts have released the game for all the major platforms like PC, PS4, Xbox One, and Nintendo Switch. Although the DirectX Install Error in Apex Legends game has become a trending topic for a while. Here in this troubleshooting guide, we’ll share all the possible steps to resolve this issue completely.
According to plenty of unfortunate Apex Legends players, they’ve been encountering DirectX issues for a while. So, even if it seems one of the common issues it isn’t. So many affected players have already uninstalled and reinstalled the Apex Legends game multiple times as the installation gets stuck at a certain percentage for individuals.
Also Read
How To Delete Apex Legends Account on PS4, PS5, Switch, or PC
Fix: Apex Legends Black Textures Bug on Origin in Season 8 Mayhem
All Apex Legends Rules 24, 32, 33, 34, and more: Explained
Apex Legends Not Using GPU, How to Fix?
Fix: Apex Legends Keyboard/Mouse Not Working or Lagging
Apex Legends Best Graphics Settings for 3070, 3080, 3090, 1060, 1070, 2060, 2080, and More
Fix: Apex Legends Keeps Crashing on Startup on PC
Fix: Apex Legends PC Stuck on loading screen
Fix: Apex Legends Stuttering, Lags, or Freezing constantly
Fix: Apex Legends Voice Chat Not Working on PC, PS4, PS5, Xbox One, Xbox Series X/S
Then even though the ‘Playable Now’ pop-up appears on the screen, an error notice also appears that says “Error: A redistributable package (DirectX) was not installed successfully. Setup cannot continue. (4294967287).”
Page Contents
Fix DirectX Install Error in Apex Legends Game
This happening most of the time to the affected players only and even manually installing the DirectX from the Apex Legends folder as an administrator won’t work at all. Clicking on Ok just freezes the game download at 0bytes/sec and most of the users are forced to delete the game folder manually and re-log into the Origin platform.
Also Read: How to Enable DirectX 12 for Any Game in Windows 10
Well, let’s check out the following methods to resolve this issue.
1. Delete DirectX File (.cab)
- Head over to the C:Program Files (x86)Origin GamesApex__Installerdirectxredist location on your PC.
- Sort the folder view by name format.
- Make sure to delete all files (except for DSETUP.dll, dsetup32.dll, DXSETUP.EXE, and all .cab extension files having 2010 in the name).
- Now, you’ll need to right-click on DXSETUP.exe and run it as an administrator.
- Once installed, launch the game and check for the issue.
2. Disable Windows Firewall
Turning off the Windows Firewall protection temporarily on your PC can fix some of the online gaming related issues.
- Click on Start > Type Control Panel and select it from the search result.
- Go to System and Security > Windows Firewall.
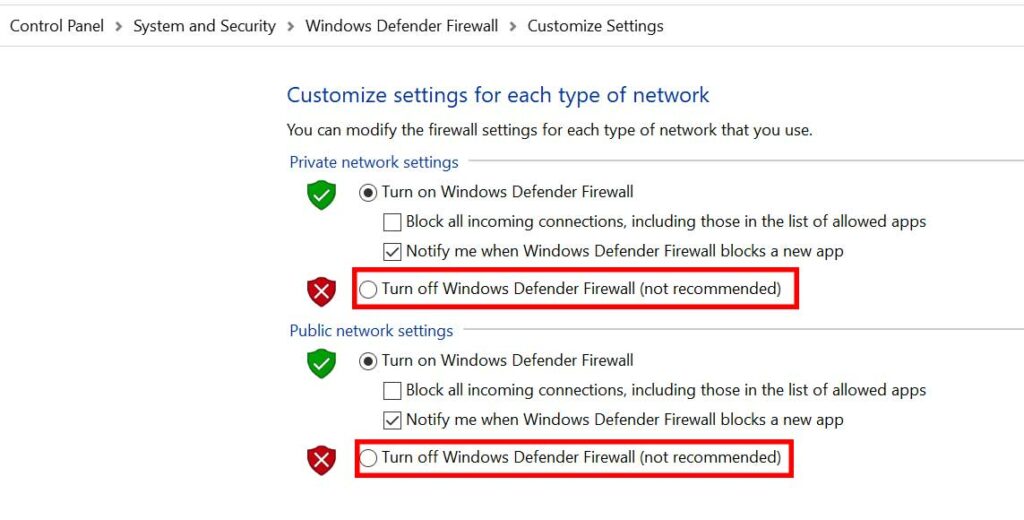
- Now, click on Turn Windows Firewall on or off.
- Simply click on Turn off Windows Firewall (not recommended) for both the Private and Public network settings.
- Then restart your computer and check for the issue.
3. Update GPU Driver
- Click on Start > Type Device Manager and click on it from the search result.
- Click on the arrow of Display adapters > Right-click on the graphics card.
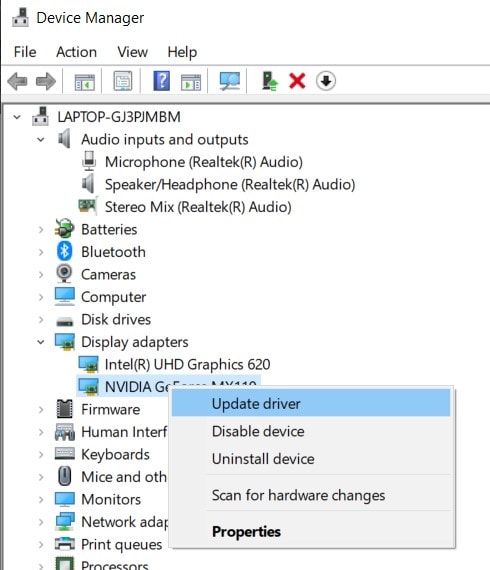
- Next, select Update driver > Choose Search automatically for drivers.
- If there is any update available, it will automatically download and install the update.
- Once done, restart your computer to change effects.
- Now, run the game and check whether the DirectX install error is appearing on Apex Legends or not.
4. Update Windows OS
- Click on Start > Settings > Update & Security.
- Click on Check for updates.
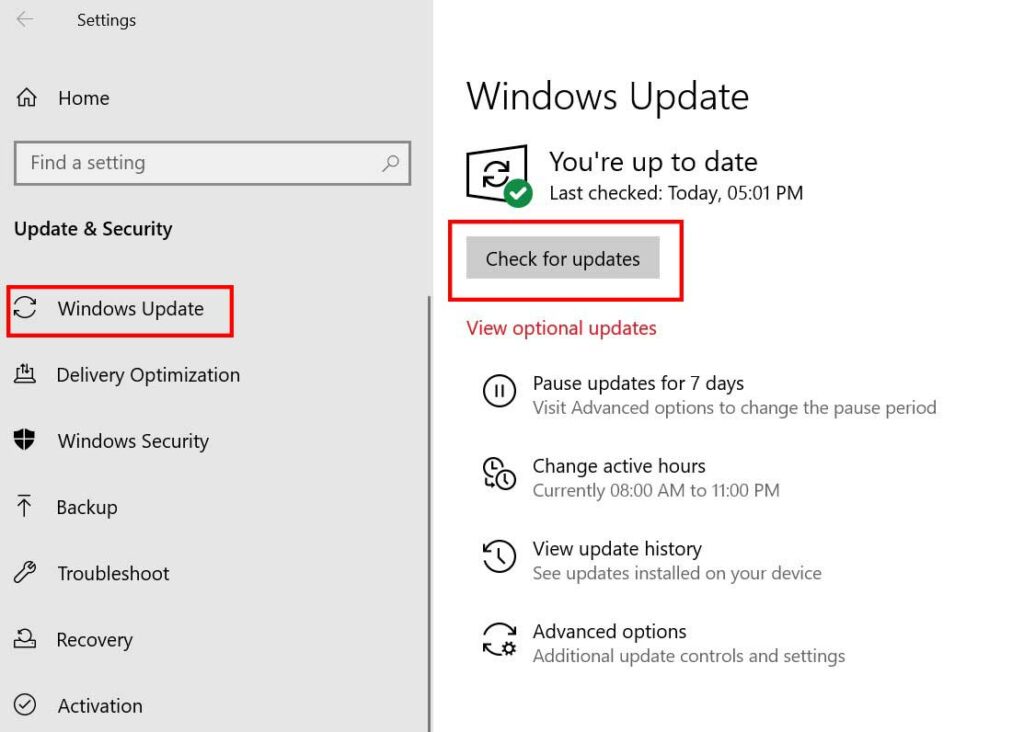
- If there is any latest Windows update available, make sure to Download and Install it.
- Once downloaded, the system will ask you to reboot your device to apply the changes.
5. Update Apex Legends
- Launch the Origin client > Head over to the My Game Library.
- Here you’ll find out the Apex Legends game in the list.
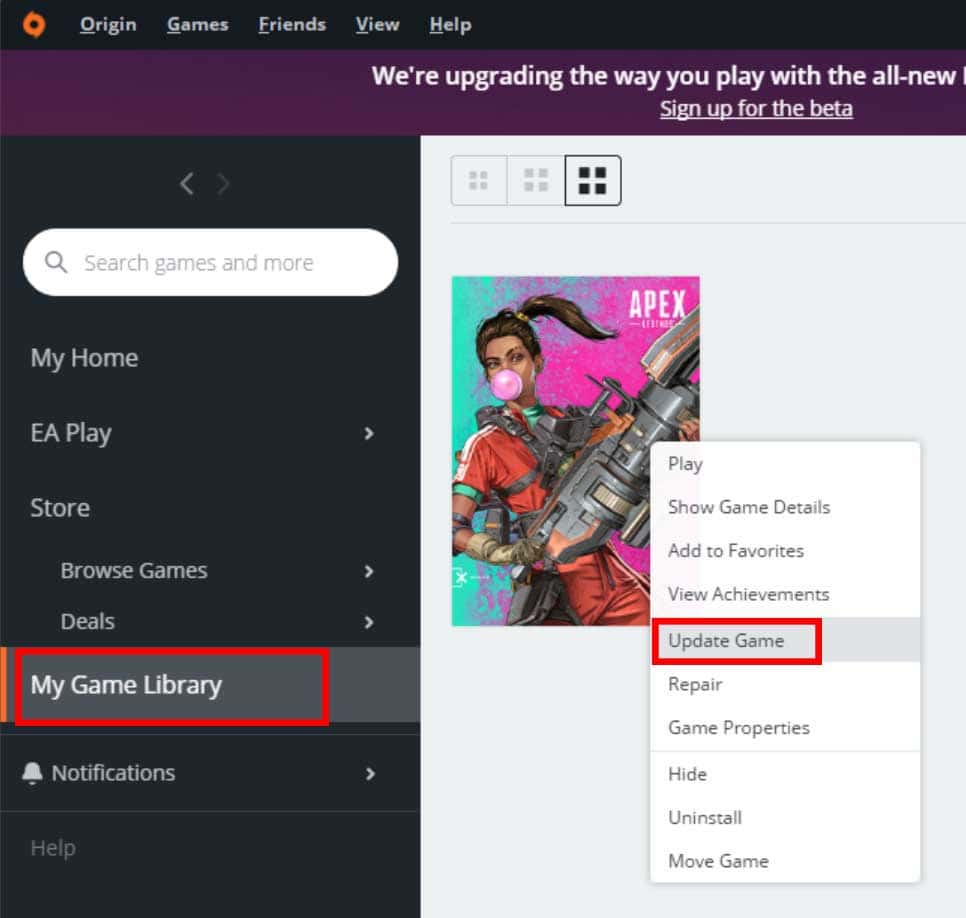
- Just right-click on the Apex Legends game > Click on Update Game.
- If any update is available, the Origin client will download and install it completely. But if there isn’t any update available, it’ll show you that the game is already up-to-date.
- Once done, run the game and check whether the DirectX Install Error appears on Apex Legends.
6. Reinstall Origin Client
- Simply head over to the Control Panel from the Start menu.
- Click on Uninstall a program > Scroll down and check for Origin client.
- Right-click on Origin and select Uninstall.
- It may ask you to confirm the uninstallation. Just proceed and wait until it deletes.
- Once done, restart the computer and reinstall the Origin client from the official Origin website again.
- Sign in to the Origin with your existing account and run Apex Legends.
That’s it, guys. We hope you’ve found this guide pretty helpful. You can comment below for further queries.
Also Read
Fix: Apex Legends Ranked Arena matchmaking broken
Fix: Apex Legends UI Images Ran Out of Room Error
Fix: Apex Legends Matchmaking Too Slow or Taking Long to Load
How to Fix Apex Legends Foundation Error Code 110?
How to Fix Apex Legends Matchmaking Not Working
Fix: Apex Legends Disconnected Detected Data Mismatch Error
10 Best Fixes for Apex Legends Screen Flickering or Tearing Issue on PC (2023)
Apex Legends No Recoil Macro Script for Logitech and Razer
Fix: Apex Legends Stuttering With High FPS 2023