Windows has several options when it comes to logging into user accounts. With Windows Hello now, things are even more smooth now. We have biometrics login, face login, PIN login and much more. Among these, many users find it convenient to use a PIN for authentication. But using a PIN for authentication has resulted in some errors for some Windows users.
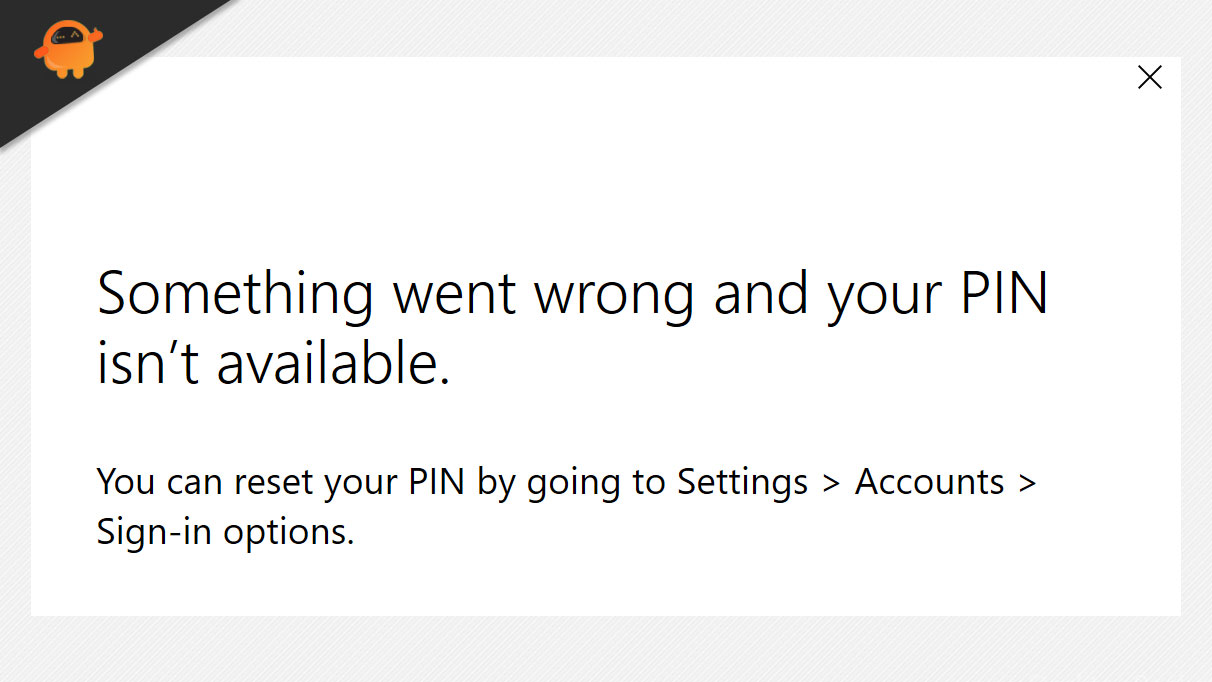
When these users enter their PIN, they get an error message on the screen that reads, “Something went wrong and your PIN isn’t available.” This usually happens when the access control lists on the NGC folder are corrupted. And the easiest way to fix this is to reset the list to make the PIN work again. It is a complicated and lengthy process, and in this article, we will guide you through it. So without any further ado, let’s get into it.

Page Contents
How to fix “Something went wrong and your PIN isn’t available?”
As mentioned above, the problem lies with the access control lists on the NGC folder. But that is not the only cause. If you do not have permission over the NGC folder, you might encounter the same problem. And to fix this, you need to reset the permissions for the folder.
Now we will discuss all the probable solutions for the problem. To fix this issue on your computer, try one solution after the other until you find the one that solves your problem.
Reset Access Control Lists:
Resetting the Access Control Lists will only take a couple of minutes, and if there is any corruption in this list, this process should solve it for you.
- Click on the Windows Search bar and type “cmd.”
- Once it shows up in the results, click on “Run as an administrator.”
- The UAC pop-up window will show up. Click on Yes here.
- Enter “icacls C:\Windows\ServiceProfiles\LocalService\AppData\Local\Microsoft\Ngc /T /Q /C /RESET” in the command prompt window and press Enter.
- After this, you will have to set up a new PIN. And after that, you should not encounter this error again.
If the error message pops up again with the new PIN, try the next possible solution.
Change NGC Permissions:
Changing the NGC folder permissions will be a lengthy and complicated process. So, follow the steps mentioned here carefully.
- Open up Windows Explorer.
- Open your system drive and open up the Windows folder. Navigate to ServiceProfiles > LocalService > AppData > Local > Microsoft.
- Here, right-click on the Ngc folder and choose Properties.
- Click on the “Security” tab and then click on “Advanced.”
- In the advanced settings window, click on the “change” button that you see next to “Owner.”
- In the Select User or Group window, click on the Advanced button.
- In the next window, click on Find Now button. This will display the number of accounts on your computer.
- Now select your user account by clicking on it. Then click on the Ok button.
- In the Select User or Group window, click on the Ok button again.
- Now check the box next to “Replace owner on subcontainers and objects” and click the Apply button.
- A Windows Security dialog box will appear asking you if you wish to change the permissions by granting full control over the object. You need to click on Yes here.
- In the box that pops up, click on Ok.
- Now close the properties window and open it up again by right-clicking the Ngc folder and clicking on Properties again.
- Now click on the Security tab and then click on Advanced.
- Here, check the box for “Replace all child object permissions with inheritable permissions from this object” and then click on Apply.
- Another Windows security dialog box will show up. Choose Yes here.
- Click on the Add button below the permission entires window.
- You will see the “Permission Entry for Ngc” window now. Click on Select, a Principal.
- Under the Enter the object name to select box option in the elect User and Group window, enter “SYSTEM” and click on Check Names.
- Then click on Ok, and it will take you to the “Permission entry for Ngc” window again.
- Here, under basic permissions, check the box next to “Full control” and click on Ok.
- Then click on Ok in the advanced security window and another Ok in the Ngc folder properties window.
Now you have given yourself full access and control over the Ngc folder. You should not face any more errors with the PIN again.
Delete the NGC folder:
As a final step, you can consider deleting the Ngc folder entirely. This will delete any biometric or PIN or password authentication you have set up for your account on that computer. You will have to set up the PIN again, which will create a new fresh Ngc folder that should be free from corruption, so if the last two options do not, try this third method and set up security on your computer all over again.
If you have any questions or queries about this article, then comment down below, and we will get back to you. Also, be sure to check out our other articles on iPhone tips and tricks, Android tips and tricks, PC tips and tricks, and much more for more useful information.
