Almost all users have been experiencing Windows update issues since the beginning, and nothing has changed yet. This scenario of updates getting crashed continuously and experiencing the BSOD (Blue Screen of Death) error is dreadful for the Windows 10 users. Similarly, in the October update, many users came across the error message on their bottom screen, saying, ‘What failed: hardlock.sys,’ and that is what we will be dealing with today.
The issues become prevalent when the user is trying to install a Windows Feature Update. Though the process begins as usual, but eventually, it fails and gets reverted when at the final stage of installation. In this article, we will guide you regarding the issue and will take you through the methods to fix it in detailed steps.

Page Contents
How to fix Hardlock.sys Error in Windows 10?
To fix the Hardlock.sys Error in Windows 10, you will need to log in to your system. If you can do it easily, then it is well and good. Otherwise, you may need to boot into Safe Mode, enter the Advanced Startup options screen, or use the Installation Media to boot.
Method 1: Registry Editor:
The Hardlock.sys being an Aladdin HASP software component, that is, a third-party application, doing a registry tweak can come to great use. Doing so may help you install the Windows 10 updates without facing the BSOD error.
Before you do so, it is important to create a system restore point or back up the registry just for precaution. After that, follow the steps below:
- Press Windows key + R

- In the Run box, type “regedit”
- Then hit the Enter button.
- Open Registry Editor
- Now navigate to the below path;
HKLM\SYSTEM\CurrentControlSet\Services\Hardlock
- There on the right-pane, Double-click on the Start option
- Go to properties, and set the value data as 4
- Click OK and Save the changes.
Method 2: Uninstall driver via Command Prompt:
As we know, the hardlock.sys process is well known as Hardlock Device Driver for Windows NT. Sometimes, simply uninstalling the problematic driver using the command line is the best solution to escape from the error. Once you are done with it, retry the update installation again, and it must be completed without any errors.
- Firstly, Download the haspdinst zip file
- Then Unzip the file to your C: drive
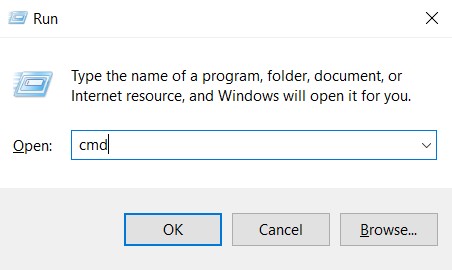
- Press Windows key + R altogether
- In the Run dialog box, you have to type “cmd”

- Then press CTRL + SHIFT + ENTER to open Command Prompt in admin/elevated mode
- In the newly opened window type or copy and paste the command below and press Enter
haspdinst.exe -kp -r -fr -v -purge
- Once the problematic driver uninstalled, try to update your system.
Method 3: Update the Driver:
Another solution to get rid of the error is to update the concerned driver, follow the steps below to do so;
- First of all, press Windows key + X
- Once the Power User Menu opens, Press the M key
- After opening the Device Manager console, expand the device’s list and find Sentinel Driver
- Right-click on it and do select the Update Driver option
- On the next window and click on Search automatically for drivers option
- Then follow the on-screen instructions and finish the update process
Method 4: Pause Windows Updates:
If you face the issue for the first time, then the error might get fixed when you pause the auto-updates features of Microsoft.
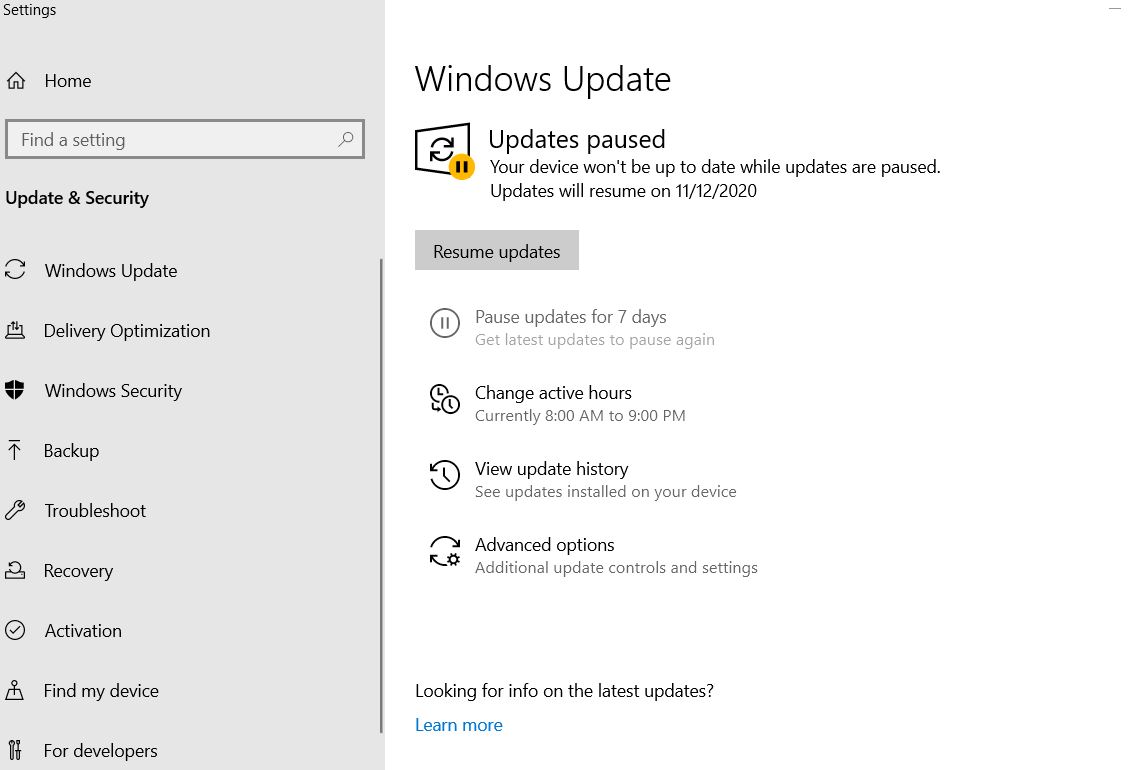
- Press Windows key+I

- Open Settings and click on Updates & Security option

- Click on Pause updates for 7 days (using this option you can pause updates for 7 more days)
- Then you can click on Advanced options
- Scroll down and delay or pause the updates for up to 30 days
- After executing the changes, exit from the Windows update window.
Method 5: Uninstall Window Updates:
Uninstalling the updates of Windows for a certain time, till a newer version is released in the future, is the best option that you have in-hand to handle this glitch.
- Go to Settings
- Click on the option Update & Security option

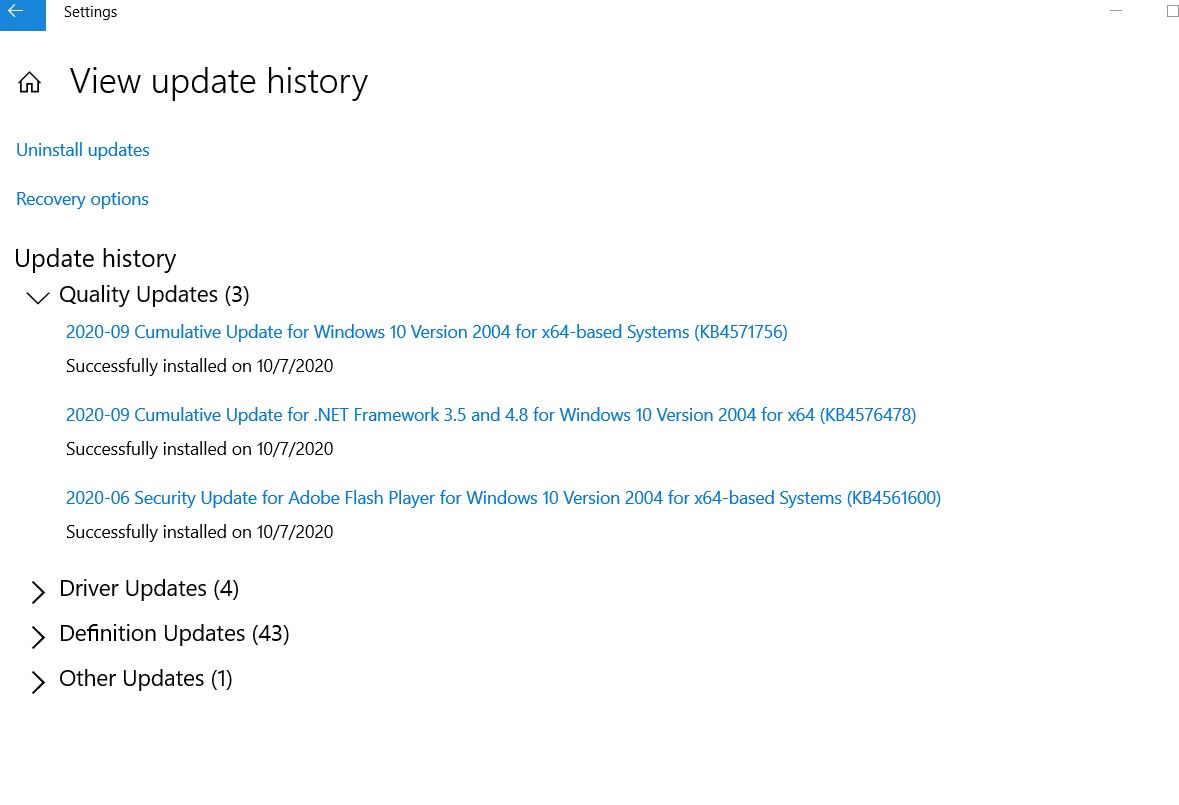
- Then click on the View update history option
- There you would see a list of recent Window updates.
- You can click on the Uninstall updates option from the list and follow the on-screen instructions
- Once the process is completed, Reboot your device.
Now let’s assume that your device is running smoothly. We know that the hardlock.sys error in Windows 10 is quite common, but dealing with it might be very frustrating. In such a situation, you may feel like throwing away the device – but, wait!
Take some time, and try out the methods that we have suggested above. The methods suggested by us are tried and tested and derived from reliable sources. If you have any queries or feedback, please write down the comment in the below comment box.
