IPv6 or Internet Protocol Version 6 is the latest version of IP, which enables data communications over a packet-switched network. It was developed to overcome the problems of its earlier version (that is IPv4) and is well deserved to replace it someday over a period of time. However, the IPv6 connectivity as well is not left behind with errors.
Fix “IPv6 Connectivity: No network access” error on Windows 10?

As per reports, lately, some of the users are experiencing a connectivity error “IPv6 Connectivity: No network access” in the network properties. According to them, after this error prompt, the internet connection is not working in their system. As this is a network issue, this is only a temporary one, and we have a handful of workarounds for them. Follow the article till the end to learn fixes for the “IPv6 Connectivity: No network access” error in Windows 10.
FIX 1: Disable/ Uncheck IPv6 Settings:
Disabling the IPv6 settings is the first method we recommend you to try in order to get rid of the “IPv6 Connectivity: No network access” error on Window 10. All you require to do is, uncheck the IPv6 settings. For doing so,
- Open the Run prompt by pressing Windows key + R altogether.
- On the empty dialogue box, type “ncpa.cpl” and then click OK.
- On the next window, locate the Network Adaptor you are using, right-click on it and then select Properties.

- In the Wi-Fi properties prompt, uncheck the textbox located before the option Internet Protocol Version 6 (TCP/IPv6).
- Click on OK to save the changes.
- Lastly, restart your PC and then check whether there is internet connectivity available or not.
FIX 2: Update your Network Drivers:
Outdated or corrupt network drivers may also trigger the “IPv6 Connectivity: No network access” error on Window 10. Hence updating your Network drivers might help you in this situation and make you get rid of it. For doing so, follow the steps given below:
- Firstly, open Device Manager, and for doing that, right-clicking on the windows search bar and select the option Device Manager from the list.
- On the next window, expand Network adapters, right-click on the networking device and then select Update Driver Software from the menu.
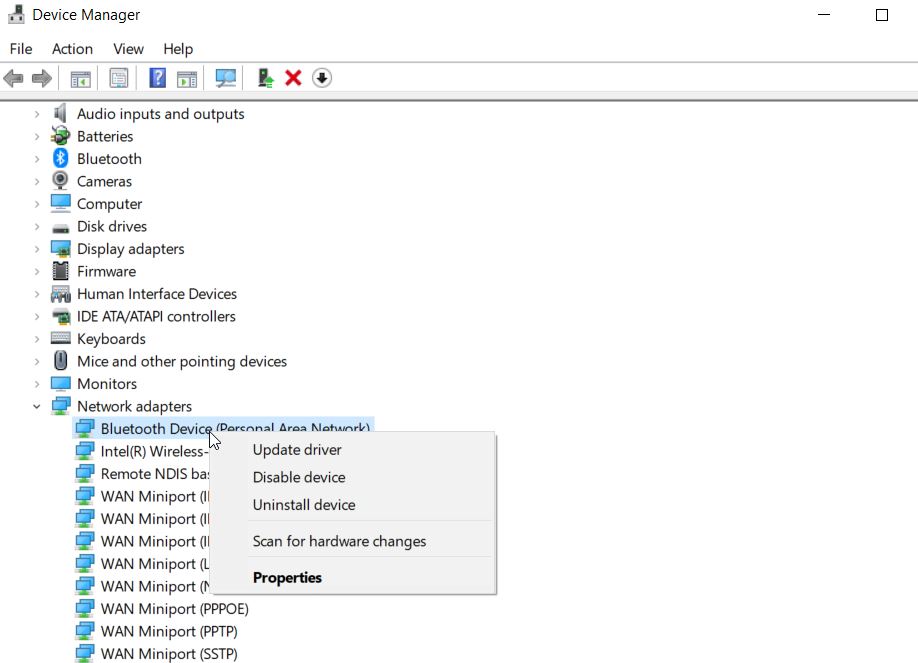
- Now on the next prompt click on Search automatically for updated driver software and after that reboot your system.
- Once done, the “IPv6 Connectivity: No network access” error on Windows 10 would get resolved.
FIX 3: Resetting Winsock and IPv6:
As per some of the suffered users, the “IPv6 Connectivity: No network access” error on Window 10 got resolved for them just by resetting Winsock and IPv6. For doing so, follow the steps given below:
- Go to the desktop search bar, type “cmd”, and from the search results, select Command Prompt. Make sure you run as administrator.
- On the Command Prompt window, type or copy + paste the following commands:
ipconfig /flushdns
nbtstat –r
netsh int ip reset
netsh winsock reset
netsh winsock reset catalog
netsh int ipv6 reset reset.log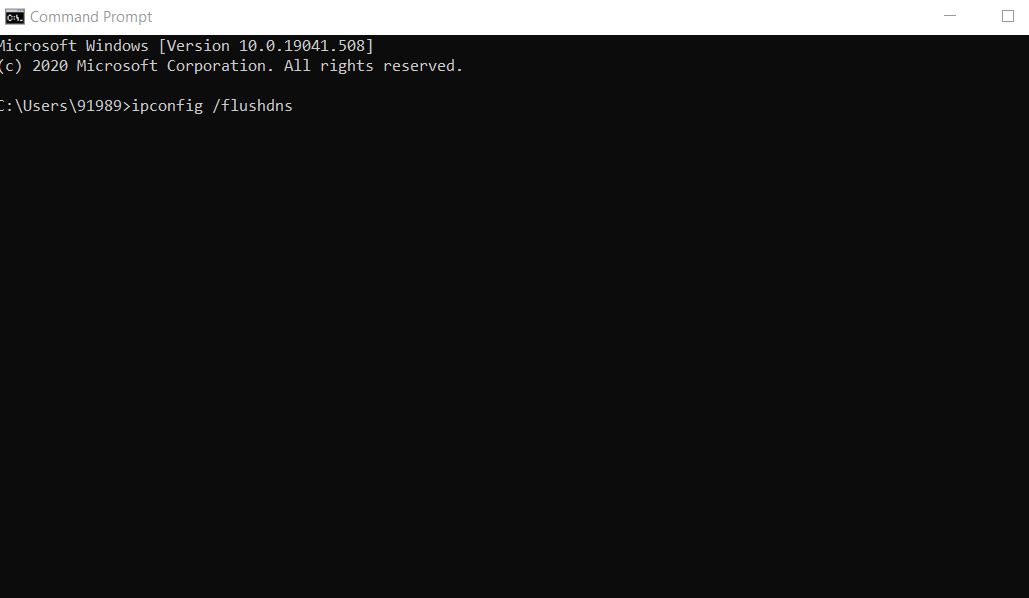
- Press Enter after each of them.
- Once you are done, reboot your PC to make the changes applied. Now you can check whether your system can access the internet or not.
FIX 4: Disable IP Helper service:
The IP helper service uses IPv6 transition technologies and works as tunnel connectivity for your PC. Here disabling the IP Helper service can help you in getting rid of the said error. For doing so,
- Open the Run prompt by pressing Windows key and R altogether.
- On the empty text box,“services.msc”, and then click on Enter.
- In the Service window, locate IP Helper service from the list, right-click on it, and then select Properties.
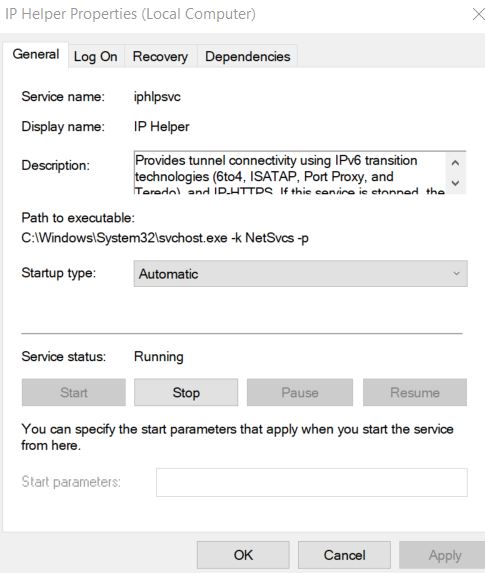
- On the next window, set the Startup type as Disabled and then change the Service status from Running to
- Finally, click on Apply to make the changes applicable and then shut off the window.
Disabling the IP helper service would have resolved the connectivity issue. Open the relevant page and check if it persists or has been solved by now.
FIX 5: Disable Antivirus and Firewall temporarily
Antivirus software or Firewall at times might block you from accessing the internet leading to the “IPv6 Connectivity: No network access” error on Window 10. Hence disabling both of them temporarily would help here in case.
For disabling antivirus program:
- Open the Settings window and select the option App & Features from the context.
- On the right-pane menu, scroll the list and find the Antivirus software you have installed into your system.
- Now right-click on it and select uninstall. Follow the on-screen instruction in order to complete the uninstallation process.
- After that, check whether the said issue is resolved or not. If yes, then your antivirus program is a problem triggering the “IPv6 Connectivity: No network access” error. However, if not, we recommend you to reinstall the antivirus program as leaving your system without it for a long time might result in malicious harm.
For disabling Firewall:
- Open the Run prompt by pressing Windows key and R altogether.
- On the empty dialogue box, “services.msc”, and then click on Enter.
- Navigate to the Windows Firewall service, double click on it, and select the option Properties.
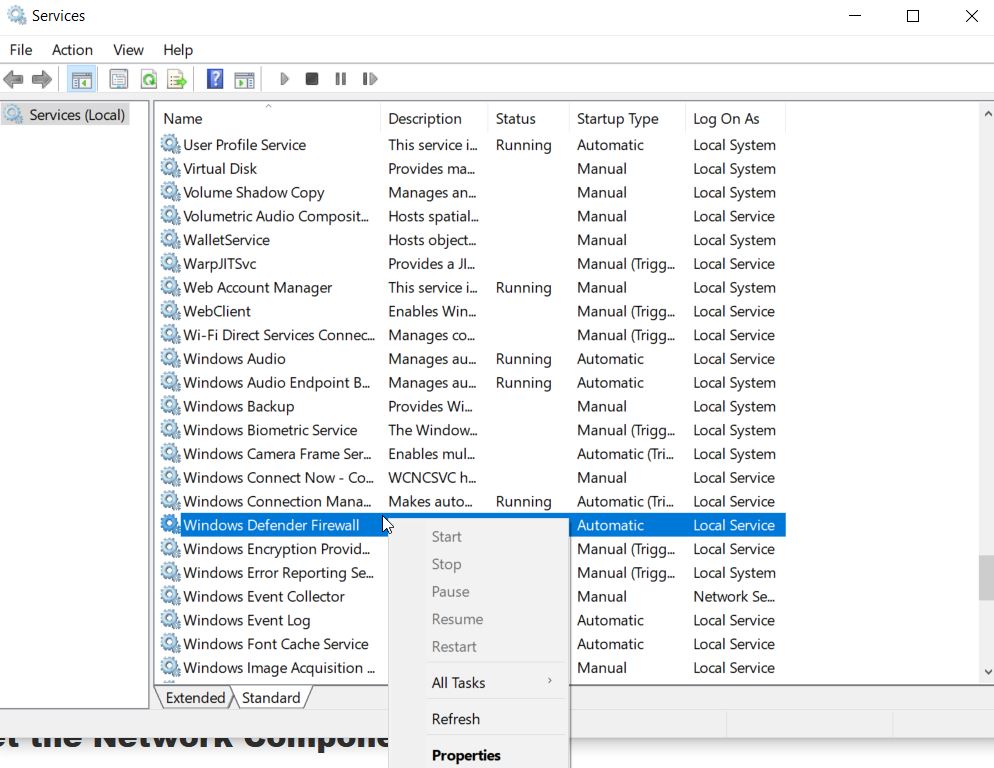
- On the next window, set the Startup type as Disabled and then change the Service status from Running to
- Finally, to save the changes click on Apply.
Once done, check whether the said issue is resolved for you or if it still persists.
FIX 6: Reset the Network Components:
As per some of the suffered users, resetting the Network Components helped them in resolving the “IPv6 Connectivity: No network access” error on Window 10. For doing so, follow the steps given below:
- Go to the desktop search bar, type cmd, and from the search results, select Command Prompt. Make sure you run as administrator.
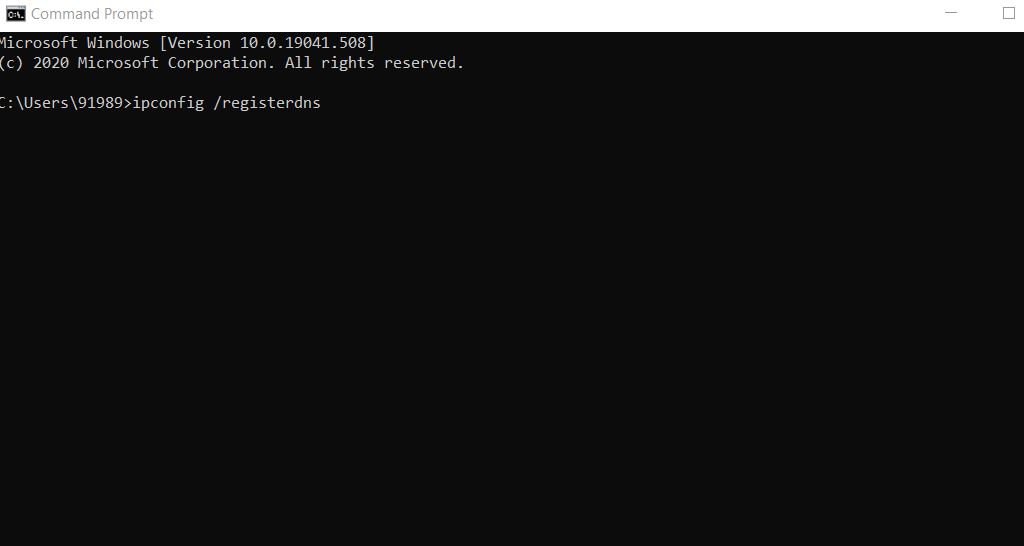
- In the Command Prompt window, type the following command and press Enter after each of them:
ipconfig /flushdns
ipconfig /registerdns
ipconfig /release
ipconfig /renew
netsh winsock reset catalog
netsh int ipv4 reset reset.log
netsh int ipv6 reset reset.log
pause
shutdown /r
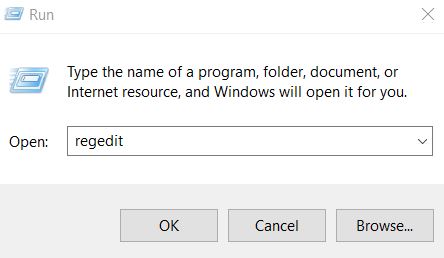
- If you experience the Access Denied error prompt, then open the RUN dialogue box (press Windows + R), type Regedit, and click on OK.
- On the Registry window, navigate to the following path,
HKEY_LOCAL_MACHINE\SYSTEM\CurrentControlSet\Control\Nsi\{eb004a00-9b1a-11d4-9123-0050047759bc}\26
- From the left-pane menu, scroll down and locate 26.
- Right-click on it and select Permissions.
- On the next prompt, click on Add, type Everyone and then click on OK. If the username Everyone already exists, then navigate to Permissions for Everyone and tick the checkbox under Allow category located after the option Full Control.
- After then click on Apply then press OK.
- Now again, run the command as mentioned above in CMD.
- Once done, reboot your PC and check whether the said error issue is resolved or not.
Network related errors like the IPv6 connectivity problem are only temporary issues hence can be fixed easily. However, until then, it will keep you from accessing all those programs and things on your computer that requires a stable internet connection.
In the article above, we have tried to incorporate the most useful and relevant fixes which would help you quickly get rid of the “IPv6 Connectivity: No network access” error in Windows 10. Try any of them to get uninterrupted internet access for your system. If you have any queries or feedback, please write down the comment in the below comment box.
