Your PC can play many games without the graphics card(many manufacturers have an inbuilt graphics card along with your motherboard). But installing a new graphics card can make lots of difference when it comes to gaming on a PC. Installing a new graphics card doesn’t mean that you’re rebuilding your PC, it’s just an extra component that has to be added to your PC. If you’re the one who has never opened the PC case. With a little help, anyone can upgrade or install a graphics card in a spare of 10 minutes or less.
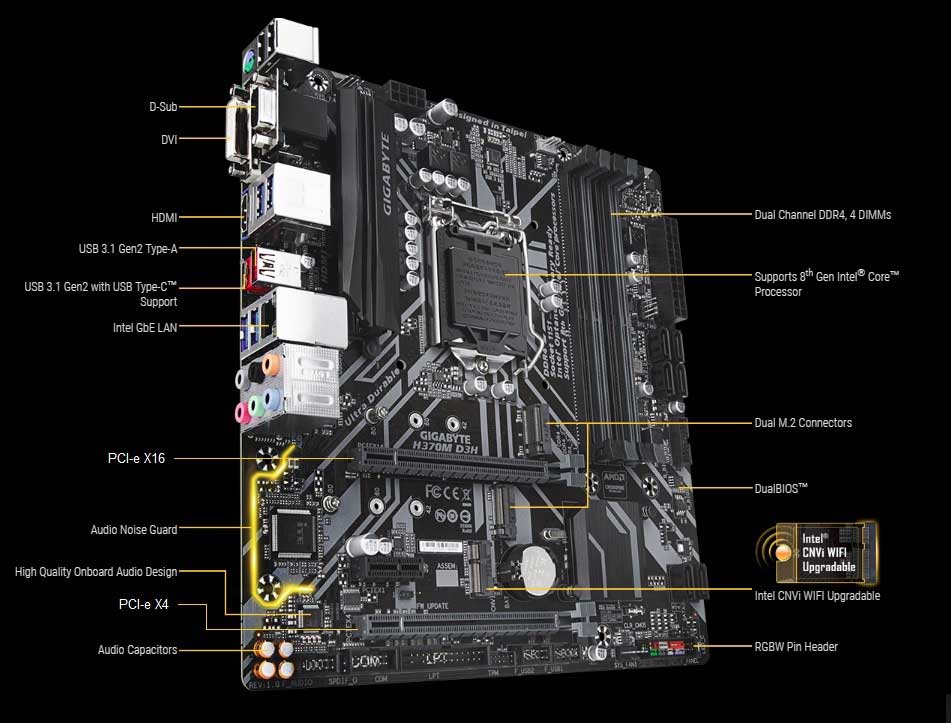
The main thing one has to know before upgrading or installing the graphics card in your PC is to know the specification of your motherboard or PC case. The most graphics card which is sold today is connected to PC via the PCI-e slot on the motherboard. A typical motherboard has a lot of slots, but you have to use the one which is (x16) slot which is different from other slots like x4 slot. The components of the graphics card are given below.
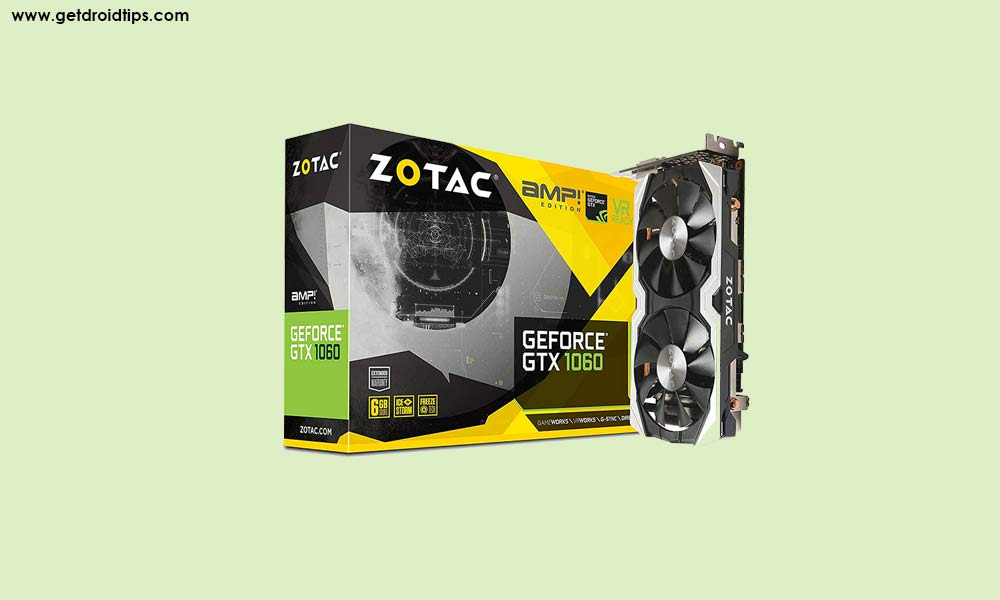
Graphics card (GPU) Installation:
If you’re the one who wants to upgrade the graphics card, first you have to uninstall the older graphics card drivers which are already installed in your PC. After the drivers have been removed, its time to open up the PC case and get started by the following step.
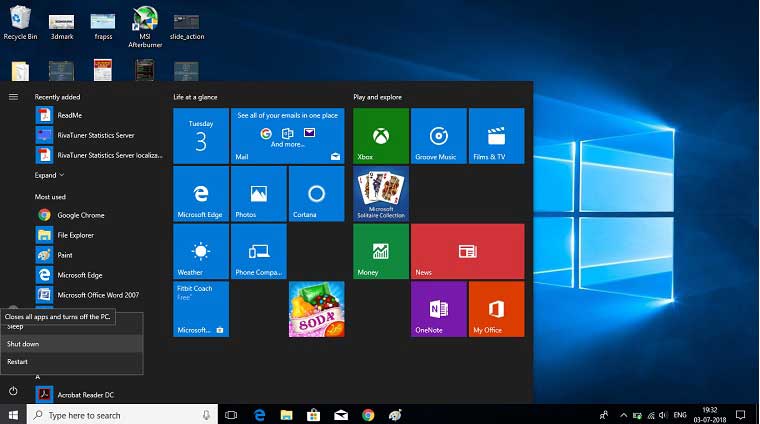
Step 1: Before you install/remove the new graphics card, you need a basic toolkit like a screwdriver to open the PC case. First, you have to shut down your PC and then remove all cables(such as video, power, etc) and USB devices from your PC.
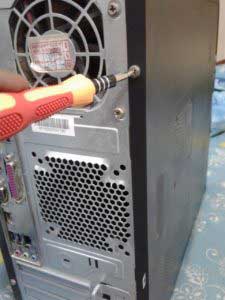
Step 2: In PC case you will find many screws at the back. You have to remove the right-side panel screws of your PC with the help of a screwdriver.
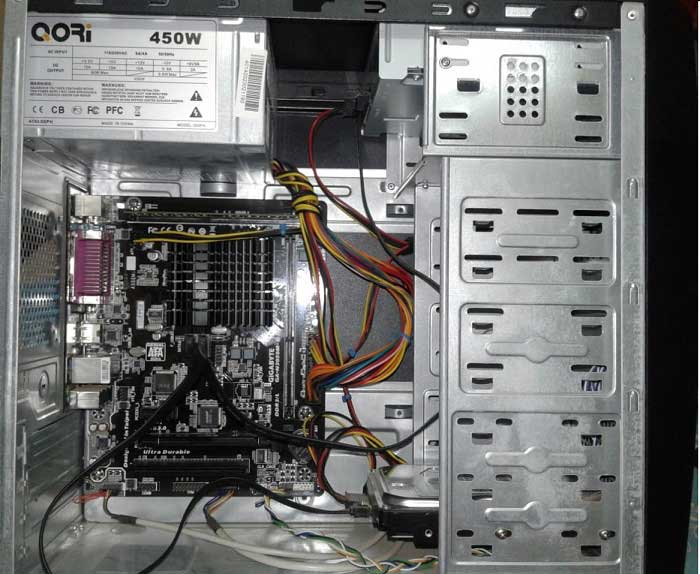
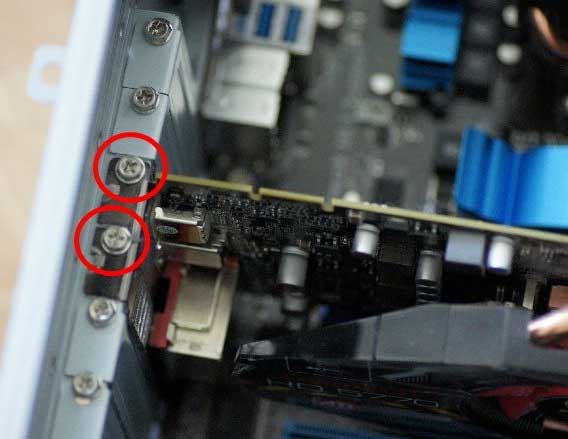
Step 3: Remove the screws holding the graphics card in the rear PC case bracket. If you don’t have the graphics card installed in your PC, skip to the step no.5 or else follow the following steps.
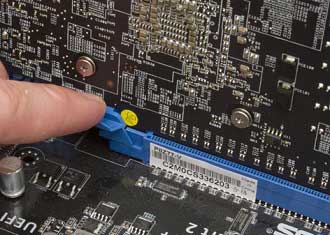
Step 4: Unlock the PCI-e slot clip and remove the graphics card by slightly pulling up.
Step 5: Insert the new graphics card or GPU onto the PCI-e x16 slot and push it down to connect into the slot.
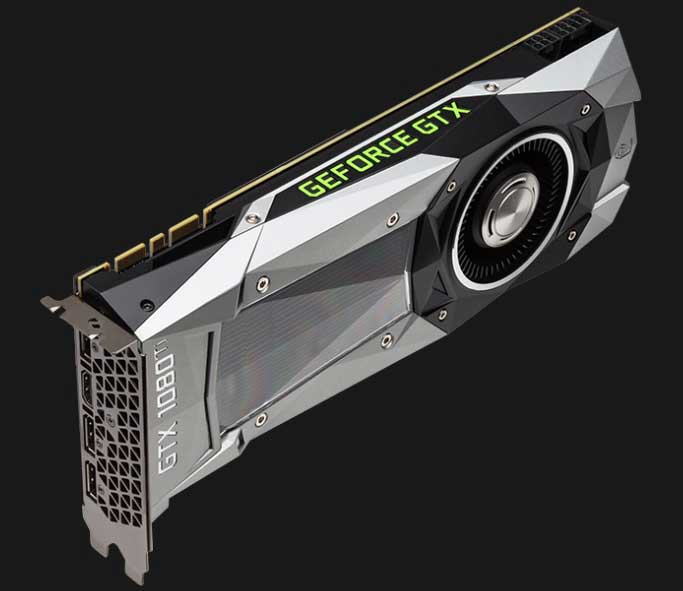
Step 6: Ensure that the PCI-e slot’s lock clicks into the place Then screw the GPU on the rear bracket of the PC case. Connect the power cable to the GPU if there are any requirements on the graphics card.
Step 7: Reattach the side panel of the PC case and screw it up and connect all required cables and devices.
That’s all you have almost completed the graphics card installed on your PC. Now, all you need to do is to turn on your PC. Before the graphics card can be used for intensive gaming, you need to install new drivers on your PC which is available on the manufacturer website.
Hence you can play the high intense game on your PC without any ease. Some Graphics needs extra power for its operation so make sure that you have enough power on PSU.
