I think everyone knows about this amazingly awesome cross-platform messaging platform. Created and developed by Google back in 2017, it gets a lot of love from its users until then. This app helps you to get in touch with your family, friends, groups, colleagues, etc. Meanwhile, talking about its presence, no matter which device you are using, it is available on almost every single device, either Mac, Windows, Android, or iOS. The greatest thing that I like about Hangout is, you do not need to enter your personal mobile number as it asks you for your Gmail I’d.
Unfortunately, for the last couple of days, users are reporting that they find it difficult to use Hangout as whenever they try to access the camera in Hangout, it displays a message that says No Camera Found. But, don’t worry, guys, we have some fixes for you using which you can easily fix this error message.

Page Contents
How To Fix “No Camera Found” In Google Hangout
Fixing the No Camera Found error message in Google Hangout isn’t a challenging task at all as you just need to follow a couple of steps, and that’s it. But, for that, you need to follow each step very carefully mentioned in this guide. So, you need to make sure to follow the guide step-by-step:
Fix 1: Allowing Hangouts to Access Your Camera
This is the main cause why you are not able to use the camera and end up getting a No Camera Found error. Basically, by default, our device is set to do not grant permission to access the Camera, Microphone, etc., of our device to any third-party application. So, we need to allow them manually for Google Hangout. Now, if you don’t know the steps, don’t worry! Just follow the guide further:
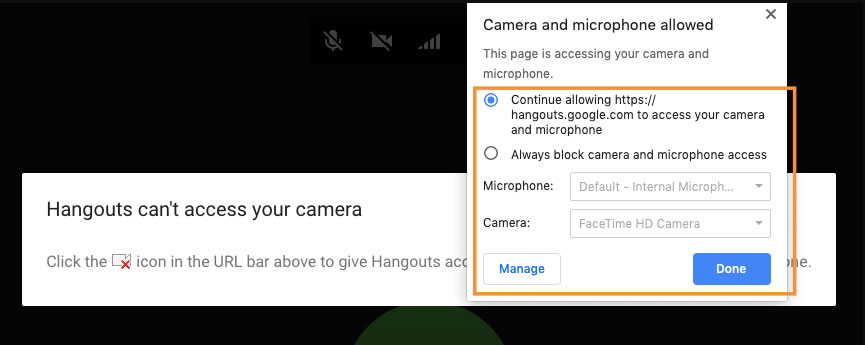
- If you are using this on your PC or Laptop’s browser, then it will automatically prompt and ask you for permission. But, if accidentally you denied granting permission. Then, at the top right corner of your browsers search bar, you’ll see there’s an icon of a camera with a cross sign. So, simply click on it and from the drop-down menu, select the Always allow *URL* to access your camera and microphone option to grant permission.

- Meanwhile, if you are using the Hangout application on your Android smartphone, then you have to hover to the Settings app. Now, locate the Privacy Protection, and click on it. After that, inside the Privacy Protection window, click on all permission. This will open the Permission Manager. Now, you need to tap on the camera and then, from the not allowed app list select the Hangout and toggle the button to grant it permission.
Fix 2: Updating Chrome or Application to the Latest
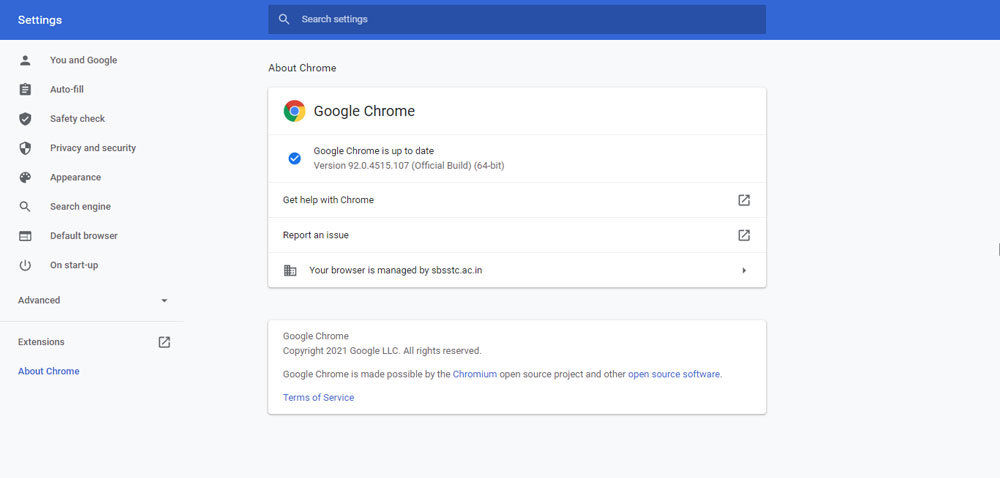
If you are using the Google hangout in Chrome browser on your computer, you need to update it or check if there is an update available.
- To do so, hover to your browser and click on the three vertical dots located at the top right corner of the screen.
- After that, from the drop-down menu, click on the Help followed by About Google Chrome.
- Now, a new window will open. So, you need to now click on the check for update button.
- That’s it. Now, it will search for updates, and if it finds any necessary updates, it will automatically download and install the update on your computer.

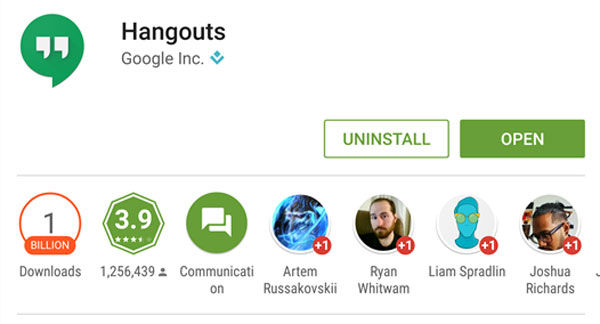
Meanwhile, if you are using this on your mobile device, then you need to update your Google Hangout application. To check if there’s an update available for your app or not, you need to head towards the Google PlayStore and search for Hangout. Then from the search result, select the appropriate one. Then, if there is an update available, you’ll see an Update button instead of the Open button.

Fix 3: Set the Right Camera from Hangouts Settings
Here are the steps to set the right camera from Hangout settings:
- First of all, click on the settings located at the top of your video call window.
- Now, to check if the correct device is selected or not. Click on the drop arrow button.
- After that, from the drop-down menu, check if the Video camera is active state or not. If not, then activate it.
- Lastly, hit the done button to save the changes you’ve made.
That’s it. Now, try using Hangout and check if you are not able to use the camera or not. Most probably, if you followed this guide step-by-step, the Camera Not Found error gets resolved. But, if you still facing the same error, contact to support team and ask for Help.
Meanwhile, you can also let us know if you’re stuck while fixing this. Our team will surely help you as far as possible. So, that’s it for now. I hope you liked this guide. Further, if you are a new visitor here, make sure to check out our other guides too.
