In this tutorial, we will check out the steps to unpack, repack and decompress the System.new.dat and its associated files. Beginning with Android 5.0 Lollipop, there have been some changes to how the ROMs are compiled. Up until Android 4.4 KitKat, if you extracted any custom ROM or stock ROM, you might have noticed that all the files inside the /system folder was uncompressed and could easily be accessed. Even if they were compressed (which was in an ext4 format), it was placed inside the system.img file. In both these cases, all these files where easily accessible or readable. For example, files like the app, framework were easily visible and could be acted upon as per the requirement.
However, with the inception of Android 5.0 and later versions, things have changed. This is because the size of the ROMs started to grow bigger with new additions and as a result, it became even more necessary to compress them further. As a result, the new Android ROMs usually followed this build pattern: aboot.img file, file_contexts which were related to SELinux, META_INF dealing with folders containing scripts, a system.new.dat, which is, in fact, the compressed /system partition. Apart from that, there is a system.patch.dat file for Over the Air updates and a system.transfer.list. Today, we will have a look at the steps to decompress this system.new.dat file. So without further ado, let us check out the steps.

How to Decompress System.new.dat File
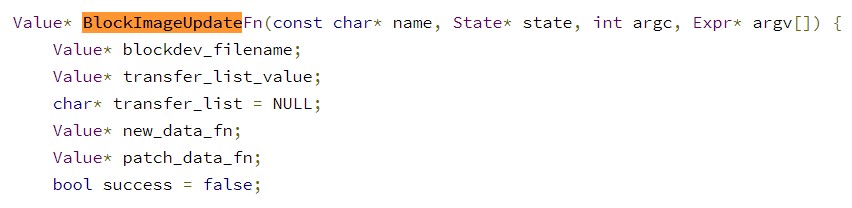
The updater-script file now uses a new function, which goes by the name of block_image_update. Likewise, the purpose of this function is to decompress all the necessary files. Apart from that, there is a system.transfer.list.
The purpose of this file, as explained by Google, is a text file that contains commands to transfer data from one place to another on the target partition. With that in mind, here are the required steps to decompress the new system.new.dat file. But before that, make sure to download the required files from the below link:
Downloads:
- Python (v3 or later)
- sdat2img.py- github.com
- make_ext4fs- mega.co.nz
- img2sdat.py- github.com
Step 1: Decompress the DAT (spare data file) to EXT4 (Raw Image)
- First of all, we will be taking the help of the sadt2img.py binary file (provided in the downloads section). Use the following command:
sdat2img.py <transfer_list> <system_new_file> <system_ext4>
- Let’s understand what each of these terms means:
- sdat2img.py: The image file, whose script is written in Python.
- transfer_list = input, system.transfer.list from the compressed ROM
- system_new_file = input, system.new.dat from the compressed ROM
- system_ext4 = output ext4 raw image file
- Here is one of the examples for the above command, in practice:
sdat2img.py system.transfer.list system.new.dat system.img
- The above command will give you the my_new_system.img file as the output. This file is a raw ext4 image file.
Step 2: Decompress Ext4 file to Output Folder and Then Recompress
Now that we have got the ext4 image file, we will first decompress in the output folder and then recompress it. Follow the below steps:
- Mount the ext4 image file to the output folder using the below command:
sudo mount -t ext4 -o loop system.img output/
- You should now be able to see an Output folder with the ext4 image file. You could now easily modify/edit/delete files inside that folder.
- Next up, we now have to compress the file back to the raw ext4 image. To do that, we will be needing the make_ext4fs binary file. Make sure you are having the file_contexts file (from the ROM) inside the make_ext4fs path. Now type in the below command:
./make_ext4fs -T 0 -S file_contexts -l 1073741824 -a system system_new.img output/
- This will give you a new raw ext4 image file, named system_new.img.
Step 3: Convert the Ext4 file to Sparse Image file
- In this section of decompressing system.new.dat file, file conversion will take place. So in order to convert the ext4 file to the Sparse Image file, take the help of the img2simg binary. The same could be downloaded from here.
- This is how it could be used:
img2simg <raw_image_file> <sparse_image_file>
- The output of the above command will be a new sparse image file.
Step 4: Convert the IMG file to DAT file
- In the final step to decompress the system.new.dat file, we will be converting the sparse image file to the sparse data file. Now that you have downloaded the img2sdat binary, here is how to use the same:
./img2sdat.py <system_img>
- Next up, make sure to rename the <system_img> to the name of the input file that you got from Step 3. The output will now have the system.patch.dat and system.new.dat file, which you can now place it inside your ROM.
Conclusion
So with that, we conclude the guide on the steps to decompress the system.new.dat file. Do let us know your views on the same in the comments section below. Likewise, here are some iPhone Tips and Tricks, PC tips and tricks, and Android Tips and Tricks. that you should check out.