Having a reliable and efficient media server in the digital age of media consumption is essential. With a media server, users can access all their favorite audio, video, and photo content from one computer. Despite the fact that many prebuilt media servers are available in the market, the ZimaBoard DIY Media Server can help users customize their media servers to meet their individual needs. In this article, we will cover everything you need to know about the ZimaBoard DIY Media Server.

Page Contents
What Is ZimaBoard DIY Media Server?

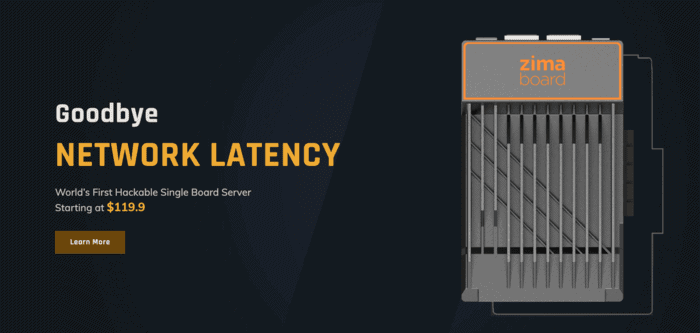
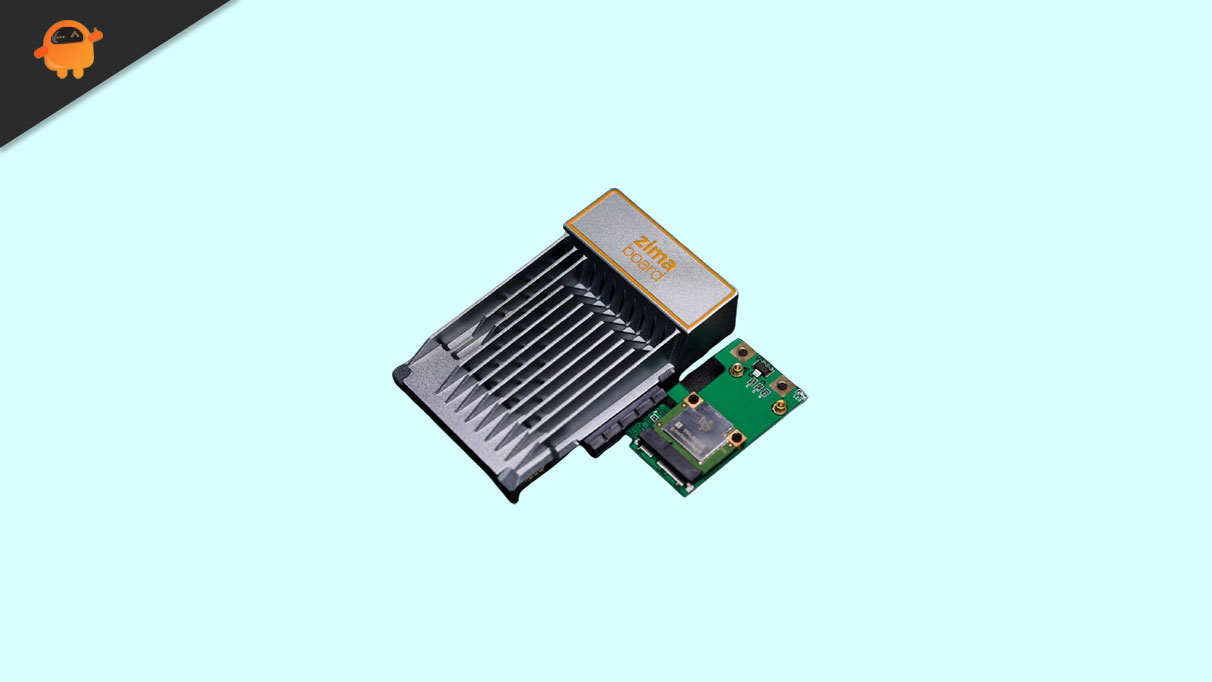
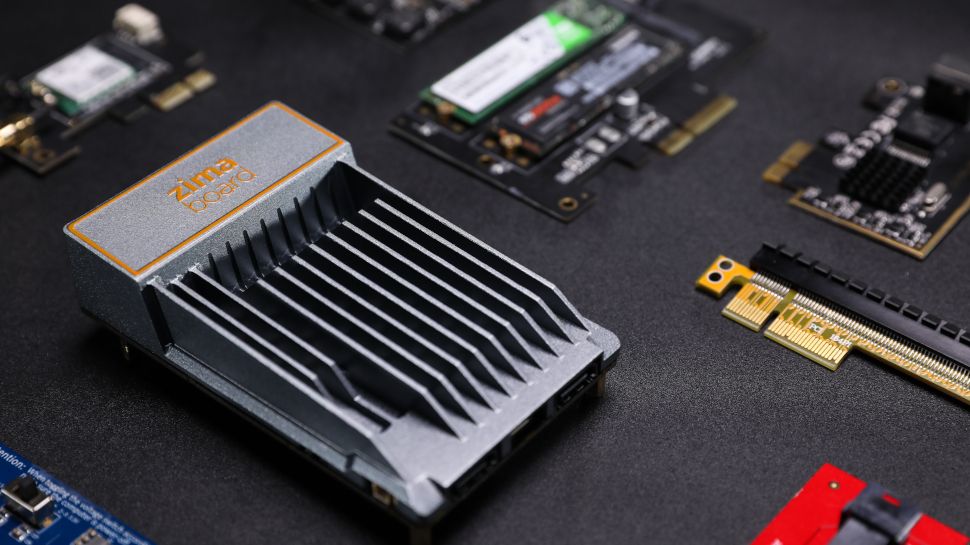
ZimaBoard is a maker-friendly single-board server designed exclusively for makers. In addition to its expandability, it has the power of a microserver while maintaining the flexibility of a single-board computer (SBC). ZimaBoard was designed to cater to the subculture’s more international taste, in which the “mass industrialism” and the “modern cyber-freedom” were retained but where machine systems were still present.
How to set up and use the ZimaBoard

In order to set up ZimaBoard, you simply need to select the appropriate prongs based on your outlet type from the supplied international adapters for the wall power supply and, plug the power supply into the wall and the ZimaBoard, then connect your switch or router to the ZimaBoard with an Ethernet cable.
If you want to use the console, you can attach a display, keyboard, and mouse as well. With this distribution, you can use normal applications like Firefox, Libre Office, and so on, just like on a regular Linux distribution. In other words, the ZimaBoard is also a tiny Linux computer.
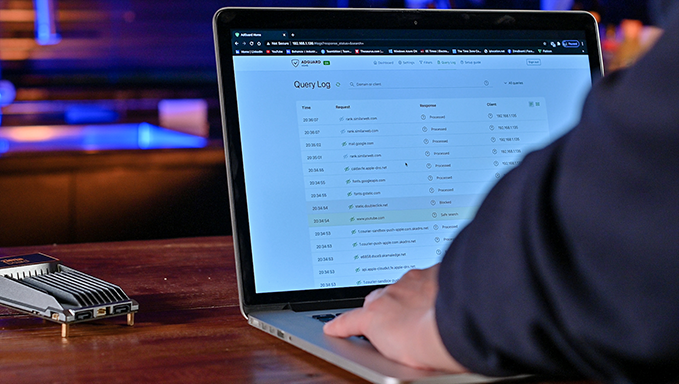
The unit does not have an on/off switch; it turns on as soon as it senses power. You should use your browser to open up your ZimaBoard, find its IP address (look in the client table of your router or use a probe utility) and log in to it. You create a username and password through the highly attractive, Docker-hosted, CasaOS web interface.
Both SATA and NVMe units required power cycling before they showed up on the ZimaBoard. You should probably power down your computer before inserting a PCIe module since crossing contacts could damage it. When the USB storage device was inserted, it was recognized and was available for use.
Software package

ZimaBoard DIY Media Server comes pre-installed with software that makes it a very powerful media server. The CasaOS Software packages include several media server programs, including Plex, Emby, Jellyfin, and others. By using these applications, users can organize and stream all of their media content in one place.
Streaming multimedia content from a Plex server to smartphones, tablets, smart TVs, and gaming consoles is a popular feature of the application. In addition to remote access, parental controls, and transcoding, it also provides several other features.
Users can organize their media content with Emby and stream it from a central location. In addition, to live TV streaming, parental controls, and support for multiple devices, this application comes with a number of features.
With Jellyfin, you can stream live TV, set parental controls, and use multiple devices with one application. It is free to use and includes features such as live TV streaming, parental controls, and multi-device support.
Benefits of using the ZimaBoard DIY Media Server
It is beneficial to use the ZimaBoard Media Server for several reasons.
- It is a more cost-effective option than prebuilt media servers. With the ZimaBoard DIY Media Server, users can build their own media server and save money.
- Media server users can add additional features and software packages to the board, making it highly customizable. In this way, users can build a media server that suits their specific needs, making it more effective and efficient.
- Even users who have no experience building computers can easily set up and use the ZimaBoard DIY Media Server. By installing the pre-installed software package, media content can be organized and streamed easily.
- Thanks to its impressive hardware specifications, ZimaBoard DIY Media Server is a reliable and powerful option. For users who want to keep their electricity bills as low as possible, the ZimaBoard DIY Media Server chipset is an excellent energy-efficient option.

Why ZimaBoard DIY Media Server Is Ease of use?
Easy to use and ready to use right out of the box, the Z832 is a great project board for beginners. After connecting power and ethernet, you are ready to go. In order to access the device, you must locate it on your network. Use an IP scanner tool such as Advanced IP Scanner 2 to check your router or check your IP address.
Move over to your browser and plug in that address once you have identified the address. You can now access an operating system packed full of goodies and visuals after the hard part is over.
There is a world outside the provided operating system where things can get complicated. Documentation is available on the vendor’s website, and there are many options to choose from, but more than availability is needed.
Final Verdict
To conclude, the ZimaBoard DIY Media Server offers users an excellent option for building their own media server. The server comes with several media server applications pre-installed and is reliable, affordable, and customizable. Even those with no computer building experience can set up and use the board, and it provides a complete media server solution that can be customized based on user needs. For users who want to be able to enjoy their media content from one central location, the ZimaBoard DIY Media Server is an excellent investment.
