If you have used a Raspberry Pi, you might be well aware of the fact that it runs Raspbian, a Debian based Linux operating system. While it is a pretty good operating system in terms of stability, one might be held back by the lack of certain features especially if one is using Raspberry Pi for desktop computing. However, the beauty of Raspberry Pi lies in the ability to install any distro you are comfortable with on the device.
One of the most popular Linux distros is CentOS. It is pretty similar to popular distros such as Red Hat and Fedora since it is developed by Red Hat distribution (RHEL). If you are wondering if you can install CentOS on a Raspberry Pi, here is how to do the same.
What do you need to install centOS on a Raspberry Pi?
Here is everything you need to install centOS on a Raspberry Pi.
- Raspberry Pi 2
- SD card
- A device with an SD card reader
- CentOS 7 Raspberry Pi image
How to install CentOS on the Raspberry Pi?
To install CentOS on Raspberry Pi, follow the given steps.
Step 1: Download CentOS
First of all, you need to obtain the CentOS media to able to install it on your Raspberry Pi. You can download the ISO from the link here. You might notice that there are multiple versions available. One is GNOME, and the other is minimal. If you are unaware, the minimal version doesn’t have a GUI, while the GNOME one has it. So if you are new to CentOS, we highly recommend going for the GNOME version. Make sure you download the ISO which has Raspberry Pi in the title since it is optimized for Raspberry Pi.
Step 2: Flash the ISO to the SD card
Once you have the ISO file downloaded, you need to flash the ISO to the SD card. The process is pretty much the same if you have flashed an ISO to your SD card before.
- To flash the ISO to the SD card, you need to first install Etcher. It can be downloaded here.
- Here is what Etcher looks like once you have it installed.
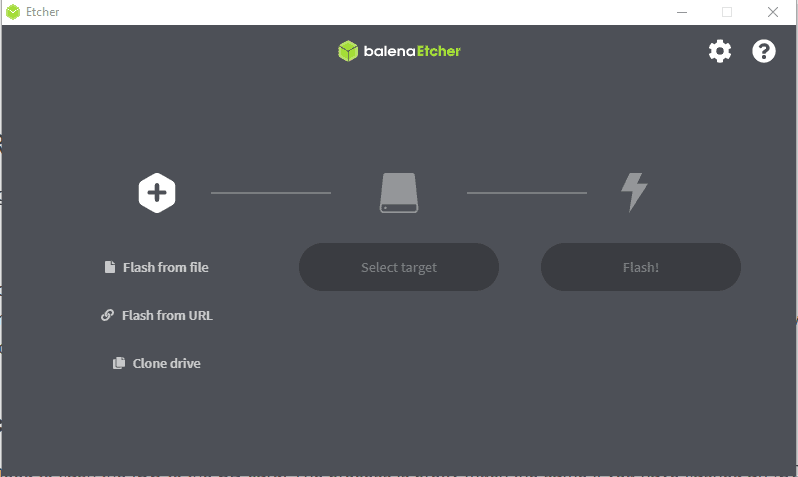
- Click on ‘Flash from File’ and select the ISO file which you downloaded in the previous step.
- Select your SD card in the ‘Select Target’ option
- Finally, click on ‘Flash!’ to start the entire process.
Step 3: Boot into CentOS
- Once you have successfully flashed the CentOS ISO on the SD Card, you can insert it into your Raspberry Pi.
- Launch your Raspberry Pi, and you will be greeted with the Welcome message similar to this.
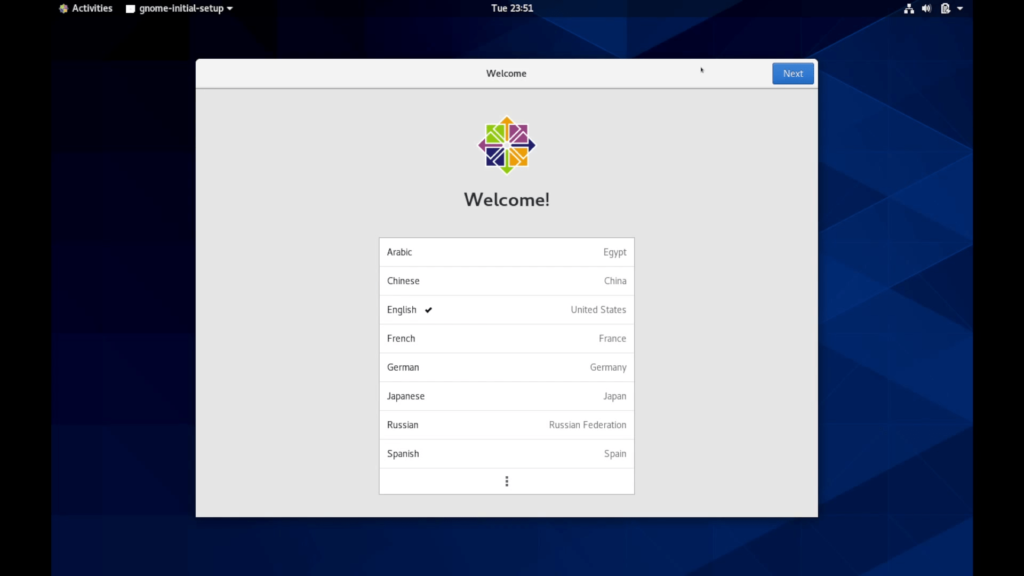
- Select the Language, Keyboard Layout, Network configuration, Privacy Settings, Time Zone, and Online accounts connection.
- Online account connection is not mandatory for CentOS installation.
- You will then be prompted to enter your name and username. Enter the details.
- Finally, you will be asked to enter a password. Set a strong password and you are good to go.
- Once that’s done, you are all set to use CentOS on your Raspberry Pi.
That’s all you need to know about installing CentOS on your Raspberry Pi. If you need any other help regarding installing CentOS or Raspberry Pi, do let us know in the comments section below and we will be happy to help you out. You can also check out our iPhone Tips and Tricks, PC tips and tricks, and Android Tips and Trick for some pretty informative articles.