With a couple of Android 14 Beta updates, Google has finally rolled out the Android 14 stable public version for eligible Pixel devices right now. By the end of this year or the beginning of 2024, other smartphone OEMs will start pushing the open beta updates to their eligible models respective to the carrier and country in batches. In terms of the feature, Android 14 also offers improved Wi-Fi hotspots for better connectivity with 2.4GHz & 5GHz bands. However, several users are reporting that the Android 14 hotspot not working for them.
As per reports, the 2.4GHz band hotspot is an older and standard compatibility that offers greater connectivity which also consumes low data bandwidth. The 5GHz band is a new frequency by most latest modems and has a lower range but powerful connectivity. Android 14 developers have included the speed and compatibility options under the Wi-Fi hotspot settings. The preferences are also showing a 6GHz frequency band but not available yet. But issues with the hotspot can be frustrating a lot.

Page Contents
- Fix: Android 14 Hotspot Not Working
- 1. Force Restart Your Handset
- 2. Check the Mobile Internet
- 3. Ensure the Wi-Fi Hotspot is Enabled
- 4. Turn On and Off Airplane Mode
- 5. Connect to the Correct Wi-Fi Hotspot
- 6. Check for Software Updates
- 7. Charge the Battery of your device
- 8. Disable Battery Saver Mode
- 9. Ensure You’ve Enough Data Limit
- 10. Turn Off Adaptive Connectivity
- 11. Create a New Hotspot
- 12. Clear Cache and Storage Data of the Settings app
- 13. Disable VPN
- 14. Try Rebooting Your Phone in Safe Mode
- 15. Force Stop the Settings app
- 16. Reset the Network Settings
- 17. Perform a Factory Reset
- 18. Visit to a Service Centre
Fix: Android 14 Hotspot Not Working
This specific issue might occur due to several possible reasons such as outdated system software, conflicts with the system glitch, issues with the network settings, compatibility issues with the different Android versions, any kind of potential security risks, slow internet connection, data limit runs out, low battery juice, etc can trigger hotspot regarding problems. Luckily, here in this troubleshooting guide, we’ve shared with you all workarounds that should come in handy. So, without further ado, let’s jump into it.
1. Force Restart Your Handset
It’s highly recommended to force restart your Android 14 handset by following the steps below to ensure there is no issue with the system glitch or cache data. To do so:
- Long-press the Power button for a couple of seconds until the screen goes off and the boot logo appears.
- Now, you can release the Power button to let the device boot into the system.
- This is how you can soft reset or force reboot your handset to refresh the system.
2. Check the Mobile Internet
You should also check the mobile internet if it’s turned on or not. Go to the Settings menu and then turn on mobile data. Sometimes conflicts with the mobile internet connectivity can trouble you a lot.
3. Ensure the Wi-Fi Hotspot is Enabled
Turn on the Wi-Fi Hotspot option to check for the issue again. If the Wi-Fi hotspot isn’t enabled or not joined from another device then you may face hotspot connectivity issues. To do so:
- Go to the Settings app > Tap on Network & Internet.
- Tap on Hotspot & tethering > Hit Wi-Fi Hotspot.
- Turn On the hotspot and join the same from another device.
4. Turn On and Off Airplane Mode
It’s better to simply turn on the Airplane Mode on your handset and then turn it off again to check for the issue if the hotspot connectivity works fine.
- Open your device’s Settings app.
- Tap on Network & internet.
- Turn on/off Airplane mode.
5. Connect to the Correct Wi-Fi Hotspot
Do also keep in mind that connecting to an incorrect Wi-Fi hotspot won’t help you. So, it’s recommended to connect to the correct Wi-Fi hotspot to easily be able to use the internet.
6. Check for Software Updates
Another thing you can do is to update the system software manually on your device if there is any pending update available. Even though you’ve updated to the latest Android 14 OS, Google periodically pushes software updates to improve bugs and stability. So, you should always check for the software updates and install the same by following the steps below.
- Open the Settings app on your device.
- Tap on System > Tap on System update.
- If the update is available, tap on Download and Install.
- Now, follow the steps on the screen.
- Once done, install the update, and your device will reboot.
7. Charge the Battery of your device
Charge your device’s battery properly using the stock charging adapter to ensure there is no issue with the battery juice or health. Sometimes a low battery charge can fail to connect to the Wi-Fi hotspot until the battery is charged sufficiently.
8. Disable Battery Saver Mode
Make sure to disable the battery saver on your device to allow the background tasks to run properly. Battery saver or Power saving can restrict ongoing processes and auto-update of Google Play Store apps might get limited. To turn it off:
- Open the Settings menu on the handset > Tap on Battery.
- Just Turn Off the Battery Saver mode. [if already enabled]
9. Ensure You’ve Enough Data Limit
The chances are high that your daily data limit has been finished and still you’re trying to use a Wi-Fi hotspot. In that case, it’s better to check for the mobile data limit for that day. Otherwise, wait for the day to end after 24 hours and try the mobile data again.
10. Turn Off Adaptive Connectivity
In the United States, some mobile carriers may limit Adaptive Connectivity on Android 14. In that case, make sure to contact your carrier support for further assistance.
- Open your phone’s Settings app.
- Tap on Network & Internet > Tap on Adaptive Connectivity.
- Make sure to Turn On the Adaptive Connectivity option.
- If it’s already turned on, then turn it Off.
11. Create a New Hotspot
- Pull down the notification shade from the top of the screen.
- Navigate to Settings > Tap on Network & Internet.
- Tap on Hotspot & tethering > Go to Wi-Fi Hotspot.
- Turn On the toggle > The hotspot name and password will be visible.
12. Clear Cache and Storage Data of the Settings app
You should also clear the cache and the data of the settings app to ensure there is no issue with the temporary cache issue on the respective device. You can check the following steps to do so.
- Go to the device Settings menu > Head over to Apps & Notifications.
- Now, tap on See All Apps > Tap on Settings to open the app info page.
- Tap on Storage & Cache.
- Next, tap on Clear Cache > Once done, tap Storage & Cache.
- Then tap on Clear Storage.
13. Disable VPN
We suggest you not use any kind of VPN (Virtual Private Network) or proxy servers at your end to avoid Wi-Fi hotspot connectivity issues. The chances are high that using a VPN is probably causing ping delay issues which eventually increases server connectivity errors.
14. Try Rebooting Your Phone in Safe Mode
By rebooting your device into safe mode, you can fix or troubleshoot potential issues with the installed apps. To do so:
- Press and hold the Power + Volume Up buttons for a few seconds.
- From the power menu, tap & hold Restart.
- Tap on OK > Wait for the device to boot into safe mode.
- Now, ‘Safe mode’ will appear at the bottom of your screen.
- Check if the recently installed third-party apps are creating any problems or not.
15. Force Stop the Settings app
Make sure to force stop the settings apps on your handset by following the steps below. After force stopping, the app will stop its essential apps or services which can fix the hotspot not working issue.
- Open your phone’s Settings app.
- Tap on Apps > Tap on See all apps.
- Next, tap on Settings.
- Tap on Force stop > Tap on OK.
- Once done, restart the handset.
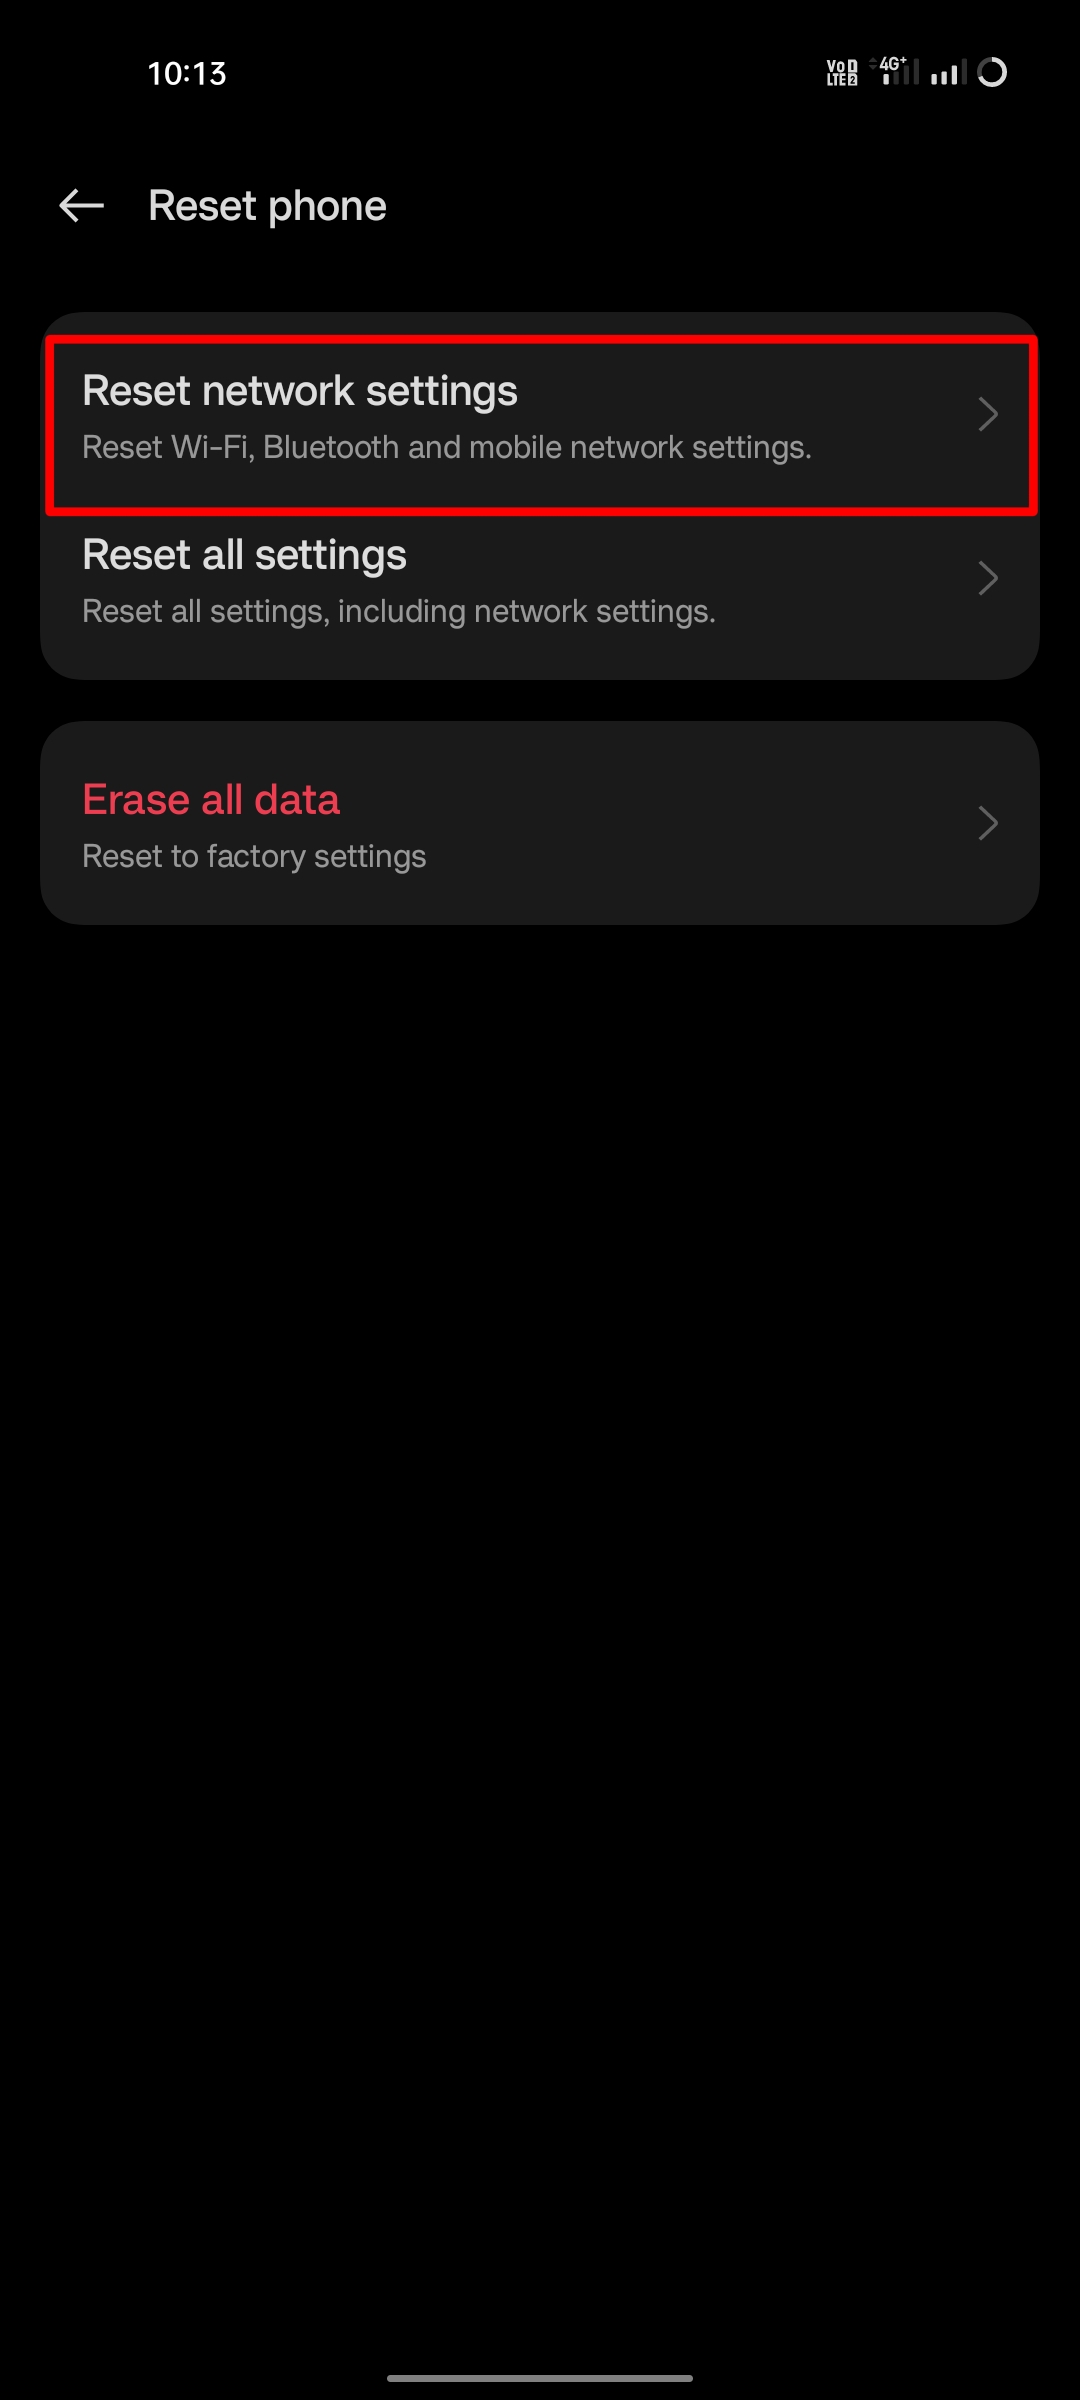
16. Reset the Network Settings
Make sure to perform the network settings reset on your Android 14 device by following the steps below to cross-check if the Wi-Fi hotspot issue has been fixed or not. Please note that if you’re using a Wi-Fi or Bluetooth device on the handset then remember the Wi-Fi password to easily connect again.
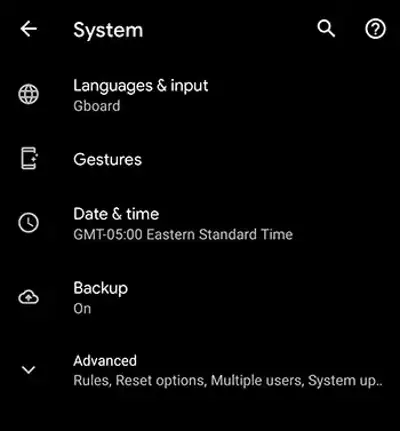
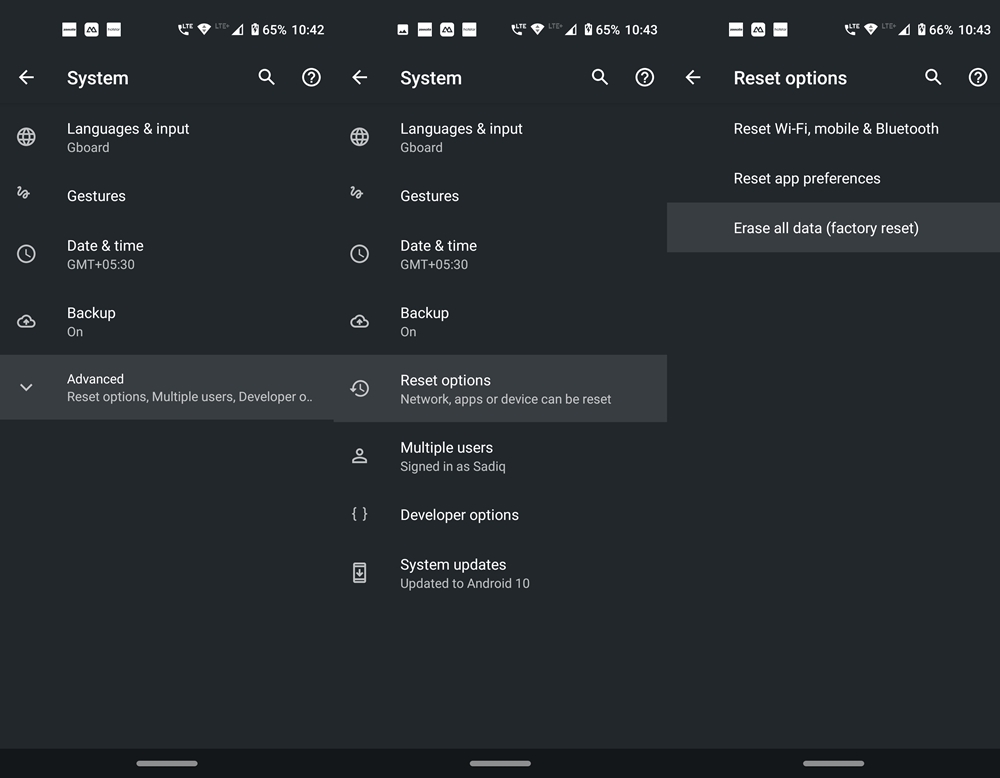
- Go to Settings > Tap on System.

- Tap on Reset options > Select Reset Wi-Fi, mobile & Bluetooth.

- Choose Reset again to confirm it.
- Wait for the network reset process to complete.
- Once done, restart your device to apply changes.
- Now, you’ll need to sign into the Wi-Fi network or pair the Bluetooth device freshly.
17. Perform a Factory Reset
If the above methods didn’t work for you then make sure to perform a factory reset on your handset to check whether the problem has been fixed or not. Remember that the factory reset process will completely delete the device data, such as apps, games, user-defined settings, internal storage files, call history, text messages, etc. So, it’s better to take a full data backup of your device before jumping into the steps.
- Go to the device Settings menu > Tap on About Phone.
- Tap on the Backup & Reset option > Click on the Erase all data (Factory Reset) option.

Factory Reset on Android - Now, tap on the Delete all data option > Wait for the process to be completed.
- Once done, your device will reboot to the system automatically.
- Finally, go through the initial setup process.
- You’re good to go.
18. Visit to a Service Centre
Last but not least, you’ll need to visit the nearest service centre to get it checked by the professionals. If there is an issue with the software or hardware, you can get it fixed by spending some bucks respective to the warranty status of your handset.
That’s it, guys. We assume this guide was helpful to you. For further queries, you can comment below.
