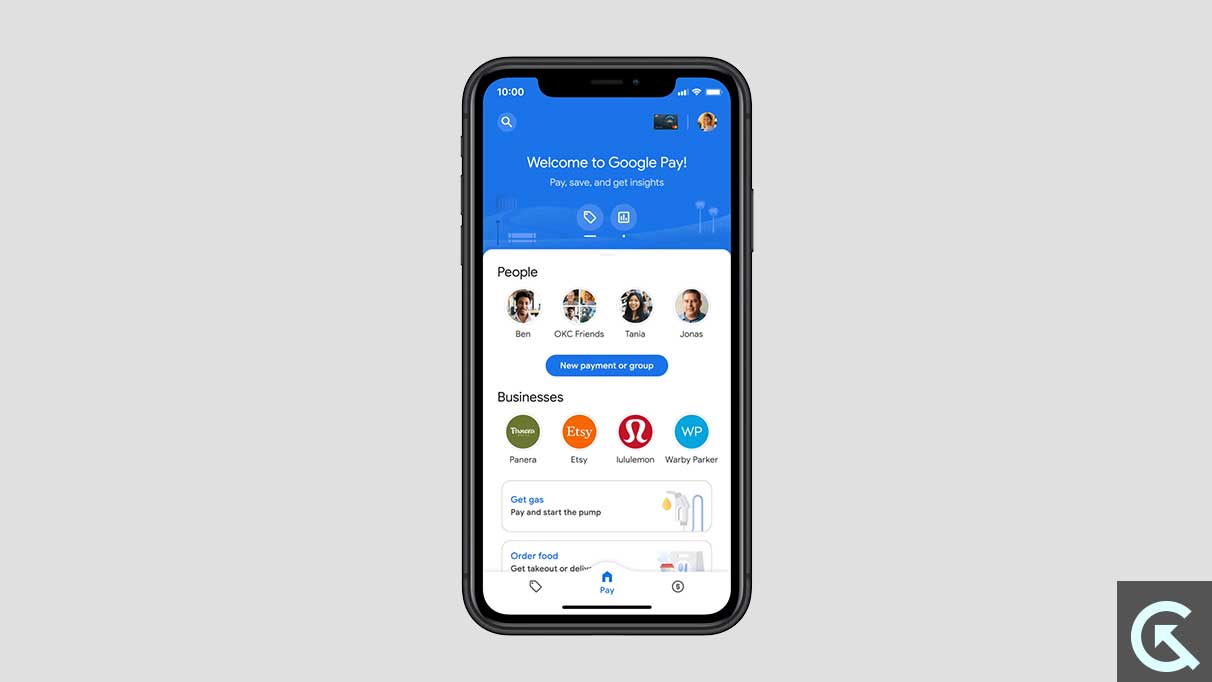
In today’s digital transformation, Google Pay is one of the most popular and widely used mobile payment services that allows users to make payments easily. Through Google Pay, you can easily make payments to individuals by logging into your bank account on the app. It can be easily accessible on any smartphone, smartwatch, or tablet. Unfortunately, many users have recently encountered the “Google Pay not working” issue after updating to the latest Android 14 version.
This can be irritating, especially when you want to pay an individual or through the online process or other apps to purchase products via an online store. If you are someone encountering issues with Google Pay, don’t brood. In this article, we will discuss the possible solutions you can take to troubleshoot and resolve the issue independently. By following the steps carefully, you can get back to assess Google Pay again on your smartphone. So, without further ado, let’s get started.
Page Contents
What Causes Google Pay Not Working After Android 14 Update?
The majority of users reported that they’re unable to access Google Pay or sometimes it keeps crashing. However, there could be numerous reasons behind the issue. Here are some possible reasons includes:
- Internet Connectivity Issue: There’s a feasibility that you’re not connected with a stable internet connection on your Android device, causing the issue with Google Pay. This Google Pay service works over with a stable internet connection, however it won’t work with an unstable internet connection.
- Incorrect Phone Number: If you’re trying to make payment to an individual and it’s not working, probably the phone number on Google Pay is incorrect. An incorrect phone number won’t let you make payment to an individual. You’ll have to check your phone number in that scenario.
- Software Issues and Bugs: In some cases, the software issues and bugs cause the issue with the device and system apps after updating the device to the Android 14 version. Therefore, if Google Pay is not working on your device, probably the bugs and software issues are the real culprit.
- Outdated Google Pay App: Sometimes, an outdated version of the application can also prevent the app from functioning properly. If Google Pay isn’t working, you are probably running on the oldest version. In that case, you’ll update the Google Pay to the latest version.
Therefore, these were some of the reasons why Google Pay is not working after updating to the Android 14 version on the device. Let’s focus on the troubleshooting methods to resolve the Google Pay not working issue on your device.
How to Fix Google Pay Not Working After Android 14 Update Issue
We have listed some effective solutions that you can take to resolve the GPay not working issue after updating to Android 14 version. Make sure to follow each and every solution until and unless you find the perfect solution. So, let’s discuss them one by one.
Fix 1: Restart Your Phone
Before attempting any other methods, you should try restarting your handset to solve minor issues and temporary glitches on the device. Sometimes the system cache and glitches may cause issues with the system and all launching or to run smoothly. In that case, restarting the device is the best way to troubleshoot the issue.
Restarting the device will resolve unknown bugs and issues on the device, as it is one of the most workable methods of all time.
To restart your Android 14 handset, follow these steps:
- Press and hold the Power button for a few seconds.
- Then, tap the Restart/Reboot option on the screen.
- Wait for the device to complete the restart process and then check if the issue has been fixed.
Fix 2: Force Stop the Google Pay App
The next thing you must do is force-stop the Google Pay on the Android 14 handset. This will help you to resolve the GPay not working issue on your Android 14 device.
To force stop the Google Pay App on your Android 14 device, follow these steps:
- Open the Settings app on your device.
- Tap on Apps > See All Apps.
- Look for the Google Pay app and tap on it.
- Tap on the Force Stop option at the top > if prompted, then confirm it.
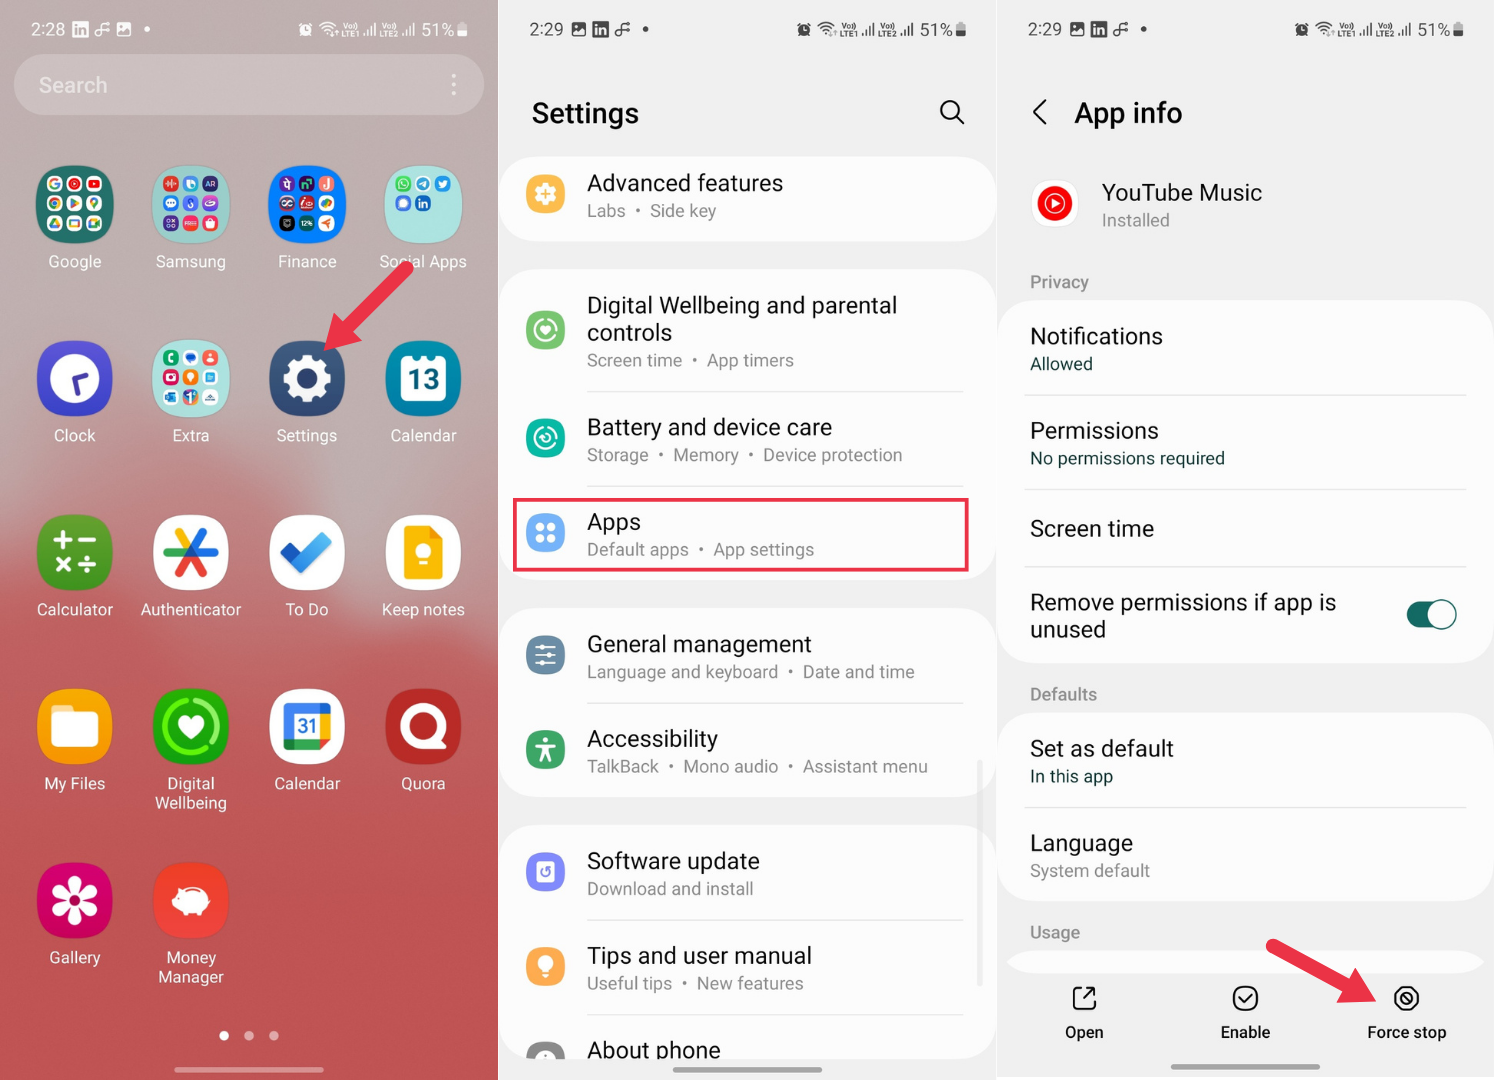
- Finally, restart your phone and check if the issue has been fixed.
Fix 3: Check Your Internet Connection
An internet connection must require accessing particular apps on your Android 14 handset. Google Pay is an online payment service that needs stable or strong internet data to work sufficiently. Therefore, if you are connected with unstable cellular data on your Android 14 handset, you probably encounter issues with Google Pay.
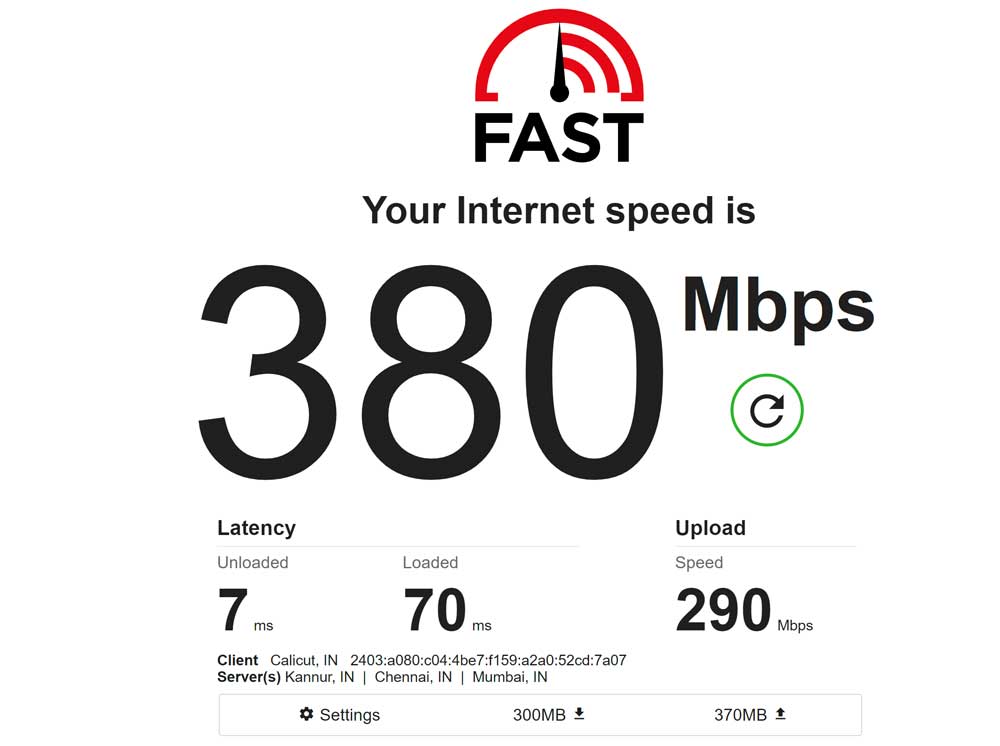
Make sure to check whether your cellular data is stable or unstable. If the data is unstable on your device, try turning on the Airplane Mode and then turn it off. This will refresh the network connection on your Android 14 handset. From the settings menu, you can switch to other network modes like 5G and 4G.
In case the cellular data is unstable after toggling Airplane mode on your device, try switching to a Wi-Fi network. However, the Wi-Fi network is more stable than an internet connection, so try switching to it. After that, launch the Google Pay on your Android 14 handset and check if the issue has been resolved. If the network is stable and you cannot access Google Pay, you should follow the next solution.
Fix 4: Check the Phone Number
It’s necessary to verify whether the phone number you have entered on Google Pay is correct or not to ensure the phone number registered is valid. If the phone number is incorrect or doesn’t have an SMS pack to receive the OTP during the verification, Google Pay might not be able to authenticate it. If the mobile number isn’t registered or is incorrect, it is also unable to link to your bank account.
Make sure to check the phone number on Google Pay is correct. Here’s how you can check it.
- Open the Google Pay app on your phone.
- Tap on the profile icon at the top right corner.
- Tap on Settings > Personal info.
- Now you should be able to see your number under your Mobile number.
- Check the phone number is correct; if it’s not, correct it by tapping Edit number.
- After entering the correct phone number, tap Next and follow the on-screen instructions to set up the account properly.
- You’re good to go once you have registered the phone number and linked bank account.
Fix 5: Clear the Google Pay Cache and Data
Most of the applications and services won’t work due to corrupted data and temporary caches on the device. If the Google Pay is not working after updating to the Android 14 version, probably the temporary caches and data might be the reason. Make sure to clear the Google Play cache and data on your handset, so that the temporary cache data and glitches can be easily removed.
To clear the Google Pay cache and data on your Android 14 handset, follow these steps:
- Open the Settings app on your device.
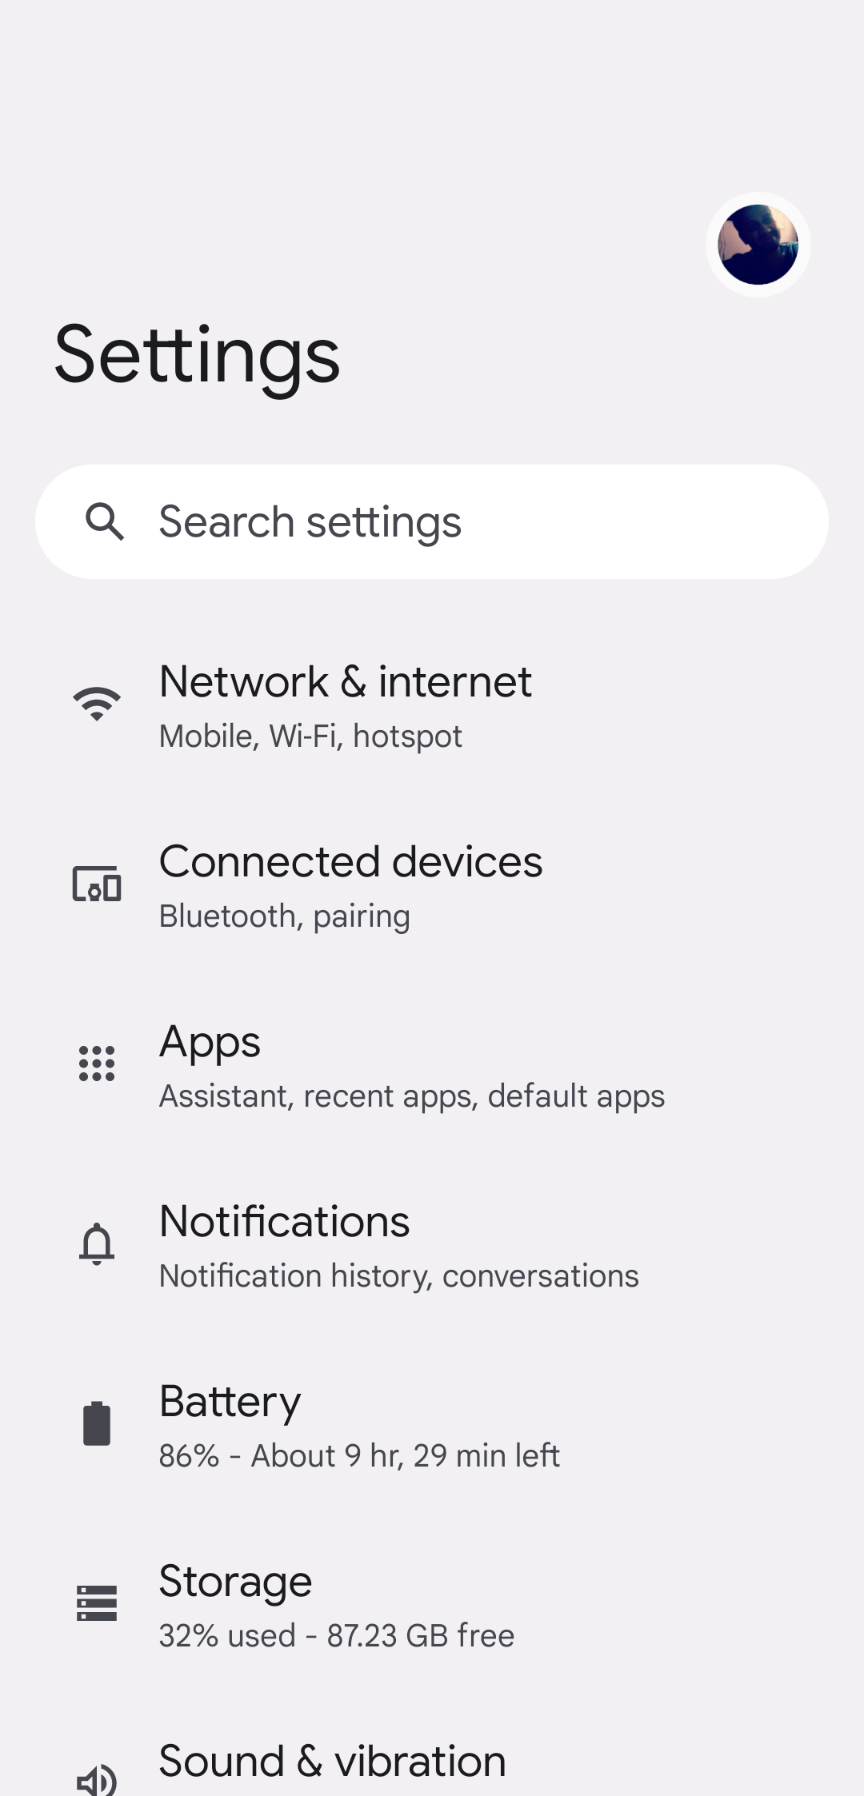
- Tap on Apps > See All Apps.
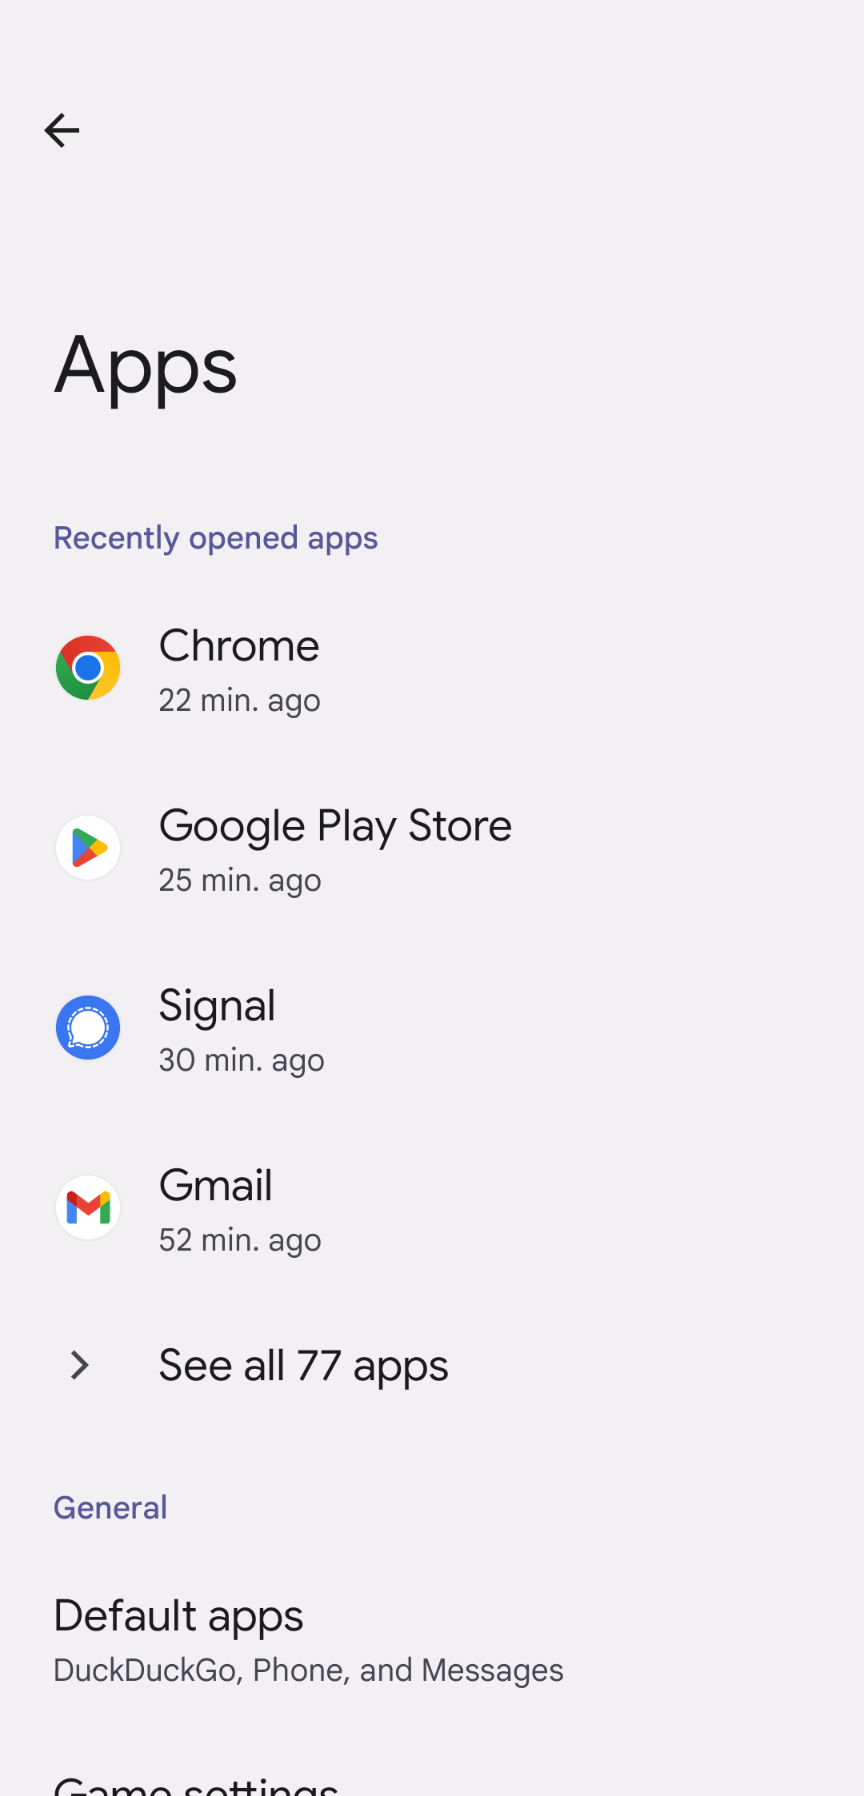
- Look for the Google Pay app and tap on it.
- Tap on Storage and cache option.
- Then, tap on Clear Cache > Tap on Clear Storage Data.
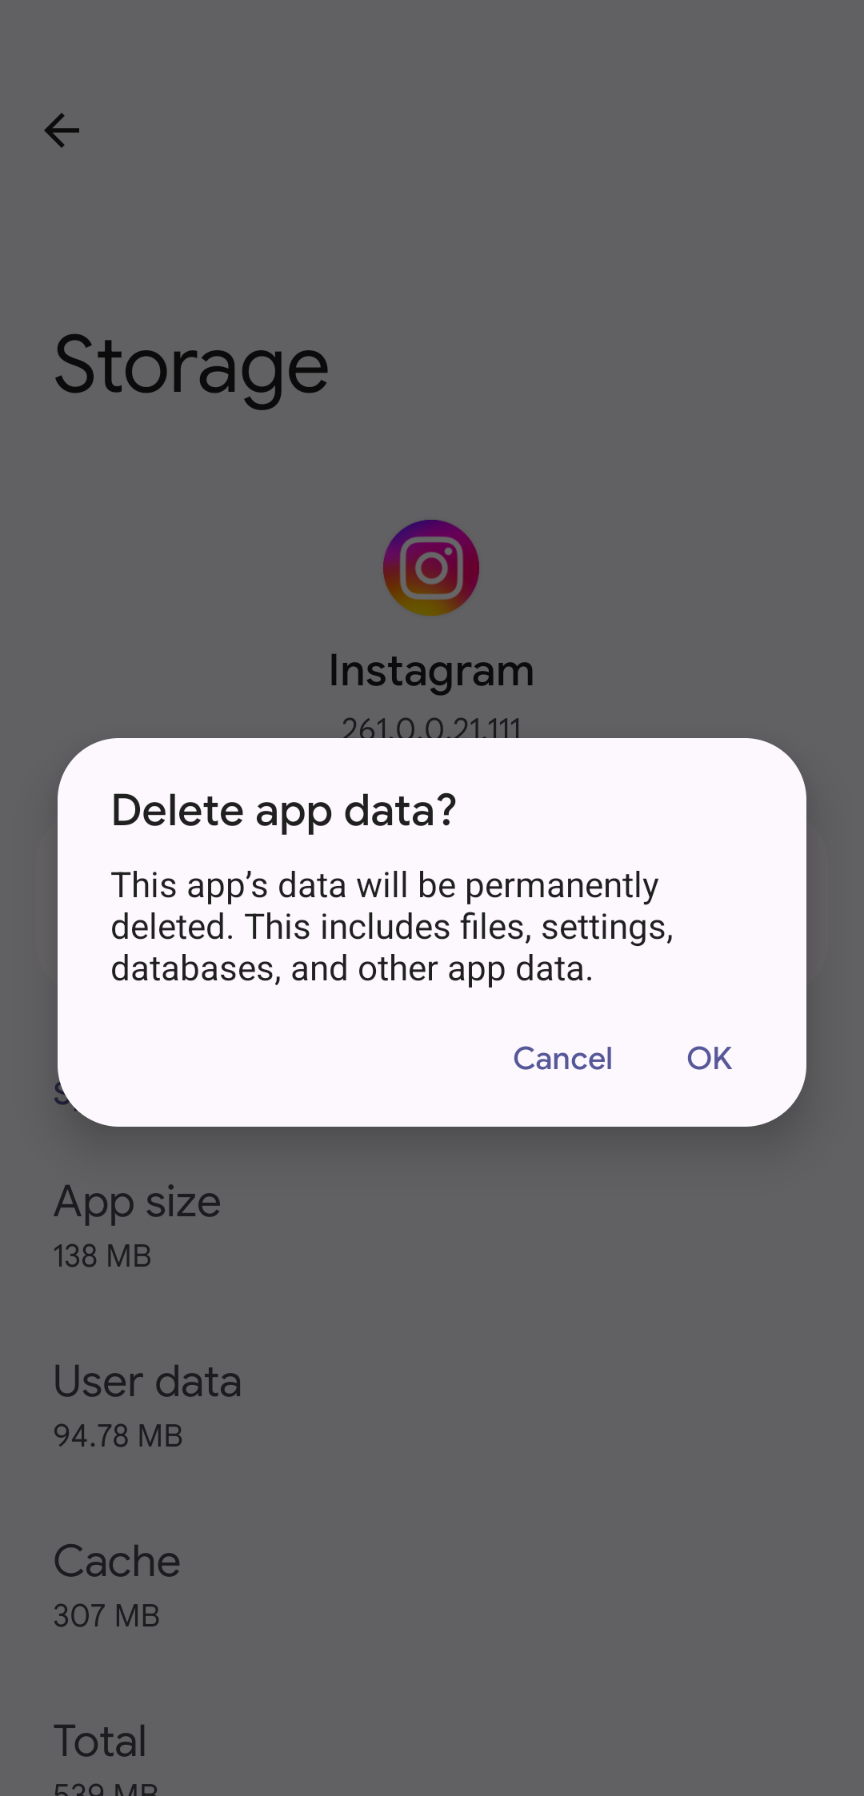 Once you’ve done this, restart your device to apply changes.
Fix 6: Verify the Payment Method
As we all know, Google Pay service works with the help of connected bank accounts or debit/credit cards that must be set correctly. However, if you haven’t selected the payment method on Google Pay, you won’t make or receive the payments via UPI. Sometimes, the expired UPI PIN or OTP or even Debit/Credit Card can cause Google Pay not to work sufficiently.
Check and verify the payment method on your Android 14 handset. Here is how you can verify the payment method:
- Open the Google Pay app on your device.
- Tap on the profile icon at the top right corner.
- You’ll be able to see all of your available cards and bank accounts.
- Tap the bank account or debit/credit card to verify the details.
- You can also add another card or bank account by tapping Add a bank account. (You can also add another payment method).
- Once done, follow the onscreen instructions to set it up.
Fix 7: Update Google Pay App
An outdated Google Pay version can cause Google Pay to not work sufficiently on your handset. Check whether the update is available on your device and then upgrade it to the latest version. Here’s how to check for updates on your Android 14 handset:
- Open the Google Play Store on your device.
- Tap on your Profile icon at the top right corner.
- Tap Manage apps and device > Updates available.
- Look for the Google Pay app and tap on it.
- Tap on the Update button next to Google Pay. (If an update is available.)
- Once the download is finished, launch the app to check if the issue has been resolved.
Fix 8: Uninstall and Reinstall Google Pay App
Last, you should try uninstalling and reinstalling the Google Pay app if the above solutions don’t come in handy. There’s a chance that the issue is with the Google Pay app itself, preventing the app from functioning properly.
However, uninstalling and reinstalling Google Pay easily resolves the issue. To uninstall and reinstall the app, follow the steps below:
- Press the Google Pay app on the home screen or app drawer.
- Tap on the Uninstall option > if prompted, then confirm it.
- After uninstalling the Google Pay, restart your device.
- Head to the Google Play Store and type Google Pay in the search bar.
- Download and install the Google Pay app on your device.
- Once installed, launch the Google Pay app.
- Sign into your existing account or create a new one. (Even if you have an existing account, Google Pay may send a verification code via SMS for the first time after installation.)
- You’re done. Enjoy!
Final Words
That’s it. This is how you can troubleshoot and resolve the Google Pay not working issue on your Android 14 handset. As the Google Pay is a convenient and secure service that allows you to send or receive payments with ease. However, it can be annoying when this service doesn’t work at the right time especially while sending the payment to individuals.
By following each solution in a proper way, you can easily resolve the problem. Make sure to follow all the methods until and unless you fix the problem. In case the above method doesn’t come in handy, you should contact the Google support team for further help. We hope you have found this article helpful. If you have any questions or doubts related to this, please feel free to let us know in the comments section.
