Is your Nothing Phone 1 not connecting to the PC or is it failing to get recognized by your PC? Well, this is a common problem that we see often on connecting the device to a PC via the USB cable for the first time. It usually happens because of missing or corrupted USB drivers. You’ll need to download and install the Nothing Phone 1 USB drivers on your computer so that it can easily recognize the device.
In this guide, we’ve given the download links for the Nothing Phone 1 USB driver which can be installed on Windows 11, Windows 10, Windows 8.1, Windows 8, and Windows 7 PC. In case you are not familiar with how to install a USB driver, we’ve got you covered here. In this guide, you will also find the steps to install Nothing Phone 1 USB drivers.
Also Read
Will Nothing Phone 1 Get Android 13 (Nothing OS 2.0) Update?
How To Record Calls on Nothing Phone 1
Nothing Phone 1 Wireless Charging Not Working, How to Fix?
Fix: Nothing Phone 1 No SIM Card Detected / Sim Not Working
How to Perform Factory Reset on Nothing Phone 1
How to Fix Nothing Phone 1 Overheating Problem
Fix: Touchscreen Not Working on Nothing Phone 1 Issue
Fix: Nothing Phone 1 GPS Not Working or Showing Inaccurate Location
Nothing Phone Stuck on Boot Screen, How to Fix?
Fix: Nothing Phone (1) Cellular Data Not Working
List of Best Custom ROM for Nothing Phone 1 [Updated]

Page Contents
Nothing Phone 1: Device Overview
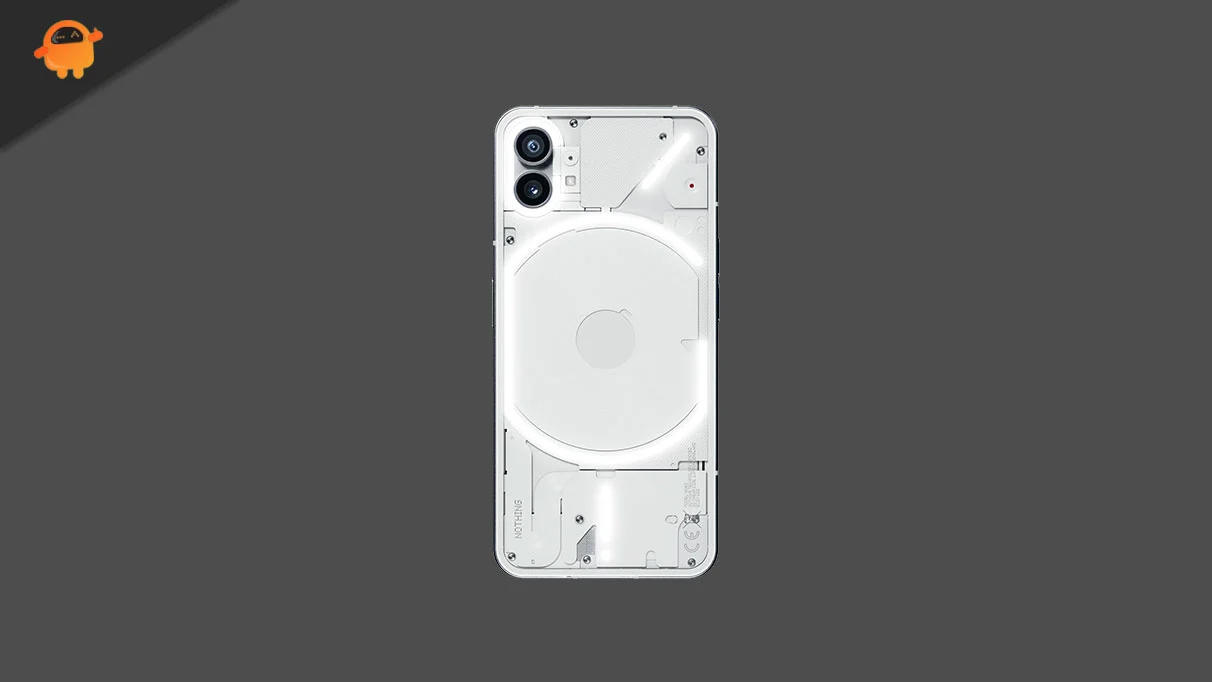
Nothing Phone 1 was one of the most hyped smartphones in 2022. It was the first phone from Nothing – the company led by Carl Pei. The tech community was expecting something out of the box in the Nothing Phone 1 and the company has delivered it to some extent. While the front is not much of a differentiating factor, the rear design stands out. You can easily identify whether it’s a Nothing Phone 1 or from a different brand.
How many LEDs have you seen in any phone at max? Most likely up to 5. But, the Nothing Phone 1 has over 900 LEDs and these can create unique patterns based on events. You can also use them to capture bright images in a dark environment. Nothing Phone 1 is a mid-range phone powered by the Qualcomm Snapdragon 778G+ 5G chipset. It has a 6.55-inch OLED panel with a 120Hz refresh rate, HDR10+ support, 1200nits peak brightness, and Gorilla Glass 5 protection.
The smartphone ships with Android 12 out of the box with Nothing OS custom skin at the top. Around the back, we have a dual camera setup that includes a 50MP primary sensor with OIS support and a 50MP ultrawide sensor with a 114-degree field of view. The camera setup is capable of shooting 4K videos at 30 frames per second (fps). On the other side, there’s a 16MP snapper for selfies and video calls. Nothing Phone 1 is backed by a 4,500mAh battery with support for 33W fast charging. As claimed by the brand, the charger is good enough to fill the battery in 70 minutes, while it takes just 30 minutes to reach 50%. The device also supports 15W wireless charging and 5W reverse wireless charging.
Also Read
Download Nothing Phone 1 USB Drivers
If your Nothing Phone 1 is not getting recognized by the PC, download and install the USB driver using the link given below. You will need it to transfer files from computer to phone or vice versa. The USB drivers are also required to be installed on your PC when flashing stock firmware, stock recovery, TWRP recovery, unlocking bootloader, etc.
- Nothing Phone 1 driver for flashing firmware – Download Link
- Nothing Phone 1 USB driver (Qualcomm) for connecting to PC – Download Link
- Nothing Phone 1 ADB and Fastboot drivers – Download Link
How to Install Nothing Phone 1 Qualcomm USB Drivers
- Download Nothing Phone 1 Qualcomm USB Driver on your PC.
- Extract the qualcomm-driver.zip package to the desktop.
- You’ll get a Qualcomm_USB_Driver_V1.0.exe setup file. Right-click on it and select Run as administrator.
- An installation window will open.
- Select ETHERNET-DHCP is used to get the IPAddress option and click on the Next button.
- Click Next, select I accept the terms in the license agreement, and click Next again.
- Tap on Install to begin the installation.
- A pop-up will show on your screen with the message “Would you like to install this device software?“. Click Install and after the process finishes, tap on Finish.
- Restart your PC.
How to Install Nothing Phone 1 USB Drivers Using Device Manager
1. Download and extract the latest_usb_driver_windows.zip file to the desktop screen.
2. In the Windows search box, type Device Manager and press Enter.
3. Tap on your Computer name (the first item in the list).
4. Click on Action and select Add legacy hardware.
5. Click Next.
6. Select the option that says “Install the hardware that I manually select from a list (Advanced)“.
7. Tap on Next.
8. Click on Show All Devices and tap on Next.
9. Tap on Have Disk.
10. Click Browse and open the extracted folder (latest_usb_driver_windows).
11. Double-click on usb_driver and tap on android_winsub.inf file and click Open.
12. Click OK.
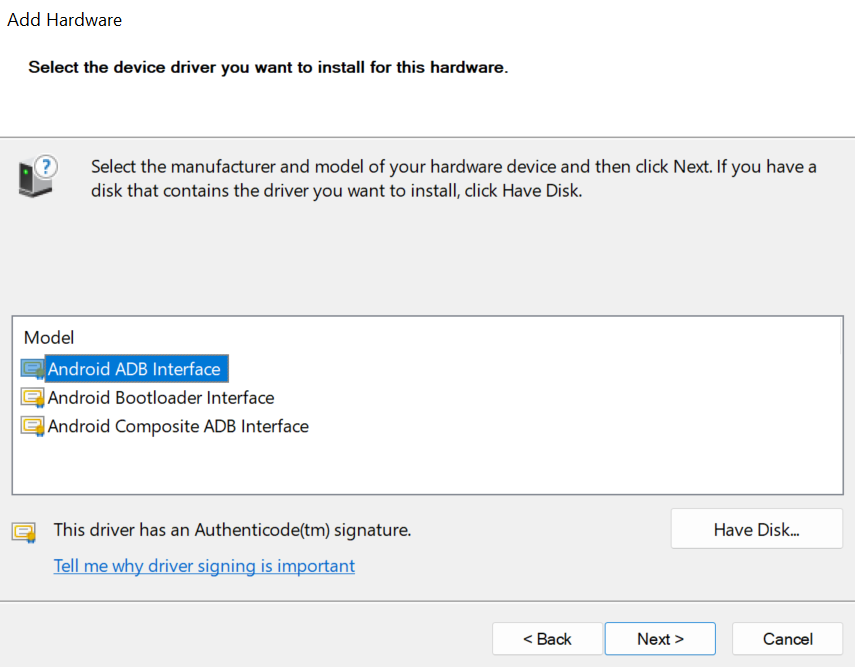
13. Select Android ADB Interface and then click Next.

14. Click Next again to being the installation.
15. After the installation is completed, click Finish.
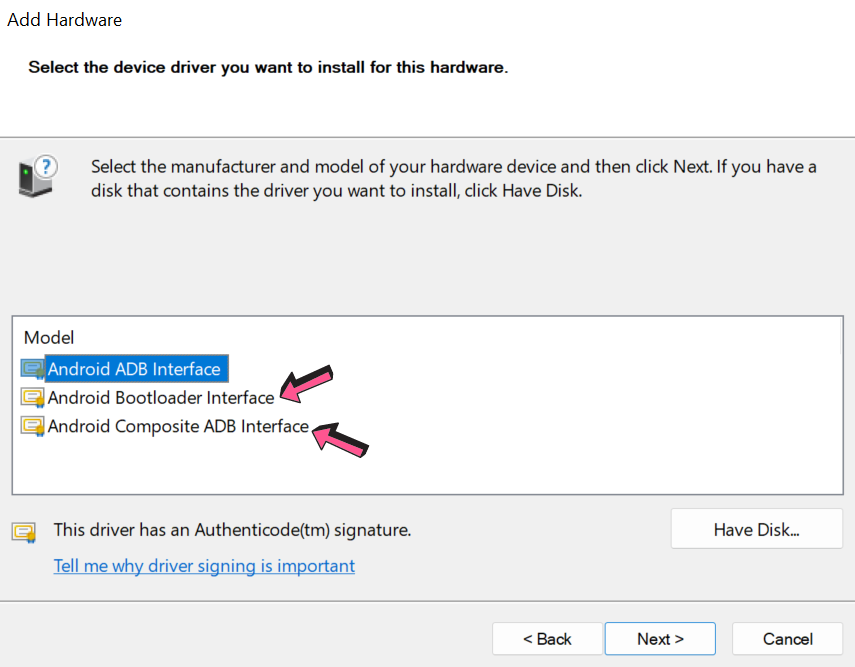
16. Now, you need to repeat the whole process to install the Android Bootloader Interface driver. And repeat the steps one more time to install the Android Composite ADB Interface driver.

I hope that this guide was helpful to you. Please let us know your thoughts on Nothing Phone 1 in the comments below.

Wasim
It is very nice 😊😊
How to download
Best camera
Photo edit
Post edited