Google’s roadway has entered the smartphone market since the internet giant came with its in-house Pixel devices. Over a few years, Google has manufactured their own Tensor chipset for increased performance and better compatibility with the software. With the improved camera quality and overall software update support, Pixel owners feel satisfied. However, Pixel smartphones are prone to bugs or issues. Meanwhile, some users facing the Pixel 8 and 8 Pro are Stuck on Getting Ready to Copy issue.
Google Pixel 8 and Pixel 8 Pro are some of the latest Android smartphones in 2023 that come with a 120Hz OLED display, Android 14, Tensor G3 SoC, up to 12GB of RAM, up to 1TB of onboard storage, dual & triple rear camera setup, Bluetooth 5.3, Type-C 3.2, necessary sensors, fast charging, wireless charging, and more. The previous generation Pixel 6 and Pixel 7 didn’t live up to the mark unexpectedly. But this time, the Pixel 8 series looks promising in all aspect
However, it’s quite weird that even after having so many years in the smartphone industry, Google engineers lack stable hardware or software experience in general. Several users are encountering issues with the data transfer from an older Android device to the new Pixel 8 lineup. Some owners are getting frustrated with the “Getting Ready to Copy” screen which seems stuck on a loop and doesn’t progress. As a result, affected Pixel 8 series owners cannot start using their devices.
![]()
Page Contents
- What is the Reason for ‘Getting Ready to Copy’?
- How to Fix Pixel 8 and 8 Pro are Stuck on Getting Ready to Copy
- 1. Force Restart the Device
- 2. Ensure Wi-Fi or Mobile Data is Turned On
- 3. Disable USB Debugging
- 4. Check for Software Updates
- 5. Clear Cache Partition
- 6. Use Another USB Cable
- 7. Check for the Corrupted Data
- 8. Charge the Battery Sufficiently
- 9. Select File Transfer in USB Mode
- 10. Try Using a Different Data Transfer
- 11. Update the Software on Your Older Handset
- 12. Set as a New Device
What is the Reason for ‘Getting Ready to Copy’?
This specific issue can occur due to software bugs or any glitch during the data transfer process. Sometimes conflicts with the USB data cable, corrupted data, ongoing process in the background, low power, cache partition issues, and more can be other possible reasons. So, you can check out all the reasons below in brief and proceed to the workarounds to fix it.
- Low Battery: The chances are high that somehow your battery gets low and the system is unable to transfer data.
- Outdated Software: An outdated system software can also cause data transfer issues to a newer device.
- Corrupted Data: In case, your mobile data becomes corrupted or missing then you may encounter data transfer issues.
- Damaged Data Cable: Sometimes issues with the USB data cable can trouble you a lot.
- USB Debugging is Enabled: If USB Debugging is turned on during data transfer from an older Android device then you’ll get stuck on the ‘getting ready to copy’ screen.
How to Fix Pixel 8 and 8 Pro are Stuck on Getting Ready to Copy
Now, if you’re also one of the victims to encounter such an issue then check out the following troubleshooting methods until the problem has been fixed. So, without further ado, let’s get into it.
1. Force Restart the Device
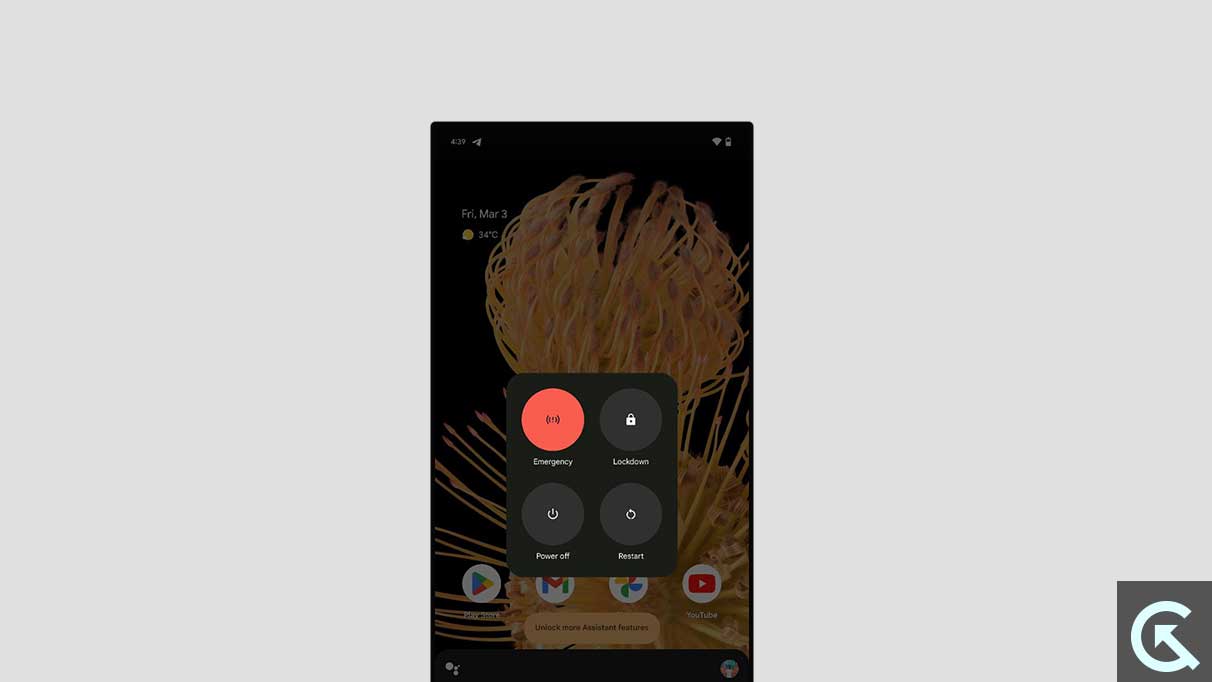
Before performing other troubleshooting, you should force restart your Pixel 8/8 Pro to ensure there is no issue with the system cache or glitch. Multiple reports have claimed that this method fixed several issues, so you can follow the steps below.
- Long-press the Power button until the screen goes off and the boot logo appears.
- Release the Power button to let the device boot into the system.

- It’s a soft reset method, also known as force reboot, to refresh the system.
2. Ensure Wi-Fi or Mobile Data is Turned On
Either turn on Wi-Fi or mobile data on your Pixel 8 or 8 Pro during the initial setup process to avoid any kind of connectivity issues for data transfer.
3. Disable USB Debugging
Make sure USB Debugging is turned off on your older Android device before transferring the data to a new Pixel device such as the Pixel 8 series. In case, the USB Debugging option is enabled then data transfer might not work properly from an older phone. To turn it off:
- Go to Settings on the device.
- Tap on System > Tap on Developer Options.
- Turn On the Use Developer Options toggle.
- Enable the USB Debugging option.
- If prompted, tap on Allow USB Debugging.
- Once done, reboot the phone to check for the issue again.
4. Check for Software Updates
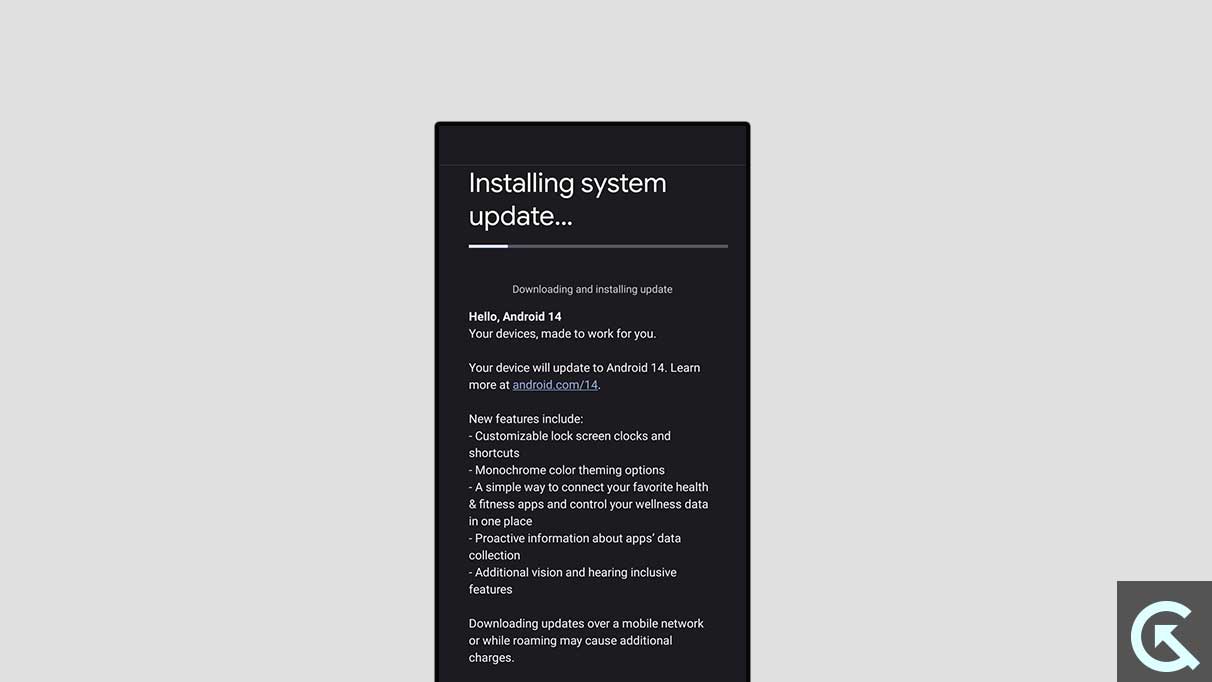
An outdated system software version can also cause several issues with the data transfer or getting ready to copy. It’s always recommended to check for pending software updates by following the steps below.
- Open Settings on your Pixel 8/8 Pro.
- Tap on System > Tap on System update.
- If the update is available, tap on Download and Install.

- Follow the on-screen instructions to install the update.
- Wait for the update to complete > Once done, restart your handset.
- Then you can try data transferring again.
5. Clear Cache Partition
Pixel 8 or Pixel 8 Pro users may get multiple issues with the screen glitch or performance or data transfer due to the clogged cache partition. You should try wiping out the cache partition on your handset manually by following the steps below. It can help in fixing system glitches or processes. Pixel devices do use dual system partitions for system updates. To do so:
- Power Off your Pixel 8 series.
- Press and hold the Volume Up+Volume Down+Power buttons together at the same time.
- Once the Recovery Menu appears, use your volume keys to navigate.
- Now, use the Power key to select the Wipe Cache Partition.
- Press the Power button again to confirm and hit Yes.
- Wait for some time to clear the partition.
- Finally, reboot the device into the system again.
6. Use Another USB Cable
You can also try using another USB data cable to transfer the data from an Android device or from a computer. Any kind of physical damage to the USB data cable can cause data transfer issues or stable connectivity issues to the computer. While using the computer to connect the Pixel 8/8 Pro device and make it eligible for data transferring, you’ll be required to enable USB Debugging on the handset from Developer Options.
7. Check for the Corrupted Data
Another thing you can do is check out any kind of corrupted or missing data on the device that you’re trying to transfer to your new Pixel 8 lineup. Sometimes a corrupted or blank file can also cause such an issue. Check for the file extensions and file size to understand it better. If any file has a weird extension or the file size is 0 (zero) then you should delete/skip that file.
8. Charge the Battery Sufficiently
Make sure to keep your Pixel 8 or Pixel 8 Pro handset charged sufficiently (around 50%) to easily transfer the data or complete the initial setup process. A low battery level on the device can easily trigger several issues with the ongoing tasks to prevent battery juice. So, charge the handset for a couple of minutes and then try transferring the data.
9. Select File Transfer in USB Mode
It’s also suggested to select ‘File Transfer’ in the USB selection mode while connecting the Pixel 8/8 Pro device to the PC via a USB data cable. In case, the USB selection mode is set to charging then your handset won’t be able to use file transfer. If the USB selection mode isn’t popping out on the screen then head over to the Developer Options menu and then manually select the same.
10. Try Using a Different Data Transfer
You can also try using some other data transfer alternatives to check if the problem has been fixed or not. Currently, there are plenty of reliable software or applications available in the market that can be used for data transfer from one device to another.
11. Update the Software on Your Older Handset
Ensure to check for the system software update on your older Android device too. It’s quite possible that your previous Android handset is running on an outdated software version. To do that:
- Go to the Settings menu > Tap on Software Updates.
- Tap on Check for Updates.
- If a software update is available, tap on Download & Install.
- Wait for the update to complete and then reboot the device.
- Once done, you can check the data transfer method again.
12. Set as a New Device
During the initial setup process, if the data transfer or data copy from another device doesn’t work after performing all workarounds then make sure to choose ‘Set as a New Device’ to complete the setup process. Once you’re on the home screen, you can manually restore application and media backups from your Google account whenever you sign into the same account.
That’s it, guys. We hope this guide was helpful to you. For further queries, you can comment below.
