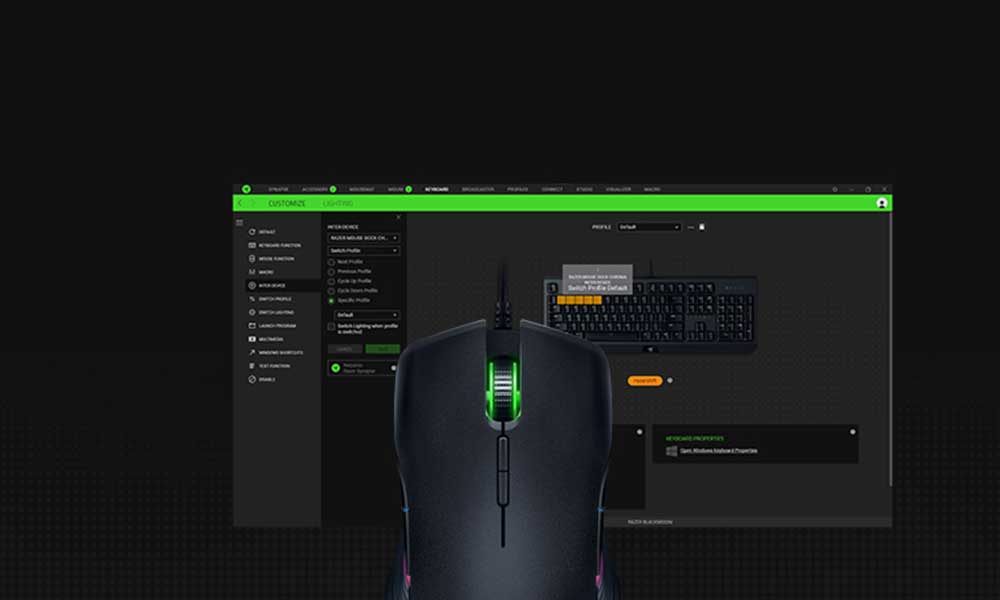
Razer Synapse is the cloud-based hardware configuration tool that brings the Razer gaming accessories to the next level by offering advanced macro options for button presses, cloud storage, Razer Hypershift, Chroma RGB interface, and more. It also includes customizations for Philips Hue and Amazon Alexa devices. This software basically keeps all Razer device drivers up to date but the tool isn’t that optimized or stable even after so many years. Some users claim that Razer Synapse Stuck on Loading Screen on the PC.
Now, if you’re also one of the Razer device users then you might have encountered such an issue. Recently, a lot of users are reporting that they’re encountering several issues with the Razer Synapse software where the tool doesn’t open or is stuck on the loading screen. As this is a frustrating issue, users won’t be able to use this software properly. Additionally, some reports say that the software doesn’t detect mouse, keyboard, or headset on the PC.

Fix: Razer Synapse Stuck on Loading Screen
It seems that there are system admin restrictions, Windows Firewall blocking, an outdated tool version, Razer account login issues, etc can be one of the potential reasons behind the tool being stuck on the loading screen issue. So, if you’re also facing the same issue then don’t worry because here we’ve shared with you possible workarounds to easily resolve it. Make sure to check out all the methods one by one until the problem gets fixed. Now, without wasting any more time, let’s jump into it.
1. Reboot the PC
First, you should always try restarting your PC before going into any other workarounds because a normal system reboot can fix several issues or bugs with the program running. As restarting the computer doesn’t take too much time, you should obviously try it.
2. Run Razer Synapse as Administrator
It looks like running the Synapse application file as an administrator on the PC to avoid user account control regarding privilege issues. To do this:
- Right-click on Razer Synapse application on your PC.
- Select Properties > Click on the Compatibility tab.

- Click on the Run this program as an administrator checkbox to checkmark it.
- Click on Apply and select OK to save changes.
3. Restart Razer Synapse Services
Some reports say that restarting the Synapse services in the Task Manager can basically help you fix the issue of not loading or stuck on the loading screen.
- Press the Ctrl+Shift+Esc keys to open Task Manager.
- Click on Processes > Right-click on the Razer Synapse task.
- Select End Task > Then click on the Services tab.
- Locate
Razer Central Serviceand right-click on it. - Then click on Start/Restart > Make sure to restart
Razer Synapse ServiceandRazer Game Managertoo. - Once done, reboot the PC.
4. Reinstall Razer Device Drivers
Sometimes the chances are possible that Razer devices such as mouse or keyboard drivers might get corrupted or missing. Otherwise, the drivers can become outdated which can trigger multiple issues with the Razer Synapse program launching. It’s recommended to follow the steps below to reinstall Razer device drivers.
- Press the Win+X keys to open up the Quick Link Menu.
- Now, click on Device Manager > Double-click on Mice and other pointing devices.
- Right-click on the mouse or keyboard device > Select Update driver.
- Click on Search automatically for drivers to check for the update.
- If there is an update available, it’ll automatically download & install the update properly.
- Let the process be completed > Then double-click on Human Interface Devices.
- Make sure to do the same steps again and reboot your PC.
5. Allow Razer Synapse in Windows Firewall
You should also allow the Razer Synapse application manually in Windows Firewall by following the steps below to ensure the Firewall program isn’t blocking the ongoing connections to the Razer services from your end.
- Press the Win+I keys to open Windows Settings.
- Click on Update & Security > Click on Windows Security from the left pane.
- Click on Virus & threat protection > Click on Firewall & network protection.
- Go to Allow an app through firewall > Click on Change settings.
- Scroll the list and select Razer Synapse for both the Private & Public domains.
- If the game isn’t on the list, click on Allow another app.
- Browse and add Razer Synapse in Firewall > Click on OK to save changes.
- Once done, reboot your computer to change the effects.
6. Set Startup Type to Automatic
Another thing you should do is simply set the Startup Type to Automatic for Razer Synapse to ensure the program is running automatically on the system while booting up.
- Press the Win+R keys to open the Run dialogue box.
- Type services.msc and hit Enter into the field.
- Locate all Razer program services and double-click on them.
- From the General tab, click on Startup Type > Click on Automatic (Delayed Start).
7. Reinstall Microsoft Programs
It’s also worth mentioning that reinstalling Microsoft programs like Visual C++, DirectX, and .NET Framework on the PC might fix several issues with the Razer Synapse program.
- Launch File Explorer > Head over to the following location:
C:\Program Files(x86)
- Delete all the Razer folders that you’re seeing in the directory.
- Next, Delete all the Razer folders from the below directory:
C:\Program Data
- Make sure to install the following three Microsoft applications for the official Microsoft website:
Microsoft .NET Framework 4.8
Microsoft Visual C++ Redistributable
Microsoft DirectX End-User Runtime
- Finally, reinstall the Razer Synapse program, and check for the issue.
8. Repair Razer Synapse
You can also try repairing Razer Synapse on the PC by following the steps below to ensure there is no issue with the corrupted or missing program.
- Open the Start menu > Search for apps & features.
- Click on Razer Synapse 3 > Select Modify.
- Next, click on Yes whenever the user account control appears.
- Click on REPAIR > Wait for the installation process to complete.
- Restart your PC to apply changes.
9. Close All Razer Synapse Running Tasks
The chances are high that you’re having some issues with the Razer Synapse tasks that are already running in the background. So, it’s better to close all Razer Synapse tasks one by one to check for the issue.
- Press the Ctrl+Shift+Esc keys to open Task Manager.
- Click on Processes > Right-click on the Razer Synapse task.
- Select End Task and perform the same steps to close other Razer tasks.
- Finally, reboot the PC to apply changes.
10. Reinstall Razer Synapse Software
In case, you’re still having the Razer Synapse stuck on loading screen issue on the PC then make sure to reinstall the program manually by following the steps below.
- Close all Synapse programs from the above method i.e. Razer Chroma, Razer Central, Razer Cortex, and Razer Synapse.
- Next, press the Win+R keys to the Run dialogue box.
- Type in
control appwiz.cpland hit Enter to open Control Panel. - Right-click on Razer Synapse > Click on Uninstall.
- Make sure to follow the on-screen instructions to completely delete it.
- Disconnect all Razer peripherals from the PC.
- Now, locate and delete all Razer folders/files from your PC via C:\Users\<Username>\AppData\Local\Razer.
- Restart your PC to apply changes > Visit the official Razer site and download the latest version of Razer Synapse 3 on your PC.
- Install the program properly and connect the Razer devices to the PC again.
- Finally, let it detect all Razer peripherals automatically.
11. Perform a Clean Boot
You should also try performing a clean boot on the Windows system because plenty of unnecessary programs or tasks start automatically in the background whenever you boot up Windows. So, those programs or tasks run always without your intent and take up a lot of system resources which can seriously affect the performance. To make the system clean boot:
- Press the Win+R keys to open the Run dialogue box.
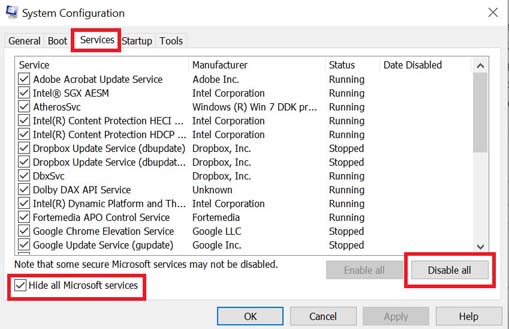
- Now, type msconfig and hit Enter to open System Configuration.
- Go to the Services tab > Enable the Hide all Microsoft services checkbox.

- Click on Disable all > Click on Apply and then OK to save changes.
- Now, go to the Startup tab > Click on Open Task Manager.
- Click on the Startup tab from Task Manager.
- Ensure to click on the particular task which has a higher startup impact.
- Once selected, click on Disable to turn it off. [Do the same steps for each program that has a higher startup impact]
- Finally, make sure to reboot your PC to apply changes.
12. Don’t Install Razer Surround in Synapse
You should also avoid installing Razer Surround from the Razer Synapse software because several users did claim that the Razer Surround program has some issues with launching on the computer.
- Press the Win+R keys to open the Run dialogue box.
- Input appwiz.cpl and click on OK.
- Select Razer Surround and click on Uninstall to remove it from Windows.
- Once done, reboot the PC to apply changes.
13. Check for Windows Updates
An outdated Windows OS version or build number can eventually trigger performance issues, program crashes, device driver connectivity issues, and so on. Just like updating the outdated application, it’s also always recommended to update the system software to the latest version. To do so:
- Press the Win+I keys to open Windows Settings.
- Click on Update & Security.
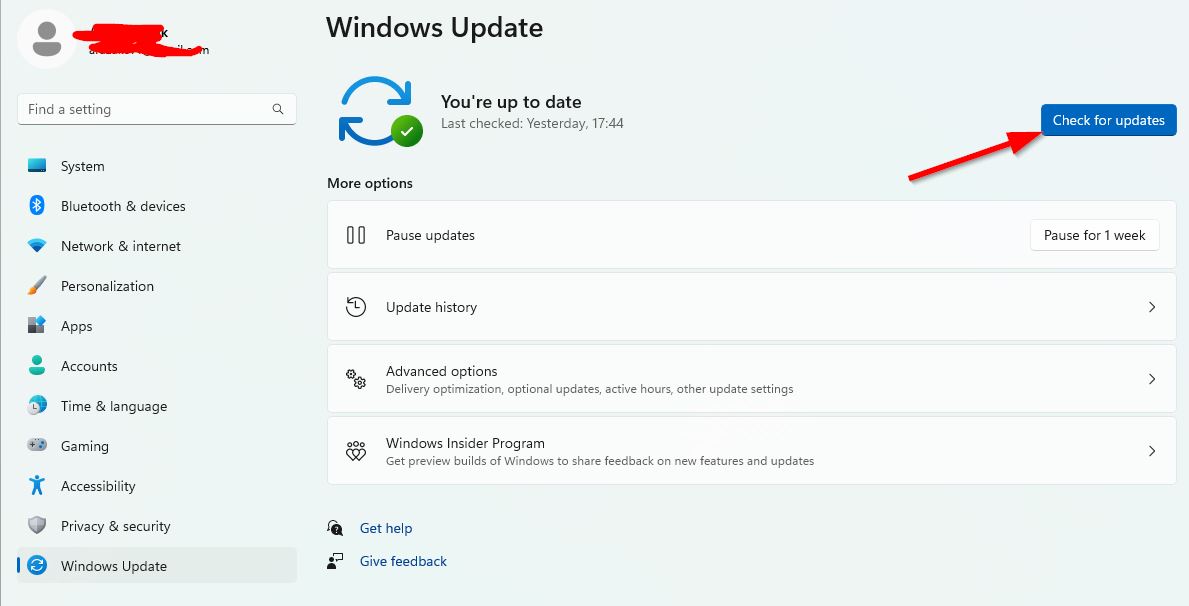
- Select Check for updates under Windows Update.

- If there is a feature update available, select Download and Install.
- Wait for a while to complete the software update process.
- Once done, restart your computer to install the update.
That’s it, guys. We assume this guide was helpful to you. For further queries, you can comment below.