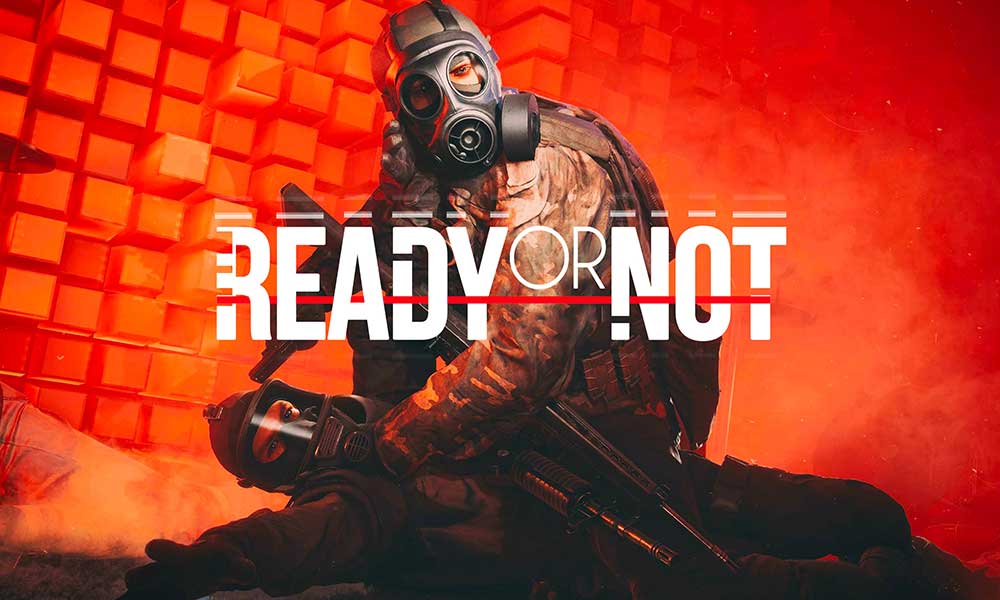
When it comes to the tactical first-person shooter video game, Ready or Not is one of the popular titles that has been launched in December 2021 by VOID Interactive and released for Microsoft Windows only. This game basically follows the SWAT police operations in the fictional city where crime raised too much. Though players are finding this game pretty good and the gameplay seems smooth enough, it seems that some of them are facing the Ready or Not Not Saving Progress issue on the PC.
It’s reported that Ready or Not players are having the game progress not saving at all which eventually occurs gameplay progression issues. So the affected players are unable to save the gameplay progression which also includes achievements, rewards, rankings, etc. As per several reports on the r/ReadyOrNotGame Reddit, either the recent game update did break the elements or any kind of bug is causing the gameplay progression to be unable to save.

Page Contents
Fix: Ready or Not Not Saving Progress
Luckily, there are a couple of possible workarounds mentioned below that should fix the gameplay progress not saving issue on the PC. So, without further ado, let’s get into it.
1. Restart the PC
First of all, you should try rebooting the PC manually to ensure there is no issue with the temporary system glitch or cache data whatsoever. Sometimes conflicts with the system cache might help you in fixing the issue.
2. Run the Game as an administrator
The second thing you should run the Ready or Not game as an administrator on the PC to allow the system permission to run the game properly. To do so:
- Open the Steam client > Click on Library.
- Right-click on Ready or Not > Select Properties.
- Click on Browse Local Files > Select Local Files.
- Now, right-click on the ReadyorNot.exe application.
- Go to Properties > Click on the Compatibility tab.
- Enable the Run this program as administrator box > Click on Apply then OK.
3. Update Ready or Not
If in case, you haven’t updated your game yet for a while and encountering several issues then make sure to follow the steps below to check for updates and install the latest version. To do this:
- Open the Steam client > Go to Library.
- Click on Ready or Not from the left pane.
- It’ll automatically search for the available update.
- If there is an update available, click on Update.
- It may take some time to install the update.
- Once done, make sure to close the Steam client.
- Finally, reboot your PC to apply changes, and then try running the game again.
4. Repair the Game Files
You should always check for the integrity of game files on the respective client and try repairing the files to avoid game launching issues. In some cases, corrupted or missing game files might trigger several problems related to it. To do this:
- Launch the Steam launcher > Click on Library.
- Right-click on Ready or Not from the list of installed games.
- Now, click on Properties > Go to Local Files.

- Click on Verify Integrity of Game Files.
- You’ll have to wait for the process until it gets completed.
- Once done, just restart your computer, and check for the issue again.
5. Enable Steam Cloud Sync
Another thing you can do is enable Steam Cloud Sync at your end by following the steps below. It’ll ensure that your game progress will be saved to Steam Cloud.
- Launch the Steam client > Go to Library.
- Right-click on Ready or Not > Select Properties.
- Under the General tab, Turn On the Cloud Synchronization option.
- Once done, re-launch Steam to check for the issue.
6. Disable the Antivirus Program
Make sure to turn off the Windows Defender antivirus program on your PC to ensure there is no antivirus software blocking the game files. To do so:
- Press the Win+I keys to open Settings.
- Click on Update & Security > Click on Windows Security.
- Click on Open Windows Security > Go to Virus & threat protection.
- Now, click on Manage settings > Just Turn Off the Real-time protection toggle.
- If prompted, click on Yes to proceed further.
Please Note: If you’re using any other third-party antivirus program on your PC then ensure to turn it off from its settings menu.
That’s it, guys. We assume this guide was helpful to you. For additional queries, feel free to ask in the comment below.
