There could be times where your system has crashed and you don’t have a system restore point not done beforehand, or you don’t have an ISO file or installation media of the said Windows in a USB flash drive. These scenarios could happen and if you encountered anything like that, hold it. If you have an Android device with you, it should suffix. Here’s how to effectively recover your Windows system using USB On-The-Go through an Android device.
Page Contents
Your Windows Have Failed, What To Do?
A windows system could fail due to a variety of reasons, say a malware attack or a hardware failure, and you may think that you’d need a PC for creating a boot disk. An Android device running Android 3.1 or later with USB On-The-Go support, could help you out in this. Be it a USB C-port, or a micro USB port, appropriate OTG cable for the USB port is available in the market. With USB OTG support, devices like mouse, keyboard, USB flash drives, etc., can be connected to an Android device. So, using a USB drive connected to an Android device, it can be used to download the recovery disk ISO file. Connect the drive to the Android device, and burn the ISO to the drive using a specific app.

Though a failed boot drive could be a problem, a thorough diagnosis about the issue must be performed before proceeding to this method of the fix. To get started, check whatever your PC has done before running into the problem. What all you have done so far to fix it, and how long you’ve had the problem should be checked. Depending on the degree of the problem, the fix may change. Sometimes, it may be fixed with the simple restoration of the recovery drive. Or at the far end, it may even require you to do a fresh installation of Windows or any other operating system. It’s always better to start with the simpler solution rather than groping the bigger fish in the ocean without a need for doing it.
Get started if you have an OTG cable nearby and your Android device has enough space to accommodate the disk image ISO file. Connect to a broadband wireless network to download the disk image ISO file in your device. If you’re low on space, try a tiny Linux distro to boot your system. After downloading the ISO, a specific app would be required to burn it to a flash drive. On Windows, many apps like Rufus or Nero is available to do the job, which isn’t available for Android. Though these apps are not available for Android, however, their Android compatible alternatives exist. One of the most popular disks burning utility available for Android is ISO 2 USB. This app does the same job as any Windows ISO management tool like Rufus or Nero as mentioned above. They work by using the space in the internal storage of the phone into a bootable disk. This ISO can henceforth be used to create a recovery drive or for installing a new operating system.
Creating a Bootable ISO Media

To turn your USB drive into a boot device, you may need to use an appropriate OTG cable suitable for your device and connect the USB flash drive. After you have connected the USB drive, you may be prompted by the Android to select the USB configuration. Select the option which allows you to access the files which may be different in different devices, depending upon your UI.
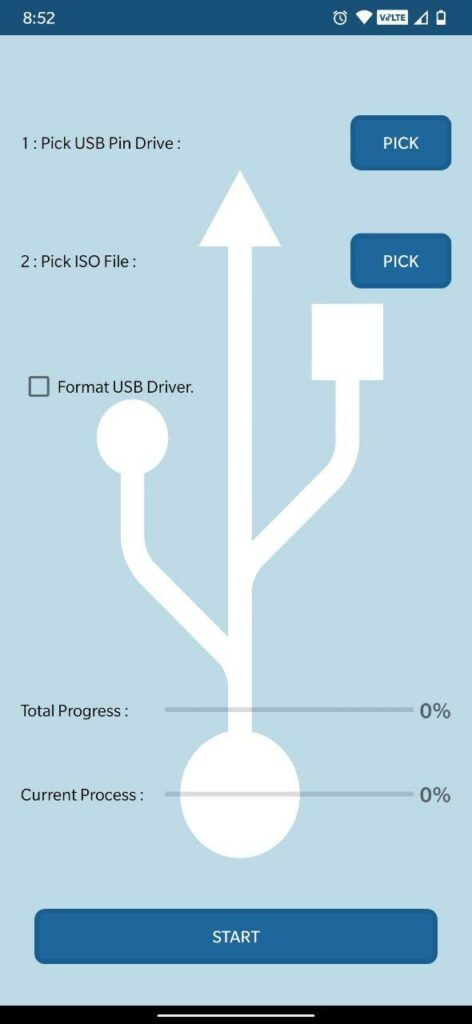
After you have given any permission for read-write access, if any, proceed to the ISO 2 USB app and give necessary permissions to the app. Pick your USB drive in the option “Pick USB Pin Drive:” and ISO in “Pick ISO File:”.
Also, formatting your USB disk is necessary to set it up as a boot device, so tick “Format USB Pin Drive” as well. Press “START” once you’re ready. The process won’t take so long but it may take a while depending on your device’s and the flash drives’ read-write speeds. After the process is completed, remove the USB device, insert it in your PC, and begin recovery by changing the boot order in your computer’s BIOS to enable booting from USB.
Bootable Linux Environment in an Android Device
Well, the above process is simple but times may come where you don’t have USB flash drive or a USB OTG cable handy when needed. In that case, you could use a rooted Android device, if available, as an alternative measure.


[googleplay url=”https://play.google.com/store/apps/details?id=com.softwarebakery.drivedroid&hl=en_US”]
DriveDroid is an app that creates a Linux Environment in a rooted Android device using any ISO or IMG file store in your phone storage. In this method, you won’t necessarily require a USB flash drive. This app comes in 2 variants: Free and paid version. Choose any of the variants depending upon your requirements. Make sure your device is rooted, not restrained by any kernel limitations and has support for USB Mass Storage. If you’re trying to recover your PC, the best options to select are boot-repair-disk or CloneZilla if you need to back up the contents of your HDD.
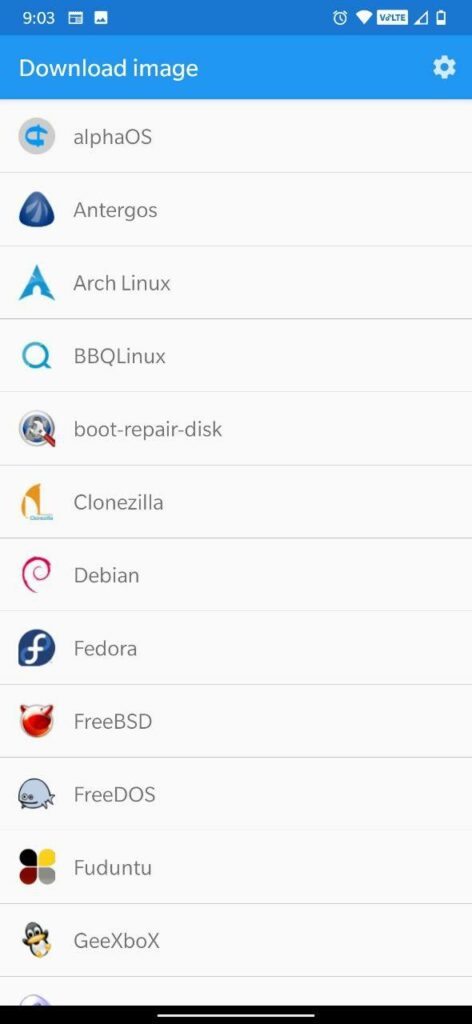
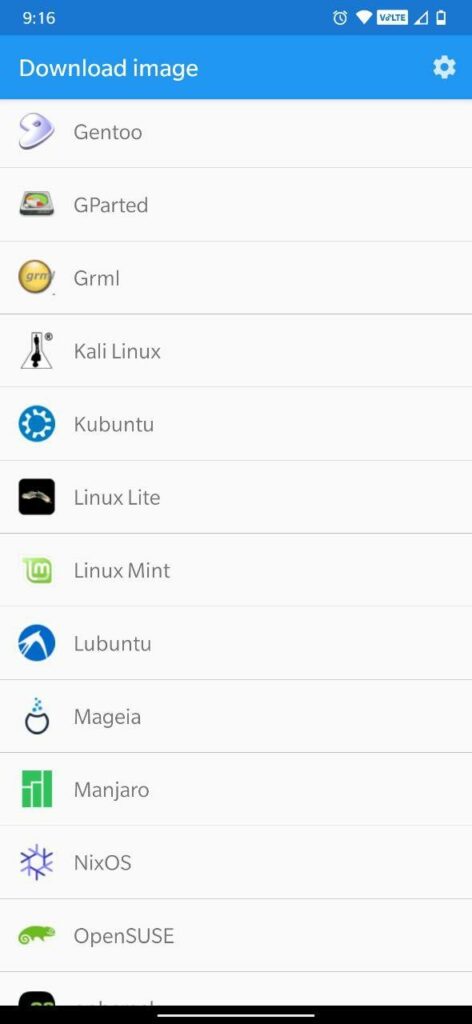
After installing DriveDroid, open the app and grant root permissions. After that, you would be required to download the ISO of a Linux Distro. A wide variety of Linux distros are available to select from, and you can select any of the available distros to proceed. While selecting the OS, you can select to install the 32-bit version or the 64-bit version of it and choose one depending on the architecture of the PC you’re trying to recover. The ISO file will save in the Downloads folder but will also appear in the main DriveDroid screen. Select the ISO, then wait while the options are displayed. Choose standard USB storage, read-only USB storage, or CD-ROM. This will decide the ISO’s operations when it boots to your PC.
Installing Windows 10 From an Android Device To PC
DriveDroid enables a user to install Windows 10 from an Android device to a PC. However, there’s a catch. Though the free version of the app comes handy with the installations of Linux distros, you won’t be able to install Windows 10 with it. Instead, you’ll be required to purchase its paid version, which was mentioned earlier. The paid version comes at $1.99, which would allow you to reinstall Windows 10 on your PC. If you think the paid version is more suited for you, go ahead.
So, these methods should have helped you in booting your PC and shoot it back to its normal state.
