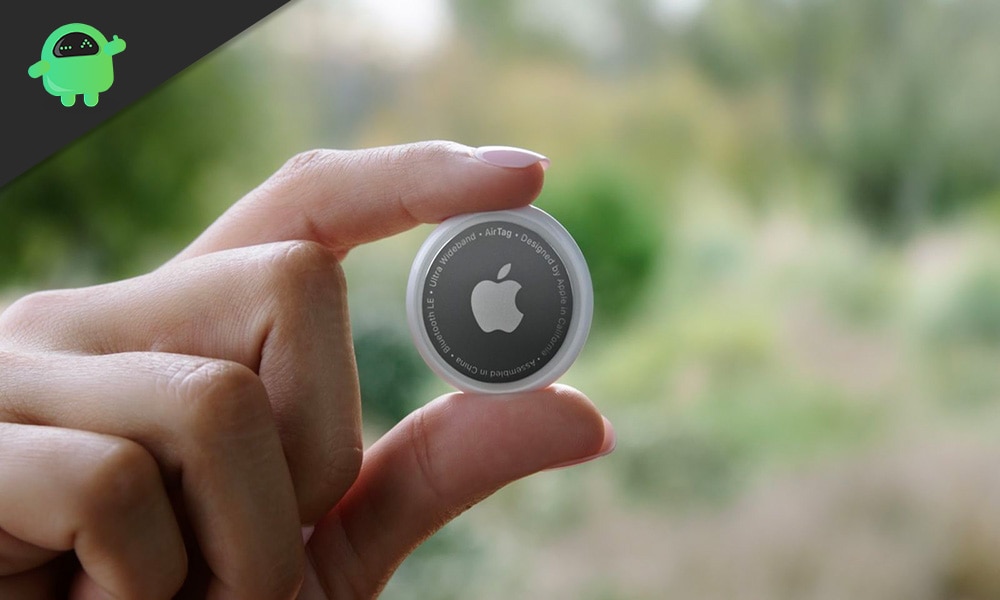
AirTags are small tracking devices that Apple recently unveiled. You can attach these Airtags to your wallet, keys, or other valuable items, and you will always be able to keep track of them. You need to search for the Air tag next to your lost item, and your phone will show up accurate directions to your lost item.
Once you get these devices for yourself, you might later decide to give them to somebody else. It could be a friend or a family member. You should know that you can’t just transfer the ownership right away. There is a process to it, and here in this article, we will guide you through the entire process. So without any further ado, let’s get into it.

How to Remove AirTag from Find My on iPhone & iPad?
Just like how people restore their iPhone before selling it off to others, they need to remove their AirTag from the list of Find My devices too. Until your AirTag is removed from your Apple ID, no one else can use it to keep track of their belongings. So let’s see how you can do it.
- Launch the Find My App on your iPhone or iPad.
- Here, you will see all your Find My enabled Apple devices. Tap on the “Items” section on the bottom menu.
- Now, you will see your AirTag and other accessories that are tied to your Apple account.
- Find the AirTag that you want to remove and swipe left on it. The option to delete the AirTag from that list will show up. Tap on the Trash icon to proceed with the removal process.
- Now, you will see a warning message on your screen informing you what could happen once you remove the AirTag. Confirm your action by tapping on “Remove” here.
- There will be another prompt asking for confirmation. Here, tap on “Remove” again, and it will be done.
Now, you can give that AirTag to anyone you prefer without worrying that they would have problems setting it up with their Apple device. They need to bring this AirTag closer to their iPhone and iPad, and the option to add it to their Find My list will show up on the screen.
This is all about removing the AirTag from the Find My list on iPhone & iPad. If you have any questions or queries about this article, then comment below, and we will get back to you. Also, be sure to check out our other articles on iPhone tips and tricks, Android tips and tricks, PC tips and tricks, and much more for more helpful information.
