In this guide, we will show you the steps to bypass FRP and remove the Google account (Gmail) on your Samsung Galaxy A71 SM-A715F device. The Samsung Galaxy A71 was released recently with upper mid-range hardware specifications like Snapdragon 730 chipset, 6GB/8GB of RAM, 128GB of internal storage, 64MP quad rear cameras, and more.
Also Read
These include the option to enable two-factor authentication across various apps, enable the Find my device option among others, Likewise, you could also choose from Face Unlock FIngerprint, PIN, or Password Lock. Not to mention the fact that the device also comes with the FRP lock, which is quite beneficial in itself. However, in some instances, it might lead to a few issues which in turn will result in your inability to use the device. But on the plus side, there exists a handy workaround to bypass this FRP and remove Google verification on your Samsung Galaxy A71 device. Let’s check out how this could be achieved.

Page Contents
Samsung Galaxy A71 Specifications:
The Samsung Galaxy A71 sports a 6.7 inches Super AMOLED display with an FHD+ resolution i.e. with 1080 x 2400 pixels. It has a screen-to-body ratio of 87.2 percent, an aspect ratio of 20:9, a pixel density of 393 PPI. The display has also an under-display optical fingerprint scanner which is also gets protected by this old Corning Gorilla Glass 3.
Underneath the Samsung Galaxy A71, it sports the Qualcomm Snapdragon 730 SoC and this SoC is built on the 7nm process. On the GPU side, it has the Adreno 618 which is 30% faster compared to the old Adreno 616. The device has 6GB and 8GB of LPDDR4 RAM and 128GB of UFS 2.1 internal storage. This is further expandable via a micro SD card up to 1TB. The device has a dedicated type SIM card slot where you can insert two Nano type SIM cards a micro SD card at the same time.
Coming to the optics, the Samsung Galaxy A71 has a quad rear camera setup which gets arranged in vertical setup ( in an L shape ) to the left of the device along with the flash module. This rear camera setup includes a primary 64MP In-house Samsung GW1 sensor with f/1.7 aperture value, PDAF, and also for Electronic Image Stabilisation ( EIS ). This sensor pairs with a secondary 12MP ultra wide-angle sensor with an f/2.2 aperture value. And, it has a tertiary 5 MP depth sensor with an f/2.2 aperture value which will be used for taking portrait shots.
The Samsung Galaxy A71 packs a large 4,500 mAh battery that charges over a USB type C port. This battery also supports 25W fast charging tech from the brand. Sadly the device doesn’t come with support for other charging facilities like wireless charging, reverse charging, and many others. The device runs on One Ui 2.0 which is based on the latest Android 10. Coming to the biometric options, the device comes with an in-display fingerprint scanner and also face unlock. Connectivity options include Wi-Fi 802.11 a/b/g/n/ac/ax, dual-band, Wi-Fi Direct, hotspot, Bluetooth 5.0, A2DP, LE, GPS with A-GPS, GLONASS, BDS, GALILEO, NFC (market dependant), FM radio, and USB 2.0, Type-C 1.0 reversible connector, and many more.
What is an FRP Lock my Device?
FRP or Factory Reset Protection is the security mechanism for your Android device. It is enabled by default on your device as soon as you sign in with your Google account. When you reset your device, the FRP kicks in and asks for that Google account credentials before you could access the device. It is indeed quite a useful security feature that prevents our devices from getting into the hands of unauthorized users. But at the same time, there’s a concern involved from the end-users perspective.
If you ever end up forgetting your account ID or password, then it might lead to quite a few issues. The biggest of which is the fact that you wouldn’t be able to access your own device. But if you get stuck on this issue on your Galaxy A71 device, then there is a handy way out to bypass this lock screen. And in this guide, we have shared just that. So without further ado, let’s check out the steps to bypass this FRP and remove Google verification on your Samsung Galaxy A71 device.
How to Bypass FRP on Samsung A71 SM-A715F | Google Verification
- To begin with, download the Samsung FRP tool and extract it to a convenient location on your PC.
- Once extracted, you should get the SamsungFRP2020.exe file, double click on it to launch the tool.

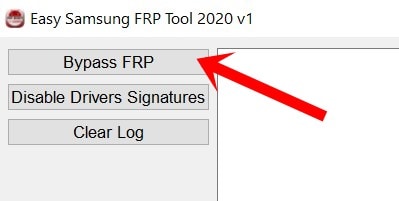
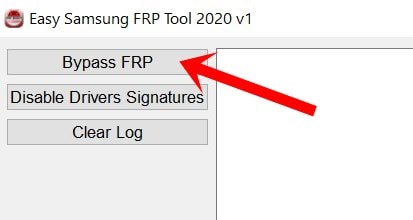
- Now connect your Samsung A71 to the PC via USB cable and click on the Bypass FRP button situated at the top left of the tool.
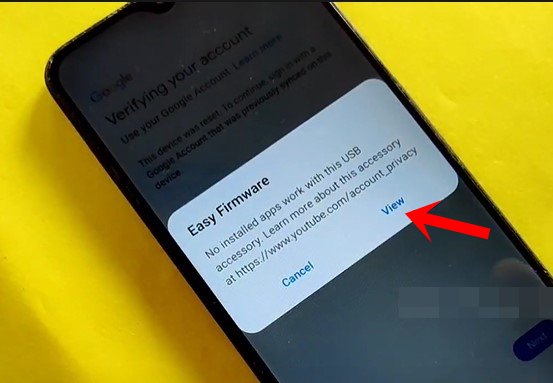
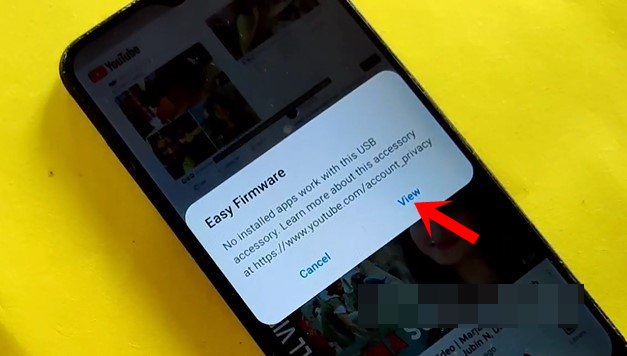
- You will get an Easy Firmware popup on your device, tap on View.
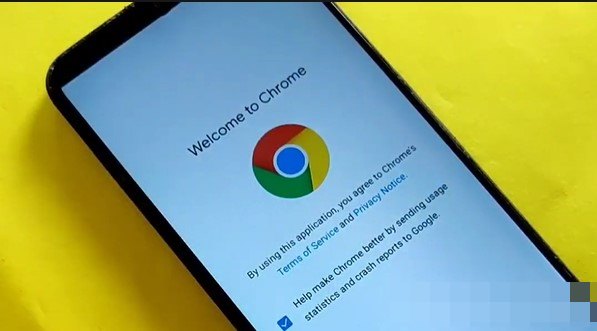
- It will open the Chrome browser, tap on Accept and Continue.
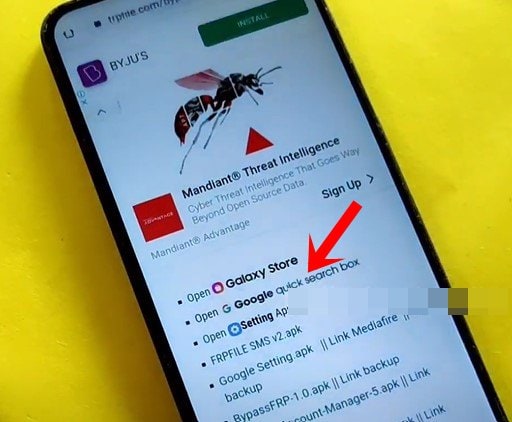
- Now go to the Samsung frp bypass tools website and tap on Open Google quick search box. Using this tweak, we will proceed ahead to bypass FRP on your Samsung Galaxy A71 device.
- Google App will now be launched, search for Galaxy Store and select the same from the results.
- The Galaxy Store will now launch on your device and ask you to update the app, do so as instructed.
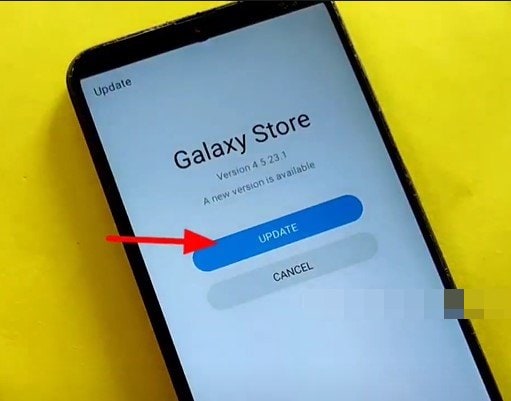
- Once done, it will ask you to verify your Google Account. So head over to the FRP tool opened on your PC and click on Bypass FRP, male sure that the Samsung Galaxy A71 device is still connected to the PC.
- You will then get the Easy firmware pop up, tap on View and it should launch the YouTube app.
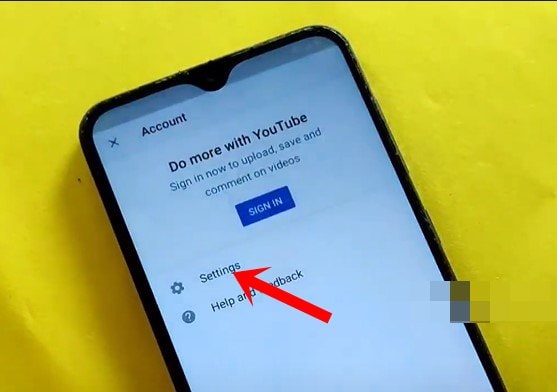
- Then tap on the avatar situated at the top right and select Settings.
- Within that, go to History and Privacy and select YouTube Terms of Service.
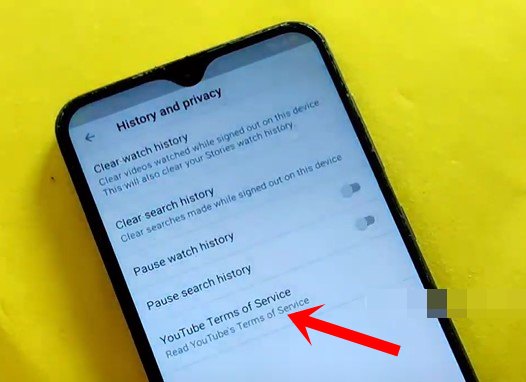
- This shall open the browser, type in frpfile.com/bypass, and hit Enter. Then tap on the Open Google quick search box option.
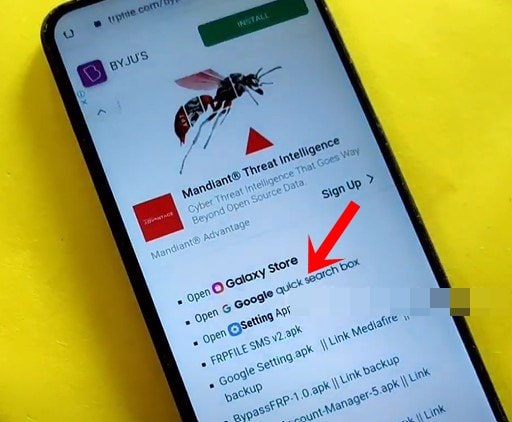
- It will launch the Google App, access the Galaxy Store from it. Then search for Play Services Hidden Settings from the Store and download it.
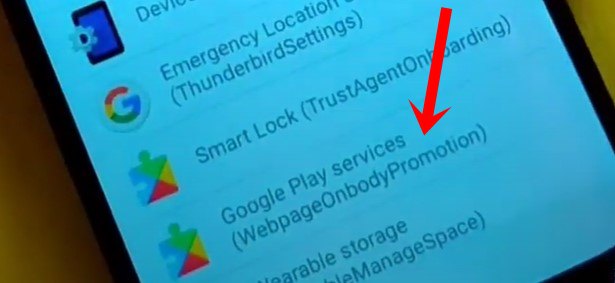
- Once downloaded, launch the app, tap on Open Hidden Settings. Then scroll to the Google Play Services and select it. This will help us to bypass FRP on your Samsung Galaxy A71 device.
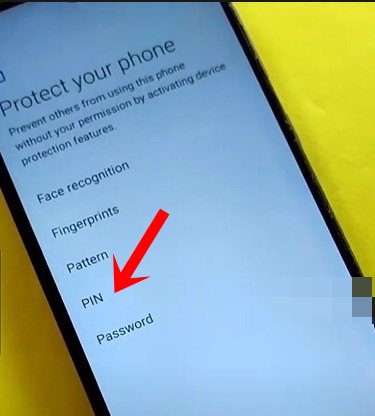
- It will now ask you to set a screen lock, as of now, you may select the PIN option. So type in the desired PIN and reconfirm.
- After that, reboot your device. As soon as it boots up, it will ask for the password. Type in the one that you have set up.
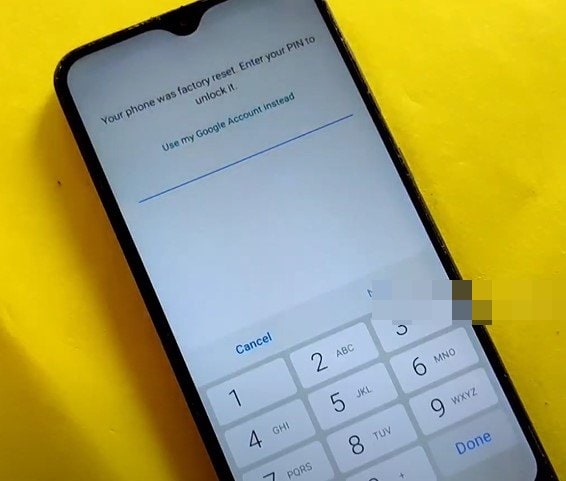
- Now proceed with the onscreen instructions, and you will once again be greeted with the password screen. Type in the same as before and hit Done.
- Skip all the other screens and your device should then be booted to the OS. That’s it.
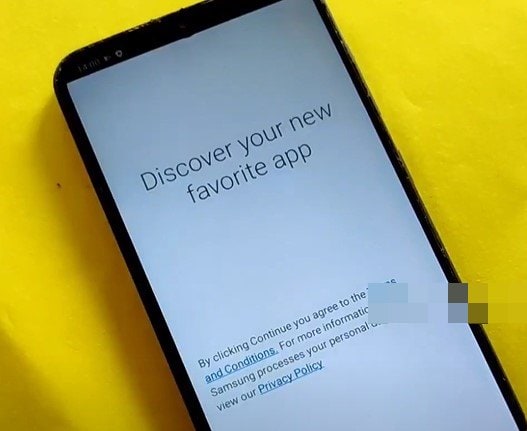
With this, we conclude the guide on how to bypass this FRP and remove Google verification on your Samsung Galaxy A71 SM-A715F device. If you have any queries concerning the aforementioned steps, do let us know in the comments section below. Rounding off, here are some iPhone Tips and Tricks, PC tips and tricks, and Android Tips and Tricks that deserve your attention as well.
