Loss is never pleasant, even if you are insured against it. But unfortunately, in today’s world, data loss is perhaps among the costliest losses. In recent times, there has been an increase in cyberattacks and data breaches in recent years, causing millions of families, businesses, and institutions to lose their entire databases.
Here comes data recovery software. Stellar Data Recovery Professional can recover data that has been lost, deleted, corrupted, or is no longer accessible with Stellar Data Recovery. Today, this article explains everything about the Stellar Data Recovery Professional tool for Windows. To learn more about it, be sure to read the entire guide.
Page Contents
Stellar Data Recovery Professional For Windows: Complete Details
Stellar Data Recovery Professional is a household name in the data recovery industry. Stellar Phoenix Windows Data Recovery, Stellar Phoenix Data Recovery, and Stellar Phoenix Data Recovery are some of its previous names. All of them are the same company. So, now without getting late, let’s start with its features:
#1. File System and File Type Support
The Stellar Data Recovery software supports the following file systems: NTFS, exFAT, FAT, FAT16, FAT32, Ext2, Ext3, Ext4, HFS, HFS+, and APFS. In addition, you can recover unlimited file formats using this software. With Stellar, you can add new files manually.
#2. Bootable Recovery Media
Even if your system crashes, you can still recover your data. You can access and recover lost files by creating a bootable USB recovery media. However, only paid plans to have access to this feature.
#3. User Interface
Stellar has a minimalistic, uncomplicated user interface. Navigation is smooth due to everything being clearly laid out.
#4. Cloning
A disk can be cloned to another drive exactly by using the cloning feature. It can be very useful if you are at risk of losing a particular disk.
#5. Partition Recovery
Reformatting is the only way to access corrupted partitions. Stellar, on the other hand, allows you to recover your files before reformatting. You can retrieve all the data from any partition. A Deep Scan and the Can’t Find Drive feature can also be used to find deleted or lost partitions.
How to Recover Your Data From an Unbootable system/ Crashed OS?
To recover data using Stellar Data Recovery Professional for Windows tool from an unbootable system/crashed OS is very simple. But, if you don’t know that, simply perform these steps:
Step 1: Prepare a Bootable Data Recovery Media
You will have to use an empty USB thumb drive (at least 1GB). The USB thumb drive should be connected to a Windows PC and then use these steps:
- Install and launch Stellar Data Recovery Professional.
- Click on the ‘Waffle Menu‘ at the top-right of the ‘Select What to Recover‘ screen.
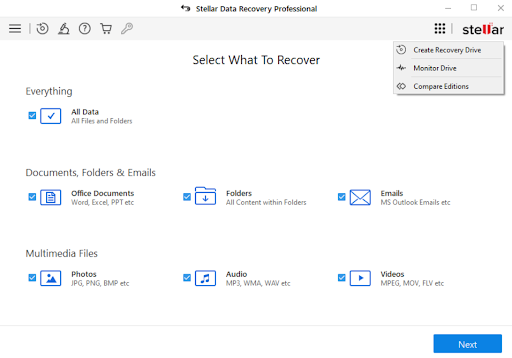
3.You can create a recovery drive by selecting the ‘Create Recovery Drive‘ option.
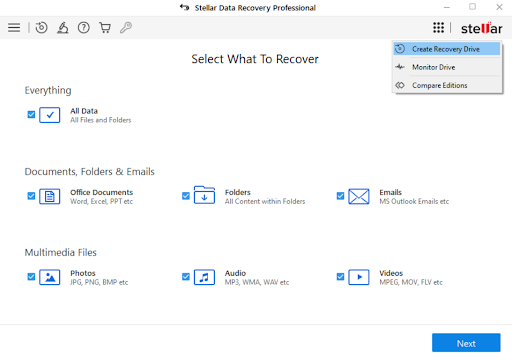
4.Select the USB drive from the Create Recovery Drive dialog box.
5.To begin the process, click ‘Create Recovery Drive‘ and click OK.
A new ‘Activation’ window appears after the process is complete. Once you have received your Activation Key, paste it into the box and click Activate.
In Stellar Data Recovery, the entered key is communicated and validated automatically. As a result, data can be recovered from a crashed or corrupt Windows computer by booting from the recovery media created by the software.
Step 2: Use Bootable USB Media for Data Recovery
- If your Windows PC crashed or was unable to boot, connect the bootable USB media.
- Once your PC is powered on, press the boot option key, usually F12, to see the bootable USB media connected. To learn more, visit the manufacturer’s support website.
- Use the arrow down button to move the selection to bootable recovery media and press Enter to start the recovery process.
- The Stellar Data Recovery software interface will appear once the computer boots from USB media.
- On the Select What To Recover screen, select what files you wish to recover and click Next.
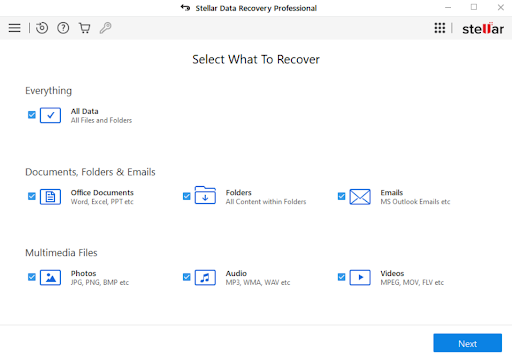
6. Click Scan when you are ready to recover data from a Windows drive.
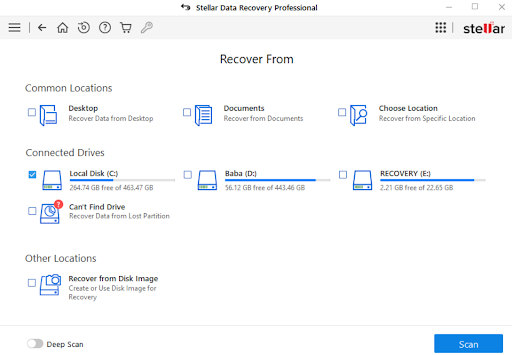
7. Select all the files you want to recover after the Scan is complete. It is also possible to preview files to ensure that they are not damaged and can be recovered.
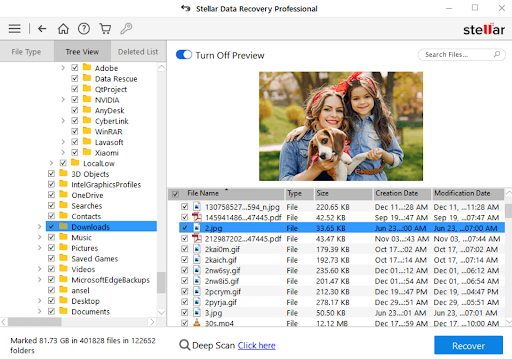
8. Tap the Click Here link at the bottom to run a ‘Deep Scan’ if the desired files cannot be found.
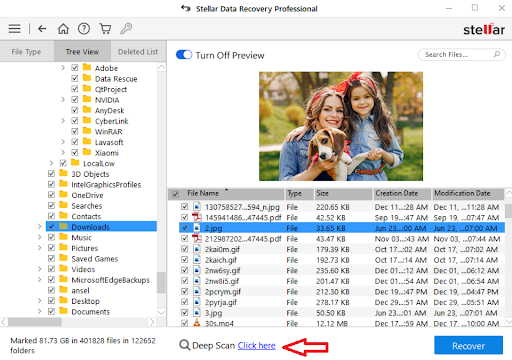
9. Now, tap on Recover to begin the recovery process.
10. To save recovered files, click Browse. To avoid data overwriting, save your recovered data on an external hard drive.
11. Finally, hit Start Saving to save the files.
So, that’s it from our side on the Stellar Data Recovery Professional tool. We hope that you find this article interesting. However, if you want more details, comment below and let us know.
