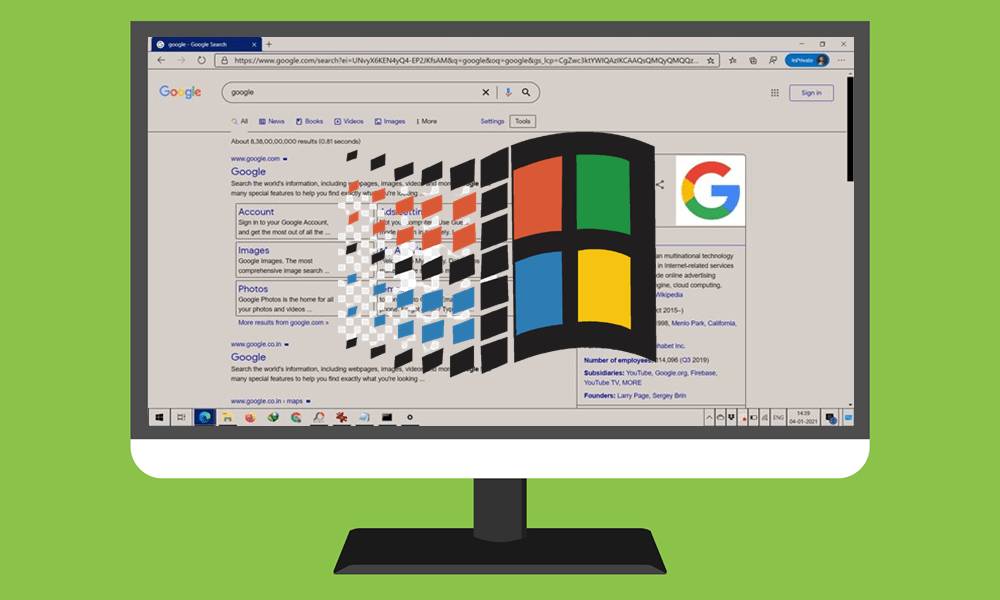
In this guide, we will show you the steps to install Windows 95 theme onto your Windows 10 PC. The latest OS from Microsoft was launched around five years back and has since occupied a permanent place in near about every personal computer. Apart from the improved stability and some new features, Microsoft has also added tons of personalization options as well. From customizing the backgrounds to changing themes and even changing the color of various elements, there’s a lot of tweaks that you could try out.
However, there are still a few users who wish to take a nostalgic trip and want the old classic Windows 95 themes on their Windows 10 PC. If you also wish to rekindle that old school love, then that is very much a possibility now. Right from the icon sets to the Start Menu, File Explorers, and tons of other apps, you could give them all the Windows 95 outlook. So without further ado, let’s check out the steps to carry out this task. Follow along.
Also Read
Page Contents
How to Install Windows 95 Theme on Windows 10
- To begin with, download the Windows 95 Theme from the Devian Art website.
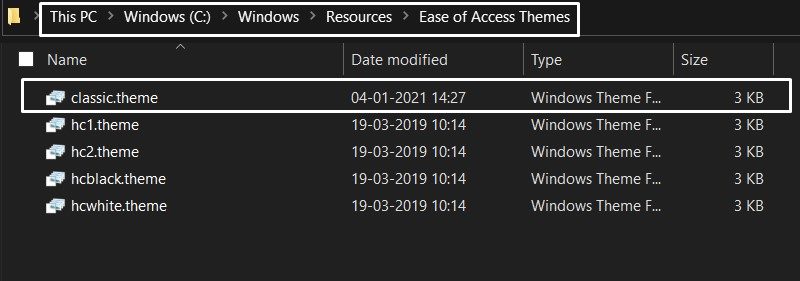
- Once downloaded, extract the content of that file and you should get a classic.theme file.
- Transfer this file to the below-mentioned location:
C:\Windows\Resources\Ease of Access Themes
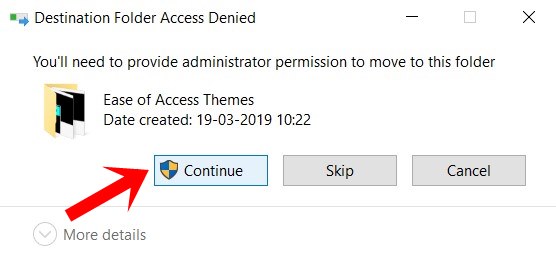
- You will need to have administrative access to carry out this task. So hit the Continue button in the confirmation dialog box that appears.
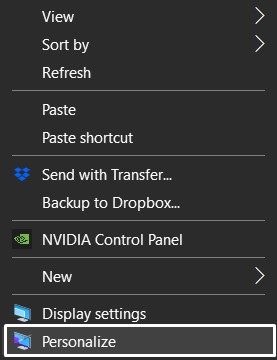
- Once the file has been moved there, it’s time to apply it. So right-click on an empty location on your desktop and select Personalize from the menu.
- Then go to the Themes section from the left menu bar.
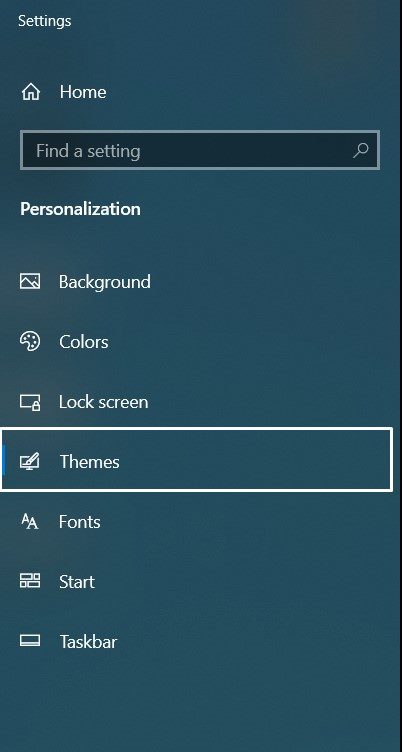
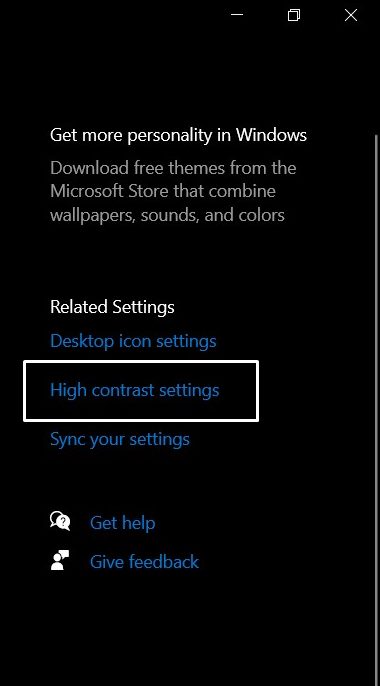
- After this, click on the High Contrast settings from the right-hand side.
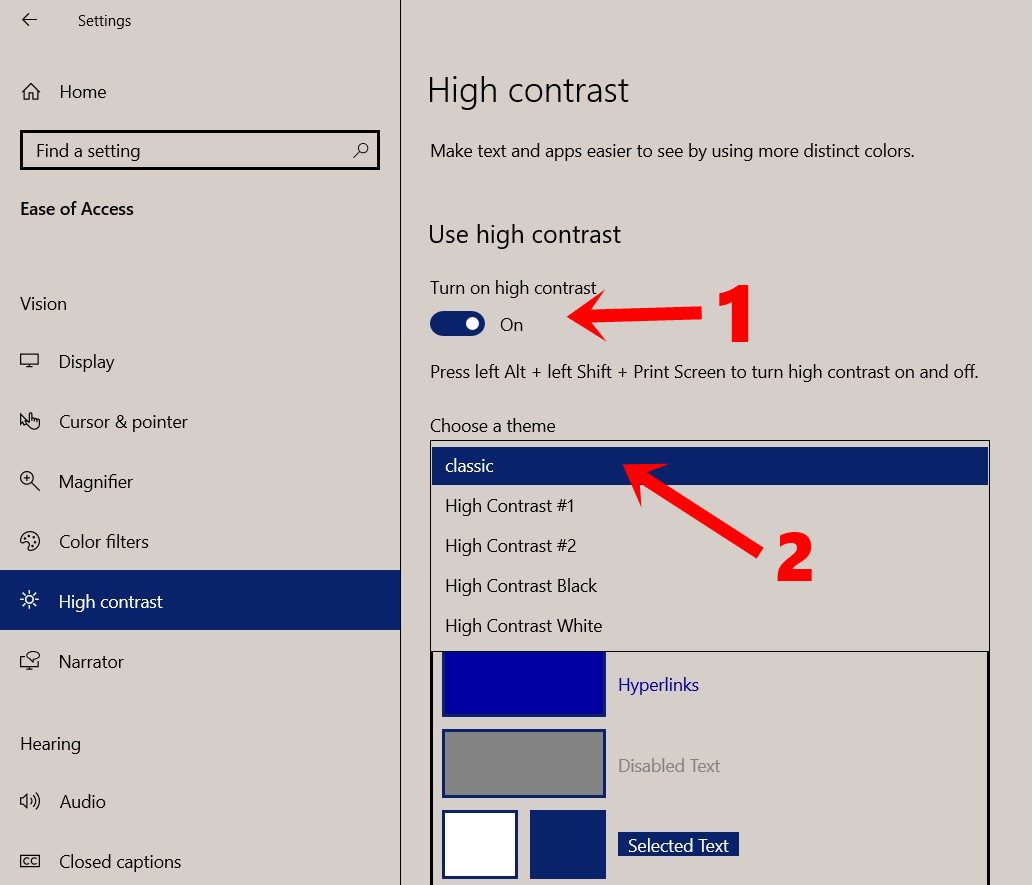
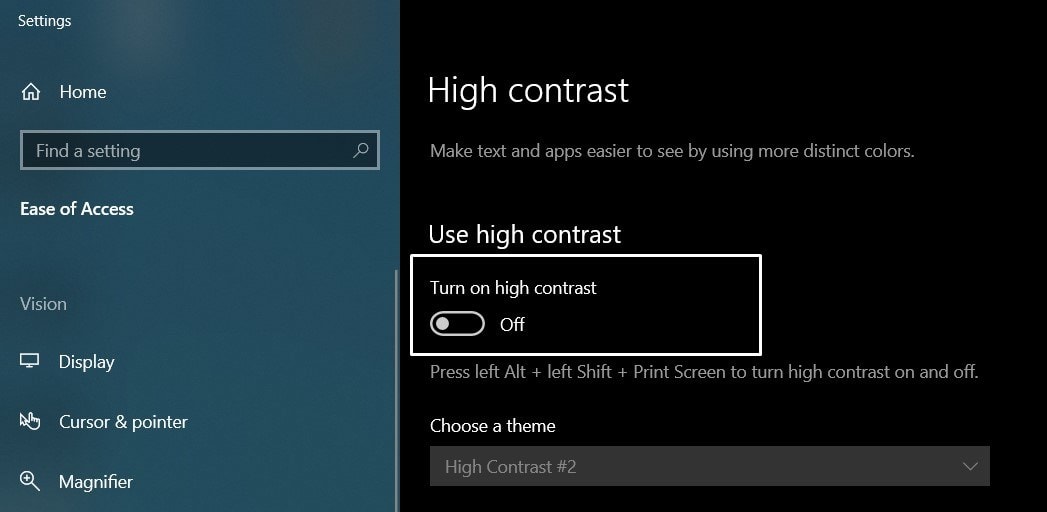
- Now enable the Turn on High Contrast toggle and wait for the changes to be applied.
- Then head over to the Choose a Theme section and select Classic from the drop-down.
That’s it. You have successfully installed the Windows 95 theme on your Windows 10 PC. Let’s now check out some of the screenshots and how to further customize this theme.
Also Read: Wi-Fi Adapter Not Working in Windows 10: How to Fix This Connection Issue?
Screenshots
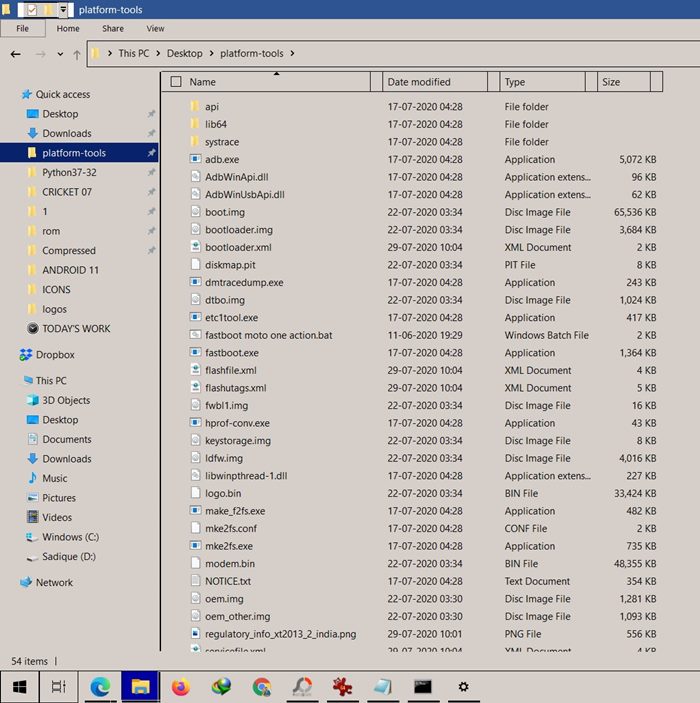
Here is how the File Explorer looks like after applying the Windows 95 Theme.
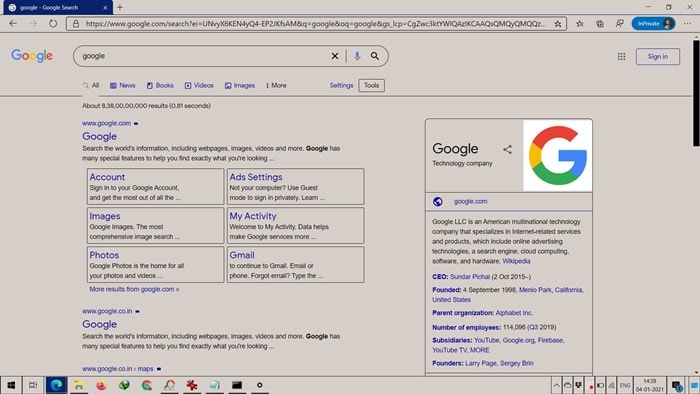
Along the same lines, here’s a search window from the Microsoft Edge browser.
Customizing the Theme
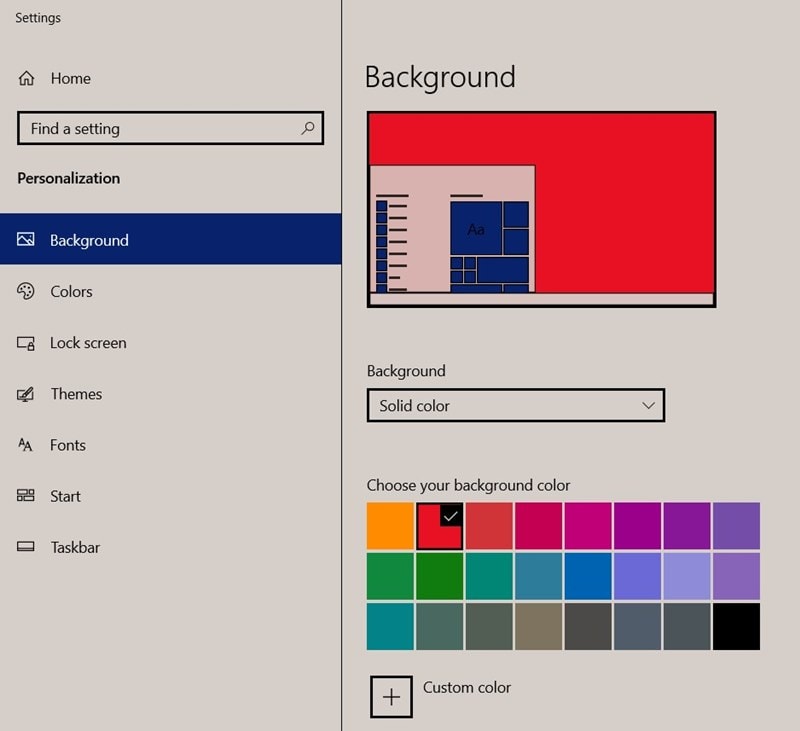
Now if you wish to further customize this theme, then again head over to the Personalize screen. Then go to the Background and Color sections and carry out the desired tweaks. To give it a complete outlook, you may also download and set a Windows 95 image as the default background image.
Switch Back to Windows 10 Theme
If you are done using the Windows 95 theme and wish to revert to the Windows 10 Theme, then go to Personalize > Themes > High Contrast settings > Disable the Turn on High Contrast toggle. That’s it. Doing so will take you back to your default theme. You may anytime switch back to the Windows 95 theme just by enabling the Turn on High Contrast option and selecting the Classic Theme.
Uninstall Windows 95 Theme
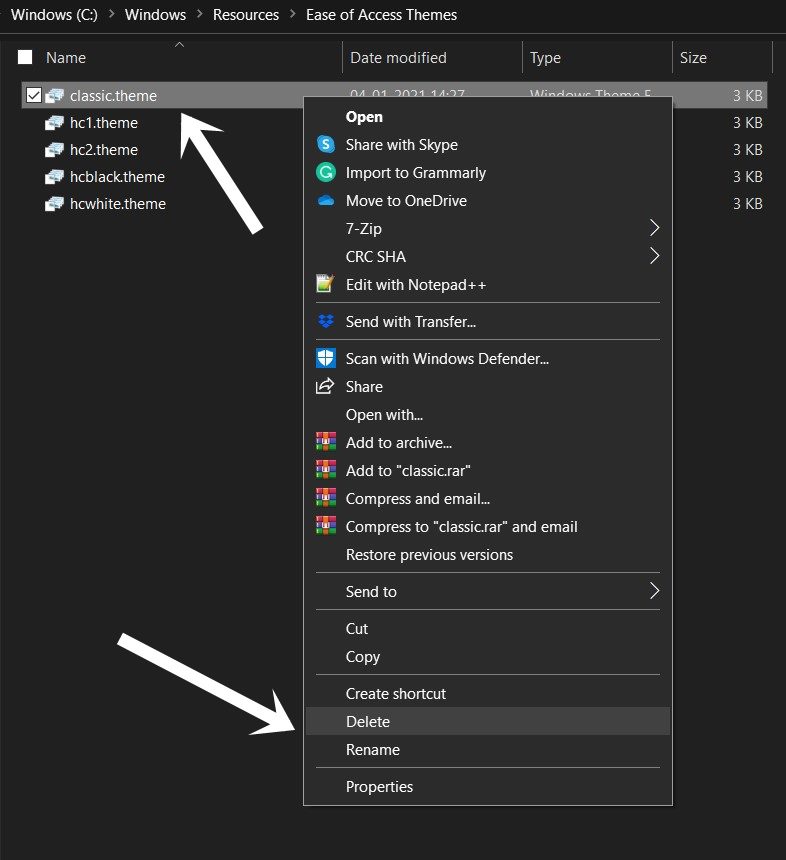
If you wish to bid adieu to this theme for good and wish to remove it from your PC, then go to C:\Windows\Resources\Ease of Access Themes folder and delete the classic.theme file.
So this was all from this guide on how to install Windows 95 theme onto your Windows 10 PC. Do let us know your views about this theme in the comments section below. Rounding off, here are some equally impressive iPhone Tips and Tricks, PC tips and tricks, and Android Tips and Tricks that deserve your attention as well.
