Zelda: Tears of the Kingdom features a vast open-world environment that allows for extensive exploration. However, the game takes this aspect to a whole new level by including even more areas to explore and hidden treasures to discover. In this latest installment, players once again take on the role of Link, the hero of Hyrule, and work alongside Princess Zelda to prevent the evil Ganondorf from destroying their world. Along the way, players encounter new challenges. In this guide, we will take you through how to solve the Sahirow Shrine puzzle in Zelda: Tears of the Kingdom.
What sets Tears of the Kingdom apart is its epic storyline, which immerses players in a world of ancient legends and powerful magic. From the outset, players are drawn into a complex narrative that explores the intricate relationships between the game’s characters and the forces that drive their actions. As they progress through the game, players are treated to a series of memorable cutscenes. To add to the game’s depth, Tears of the Kingdom also includes a multitude of side quests and challenges that offer a wealth of additional content for players to explore. Let’s find out how to solve the Sahirow Shrine puzzle in Zelda: Tears of the Kingdom.
Also Read: Jonsau Shrine Solution in Zelda: Tears of the Kingdom
How to solve the Sahirow Shrine puzzle in Zelda: Tears of the Kingdom
The Sahirow Shrine is a sacred place of worship within The Legend of Zelda: Tears of the Kingdom’s Hebra Mountains. The shrine is known for its intricate puzzles that challenge even the most experienced gamers. Our guide is here to help you navigate through the shrine, from finding its location to solving its puzzles and even walking you through the “Aid From Above” puzzle to collect the chest and Light of Blessing.
Located in the Hebra Mountains region, the Sahirow Shrine can be found southwest of Hebra Peak. The journey to the shrine is not an easy one, but the rewards are worth it. Gliding down from a higher peak or climbing up from a valley are two ways to reach the shrine. Once you arrive, you will be greeted by the shrine’s peaceful atmosphere. The exact coordinates to the shrine are (-3355, 2387, 0361), so make sure to mark them down before embarking on your journey.
Sahirow Shrine is a fascinating place containing a plethora of laser puzzles that can leave even the most seasoned adventurer feeling overwhelmed. However, with a little bit of guidance, Link can successfully navigate through the maze-like hallways and emerge victorious.
How to navigate the laser puzzles in the Sahirow Shrine
The first hallway is relatively easy and introduces you to the mechanics of the laser puzzles. A single red laser blocks the way, but it can be easily avoided by jumping over it. Should you make the mistake of hitting the laser, a trap door will open under you, and you will have to start over from the beginning.

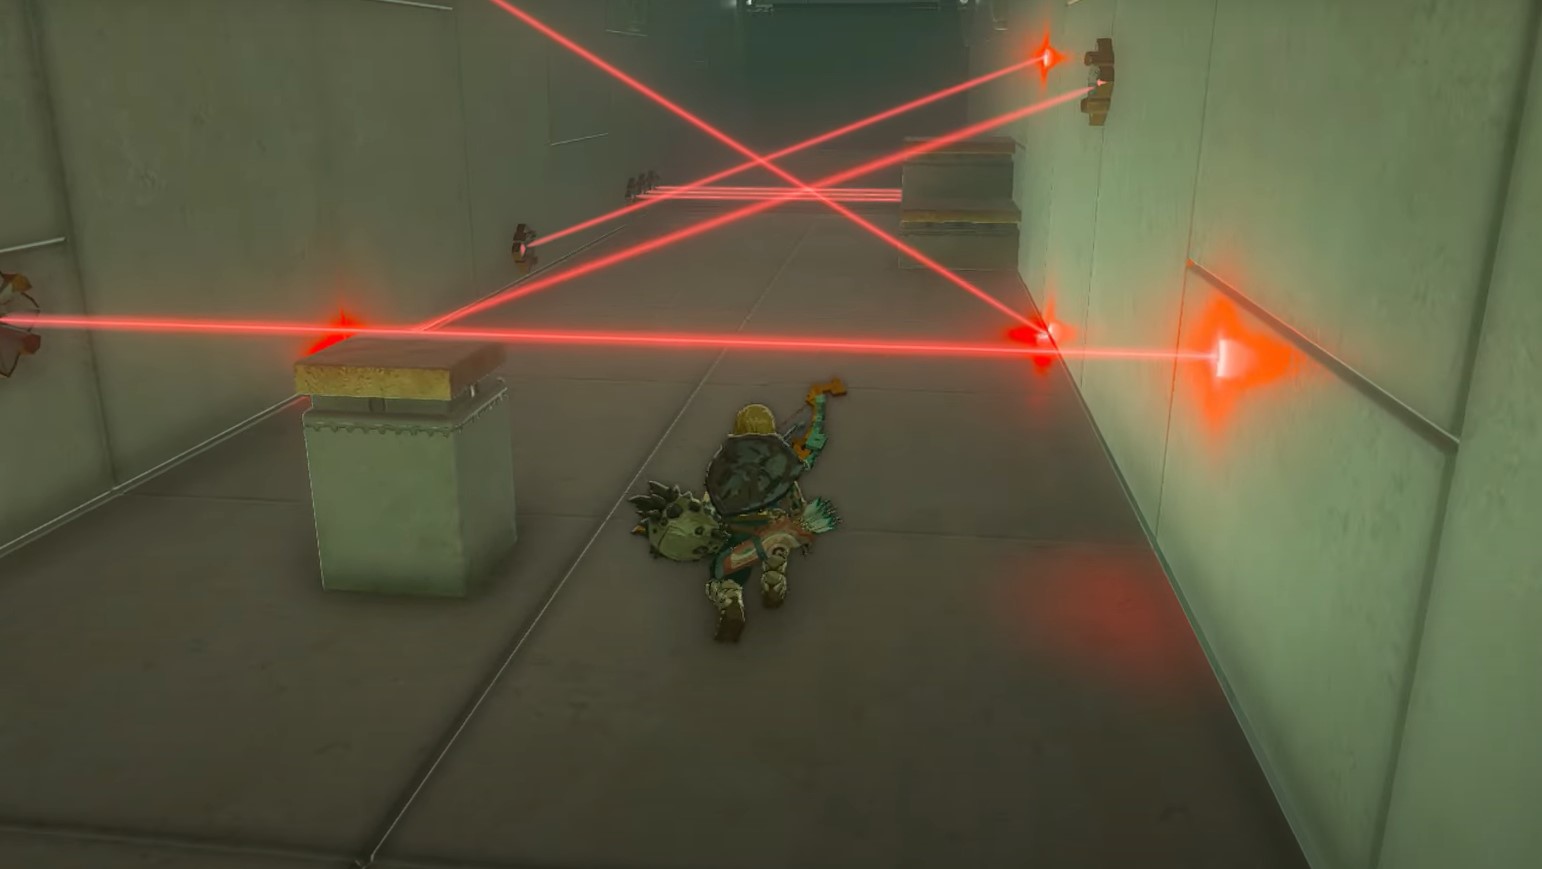
The next hallway presents a more significant challenge with several lasers to dodge. The first laser can be bypassed by jumping over it, but the next four require you to crouch and walk under them. It may seem like a daunting task, but your crouch is low enough to avoid the lasers. As you progress through the hall, you must continue walking while crouching under the remaining three lasers.
Upon reaching the end of this hallway, you will notice a small raised platform on the right side. Jumping up onto the higher platform will allow you to jump and glide past the last three lasers effortlessly. Once you are past the lasers, you need to look up to see a platform moving above you. Using Ascend, you can jump up through the platform to reach the next area of the shrine.
At this point, there are two paths you can take. One appears to be a long hallway, while the other looks like a room guarded by a laser. Walking toward the laser and the room behind it will lead you to a chest containing valuable items.
How to pass the lasers in the Sahirow Shrine
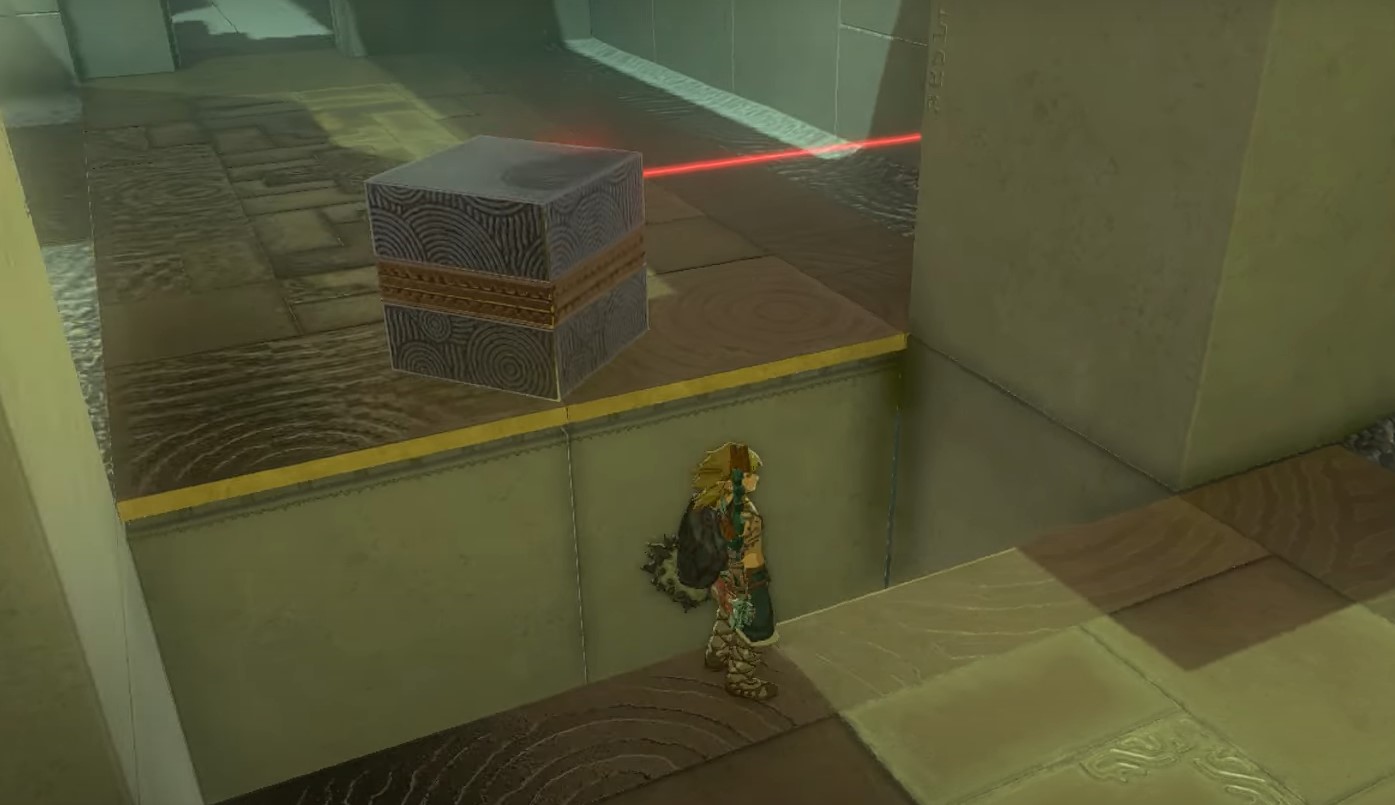
To get past the laser guarding the room, you must crouch under it and walk into the room. When you’re inside, you’ll find a chest behind some big metal bars and two blocks. Use Ultrahand to grab one of the blocks and put it in the way of the laser you just walked under. However, you must be careful not to be too close to the block when doing this, as a trap door at the entrance of the room will open once the laser is blocked.

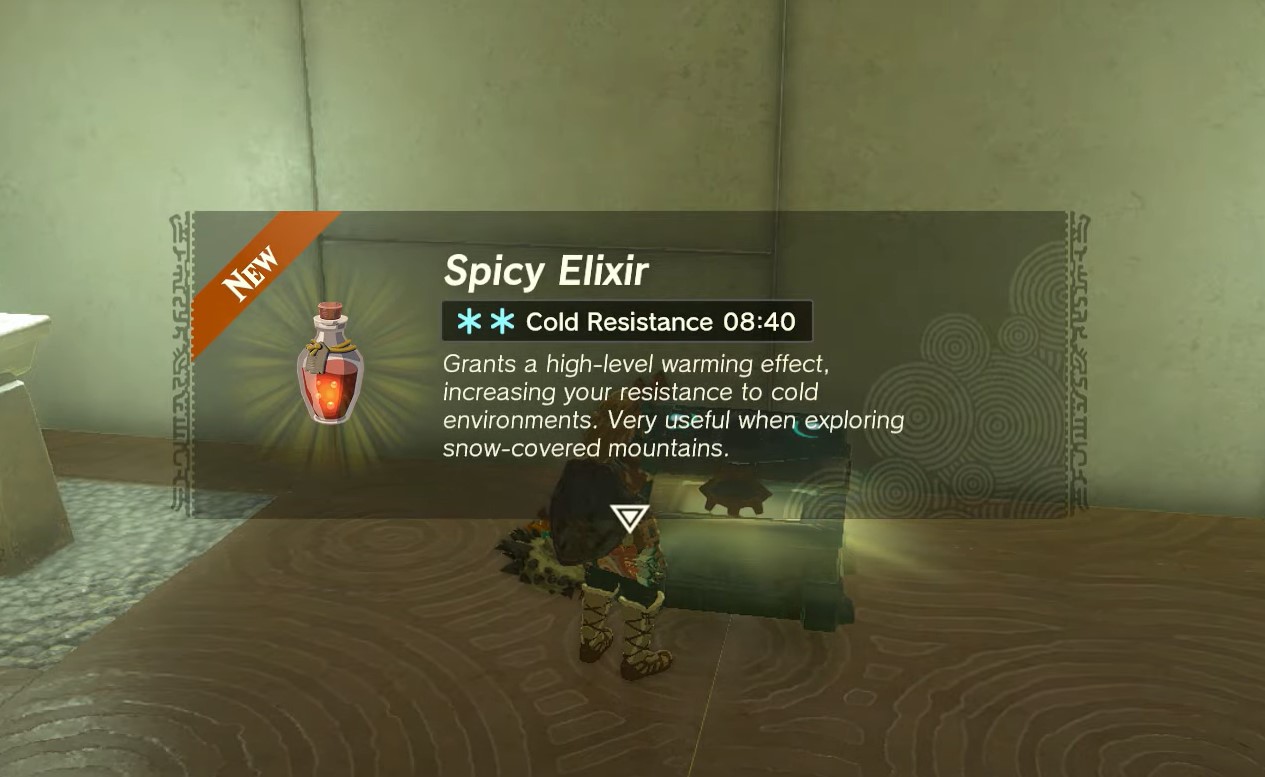
Once the laser is blocked, the door to the chest will open, and you can walk in and grab the spicy elixir. When it’s time to return, you can use Ultrahand to remove the block obstructing the laser. Once the block is moved, the trap door will become a regular path again, and you can crouch under the laser to get past it.

Now that you are back in the room with the split path, you can take the path that appears to be a hallway. The next section is a series of hallways that have moving lasers, and each one presents its unique set of challenges.
Moving lasers puzzles
In the first hallway, a laser will appear at the end and move towards you as you walk through it. To avoid it, you must jump over it as it approaches. In the second hallway, the same thing happens, but this time, you must crouch to avoid the laser as it moves towards you.

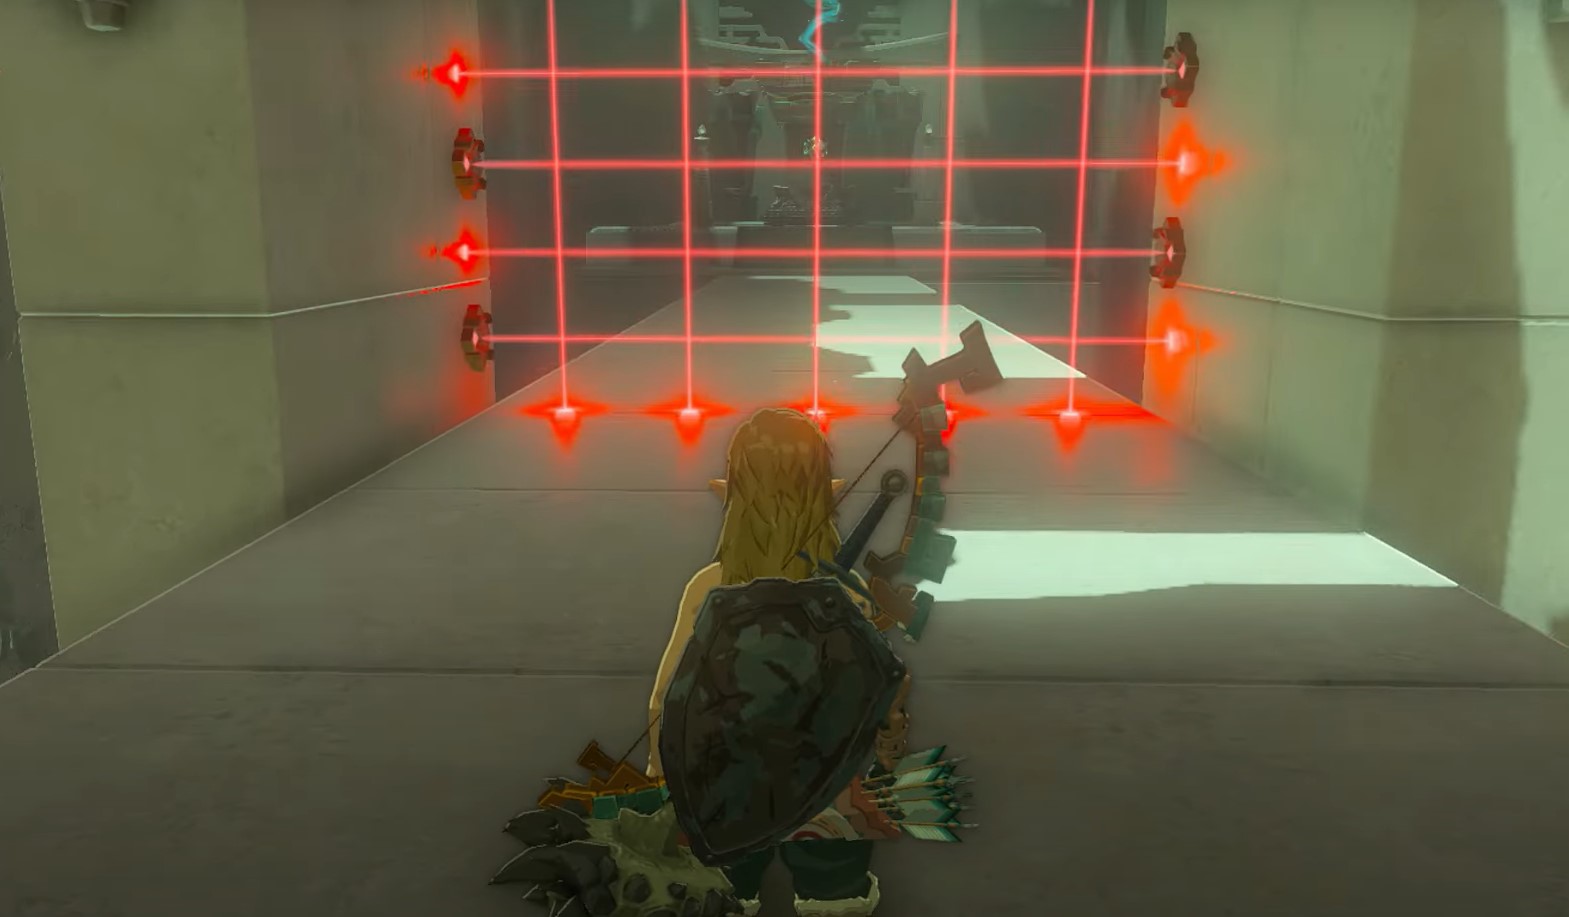
When you get to the third hallway, there’s a big laser wall coming at you. You can’t jump over it or go under it. But don’t worry. If you stay at the beginning of the hallway, the laser won’t hit you. Just wait for it to reach the end and start coming back. When it starts moving back towards you, run towards it. Use the Ascend ability to go through the ceiling of the platform with the lasers.
Once you’re on top of the platform, wait until it gets as close as possible to the last pedestal. Then you can jump and glide over to the end of the shrine to collect your Light of Blessing, victorious in your quest to navigate the laser puzzles of Sahirow Shrine.
Conclusion
We hope that this guide helped you find the shrine and solve the Sahirow Shrine puzzle in Zelda: Tears of the Kingdom. While the guide has provided you with step-by-step instructions, it is important to keep in mind that this is just one of the many shrines that await your discovery in the vast world of Zelda. Each shrine is unique and presents its own set of puzzles and obstacles to overcome, providing endless opportunities for adventure and discovery.
So, take up your sword and shield, and get ready to embark on an epic journey through the world of Zelda. With so much to discover and endless opportunities for adventure, you are sure to have an unforgettable experience.
Also Read