Windows 10 offers its users with an update mechanism that keeps all the drivers up to date and auto-download the latest ones. It helps with the newest security patches and maintenance for your operating system and device. Drivers up-to-dated through automatic Windows update usually works pretty well; except sometimes, when some specific drivers cause an issue on hardware configuration and other system glitches.
Updating a specific driver might also cause changes in previously stored settings. Though Microsoft states “Automatic Specific Driver Downloads” a useful feature, there still are a lot of users who want to block or disable it. Hence, we have prepared and brought some methods and solutions that will help you in the process.
Also Read

Page Contents
Block or Disable Automatic Specific Driver Downloads on Windows 10:
Some specific drivers, when updated without the user’s intervention and command, might end up resulting in a particular glitch. These glitches could be anything from BSOD, low performance, hardware issue, driver issues, or so on.
The below methods will guide you about “How to Block Automatic Specific Driver Downloads on Windows 10”
METHOD 1: Change settings on Metered WI-FI connection:
While the user is on a metered connection, all Windows 10 computer updates are put on automatic hold. As a result of this, the system identifies or assumes that the user is on a limited data package. If you are not using a metered connection, you can also set your Wi-Fi or cellular connection as metered. It is a temporary solution, and you can invert it anytime. This is a worthy and straightforward workaround to start with.
NOTE: This method will disable all the Windows updates altogether wholly. As a result, you won’t be able to download various security and Windows stability updates as well.
To proceed with this method:
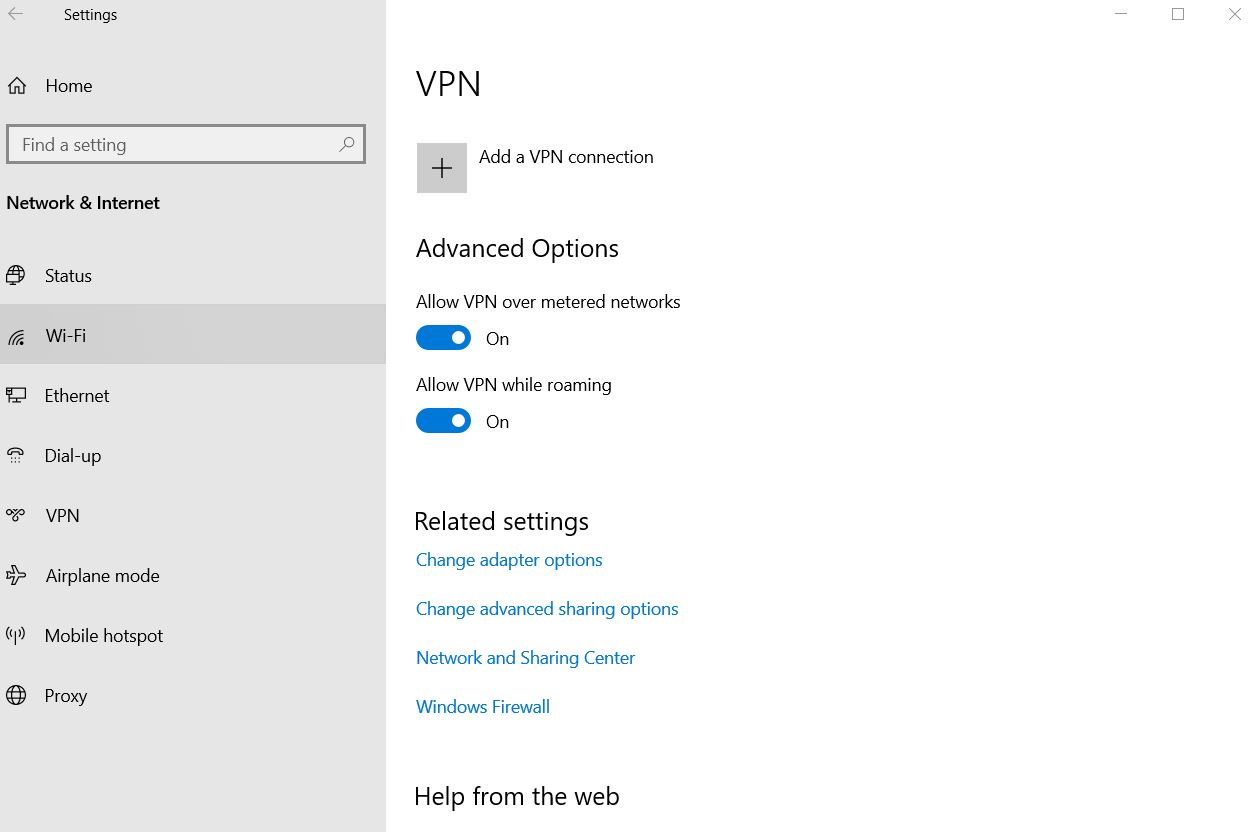
- Open Settings window and select Network & Internet.

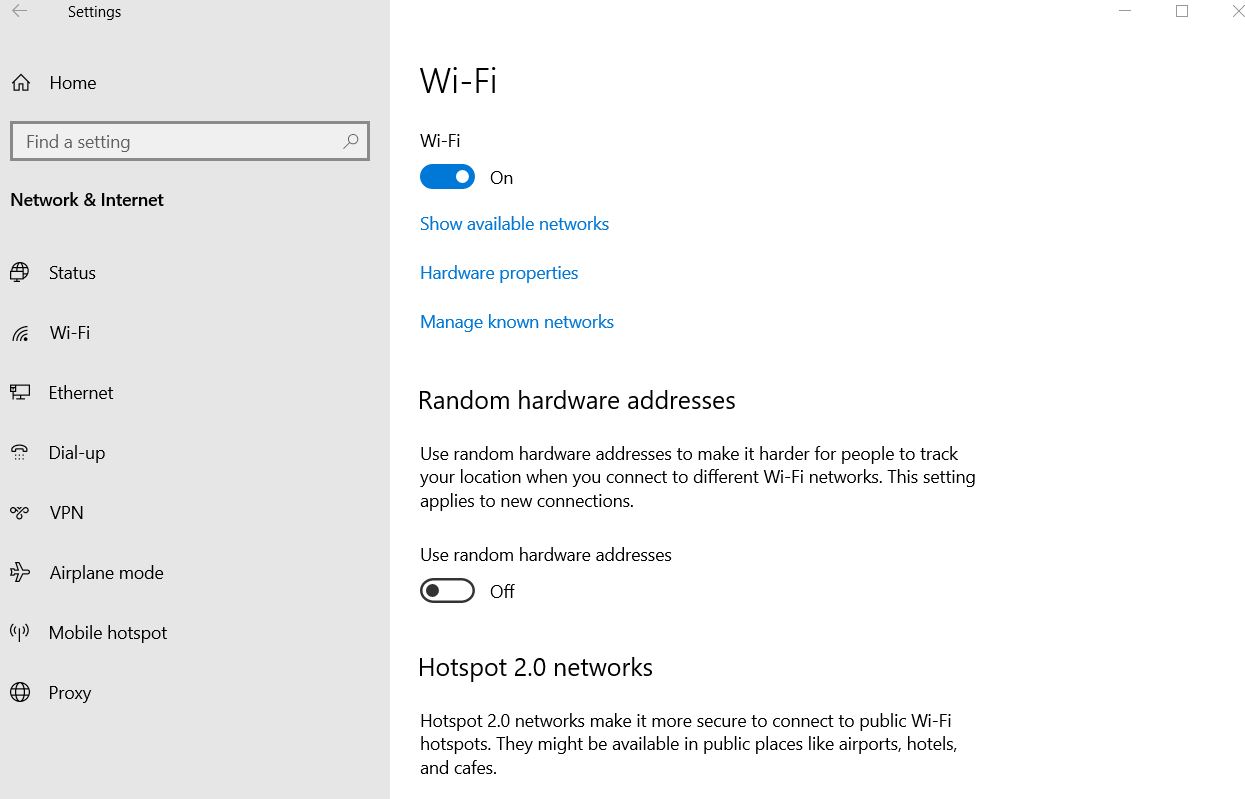
- From the left-pane menu, click Wi-Fi and then select the option Manage known Networks.
- Locate and click on your Wi-Fi network and then select Properties.
- On the next prompt, toggle-on the button located below the option Set as metered connection.
- It will now temporarily block or disable automatic specific driver downloads on Windows 10. Make sure; if you are using several wi-fi networks, you require to set each of them as metered connection individually.
METHOD 2: Use Registry:
Modifying the registry can help you temporarily block or disable automatic specific driver downloads on Windows 10. For doing so,
Note: We recommend you to make a full backup of your system before proceeding with this method. A registry is a highly sensitive database were even the smallest punctuation error while editing can lead to serious damage. This damage can also be irreversible and can cause system instability. Hence, try this workaround on your own risk and make sure to follow the instructions with focus.
- Go to the Windows search bar and type ‘Regedit’.

- Once you see the Regedit editor on the search results, select the option Run as administrator.
- Once it opens, navigate to the following path,
HKEY_LOCAL_MACHINE\SOFTWARE\Policies\Microsoft\Windows
- On the Registry editor window, go to the left-pane menu and locate the Windows folder.
- Right-click on it and press New and click on Key.
- Now name the Key as Windows Update and then press Enter.
- Go to the newly created Key, right-click on it and select New and then DWORD (32-bit) Value.
- Now name the key as ExcludeWUDriversInQualityUpdate and then again press
- Now double click on the DWORD file, set the numeric undervalue data from 0 to 1 and then click on OK.
Once you make the changes, it will now stop auto-updating the drivers; the cumulative updates will continue to proceed.
To anytime revert this setting,
- Follow the 4th step and visit the Windows folder.
- Here right-click on ExcludeWUDriversInQualityUpdate and select the option Delete.
METHOD 3: Block auto-updating on a Metered Ethernet connection:
For blocking auto-updating on a Metered Ethernet connection, follow the steps given below:
Note: This method also requires you to enter the registry editor, hence be careful with your steps.
- Search ‘regedit’ and Run it as administrator.

- Navigate to the following path,
HKEY_LOCAL_MACHINE\SOFTWARE\Microsoft\WindowsNT\CurrentVersion\NetworkList\DefaultMediaCost
- Now right-click on the option DefaultMediaCost, select Permissions -> Advanced and then click on Change at the top.
- Now in the Enter, the object name box, type your e-mail id (specifically the Microsoft account one), click on Check name and then confirm.
- Now locate Permissions for the DefaultMediaCost, right-click on it and select Users group.
- Now tick the checkbox located before the option Full control box and confirm.
- After that, right-click on Ethernet and then choose the option Modify.
- In the Value data box, change the numeric value to 2 (the value would be set to 1 earlier).
- Finally, click on Save the settings.
METHOD 4: Use the Group Policy Editor:
For preventing Windows 10 from updating some specific Drivers, you can use the Group Policy editor. This is the most complex and complicated workaround; hence we have kept it at last. It does not block all the driver updates altogether but only some specific ones.
Note: Owning either the Professional, Enterprise or Educational versions of Windows 10 is a must for using the Group policy editor tool. It is a potent tool and can cause permanent damage to your system. We advise you to try this workaround with your consent.
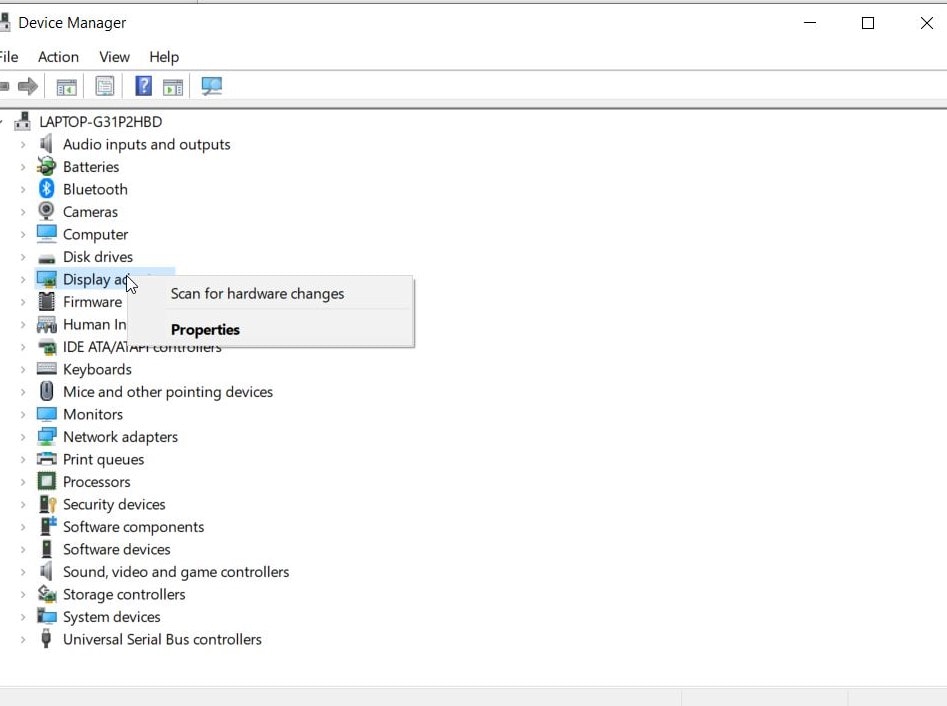
- Firstly, open Device Manager from the Windows search bar.

- Locate the wanted device, right-click on it, and open Properties.
- Click on the Details tab, and from the Property drop-down menu select Hardware Id.
- Now select all the IDs and Copy + Paste them into an MS Word or Notepad file.
- Again, go to the Windows search bar, type ‘gpedit.msc’ and Run it as administrator.
- On the left sidebar, navigate to the following path,
Computer Configuration\Administrative Templates\System\Device Installation\Device Installation Restrictions
- Now go to the right-pane and open Prevent installation of devices that match any of these devices’ IDs.
- On the Policy, window click on Enable -> Show.
- Now copy + paste the IDs (that you have saved earlier) in separate Volume columns.
- Finally, save the changes you made and exit the Group policy editor.
Later, when the next update will roll out, you will see an error prompt. This error prompt is the confirmation the Group policy editor changes you performed were successful. Now the specific drivers you selected won’t get updated automatically.
So, these were all the possible methods that will help you in disabling or blocking “Automatic Specific Driver Downloads on Windows 10”. Some of the workarounds are quite complex and a single mistake while using them can harm your system in the worse way. Thus, we recommend you to use the 1st method first and only jump to the complicated ones if there’s no other way left for you.
Microsoft claims that automatic updates for drivers in Windows 10 are for the betterment of users. Ignoring the auto-updates temporarily is safe, but it might affect your security patches and stability of in negative ways during long runs. If you have any queries or feedback, please write down the comment in the below comment box.
