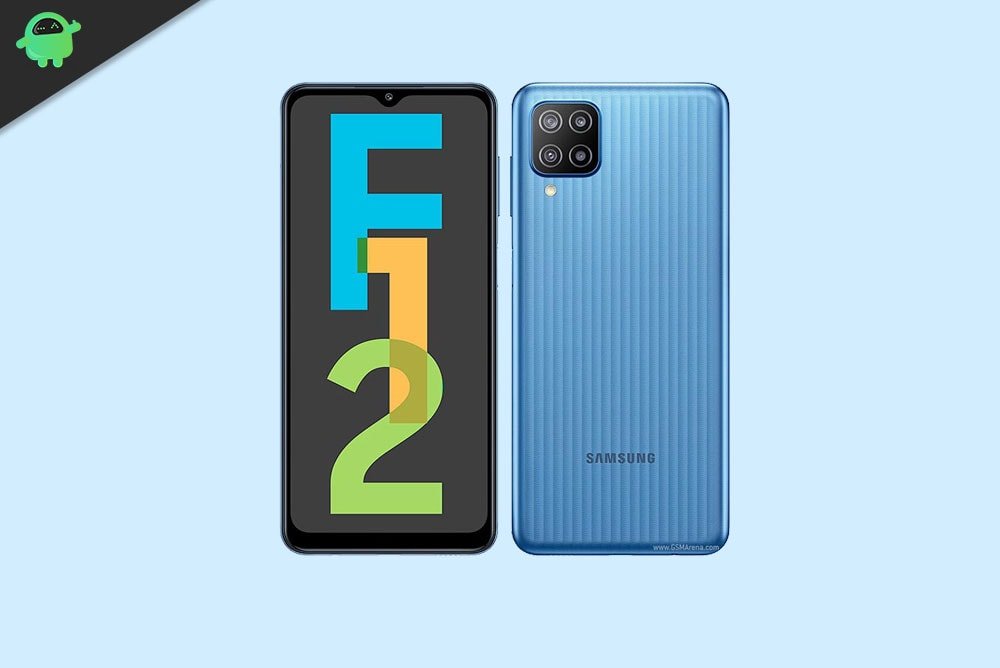
The Samsung Galaxy F series has been a success in the budget to the mid-range smartphone segment in India. Indians very well received the F62, and now we have a new F series device coming to the market. Samsung officially announced the Samsung Galaxy F12 on the 5th of April, and it is their take on a budget 90Hz refresh rate smartphone.
In this guide, we will show you the steps to bypass FRP and remove Google verification on your Samsung Galaxy F12 (SM-F127G) device. This offering from the South Korean giants is mostly focused on those users who have their eyes set on the budget segment. However, in spite of belonging to the lower price segment, there is no compromise on the device features. Its specs sheets still manage to spell out impressive in a loud and clear voice. Along the same lines, when it comes to security, there are quite a few options that you could check out.
These include the option to enable two-factor authentication across various apps, enable the Find my device option among others, Likewise, you could also choose from Face Unlock FIngerprint, PIN, or Password Lock. Not to mention the fact that the device also comes with the FRP lock, which is quite beneficial in itself. However, in some instances, it might lead to a few issues which in turn will result in your inability to use the device. But on the plus side, there exists a handy workaround to bypass this FRP and remove Google verification on your Samsung Galaxy F12 (SM-F127G). Let’s check out how this could be achieved.
Also Read
Page Contents
Samsung Galaxy F12 Device Overview
The Samsung Galaxy F12 features a 6.5 inch IPS HD+ screen with a resolution of 720 x 1600 pixels and an aspect ratio of 20:9. The USP of this device is that it a 90Hz display. Samsung skips out on the AMOLED technology but offers a higher-refresh-rate panel to its customers with the F12. Powering the device is Samsung’s very own Exynos 850 chip built on an 8nm manufacturing process. This is an octa-core processor with four Cortex-A55 cores clocked at 2.0 GHz and four Cortex-A55 cores clocked at 2.0 GHz. The Mali-G52 handles all graphics-intensive tasks.
Coming to the cameras, we get a quad-camera setup at the rear and a single camera at the front for selfies. The rear setup comprises a 48MP primary sensor paired with an f/2.0 lens, a 5MP ultrawide sensor paired with an f/2.2 lens, a 2MP macro sensor paired with an f/2.4 lens, and a 2MP depth sensor paired with an f/2.4 lens. Moving to the front side, we see an 8MP sensor paired with an f/2.2 sensor. Samsung optimizes the camera a lot through software, so even with inferior hardware, we can expect some decent-looking pictures from this smartphone. In terms of video recording, though, both the front and rear setups are only capable of 1080p video recording.
The smartphone has two storage options: 64GB internal + 4GB RAM and 128GB + 4GB RAM. There is a dedicated MicroSD slot for storage expansion too. For communications, we have Wi-Fi 802.11 b/g/n, Bluetooth 5.0, GPS, FM radio, and USB USB Type-C 2.0. We get a side-mounted fingerprint sensor, accelerometer, and proximity sensor in terms of sensors. Like other budget Samsung devices, the Galaxy F12 also comes with a 6000 mAh battery supporting 15W fast charging. The smartphone will be available in three color options: Sea Green, Sky Blue, and Celestial Black. It is priced at 10,999 INR for the base model.
What is an FRP Lock my Device?
FRP or Factory Reset Protection is the security mechanism for your Android device. It is enabled by default on your device as soon as you sign in with your Google account. When you reset your device, the FRP kicks in and asks for that Google account credentials before you could access the device. It is indeed quite a useful security feature that prevents our devices from getting into the hands of unauthorized users. But at the same time, there’s a concern involved from the end-users perspective.
If you ever end up forgetting your account ID or password, then it might lead to quite a few issues. The biggest of which is the fact that you wouldn’t be able to access your own device. But if you get stuck on this issue on your Galaxy F12 device, then there is a handy way out to bypass this lock screen. And in this guide, we have shared just that. So without further ado, let’s check out the steps to bypass this FRP and remove Google verification on your Samsung Galaxy F12 device.
How to Bypass FRP Lock on Samsung Galaxy F12 (SM-F127G)
- To begin with, download the Easy Samsung FRP tool and extract it to a convenient location on your PC.
- Once extracted, you should get the SamsungFRP.exe file, double click on it to launch the tool.

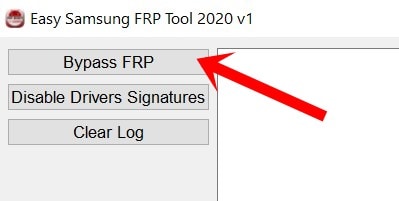
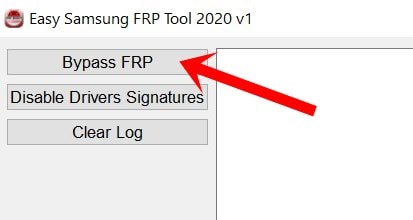
- Now connect your device to the PC via USB cable and click on the Bypass FRP button situated at the top left of the tool.
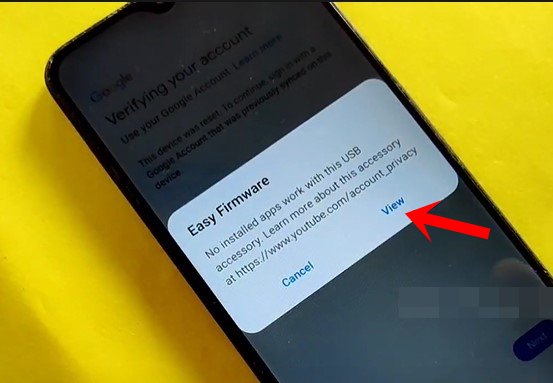
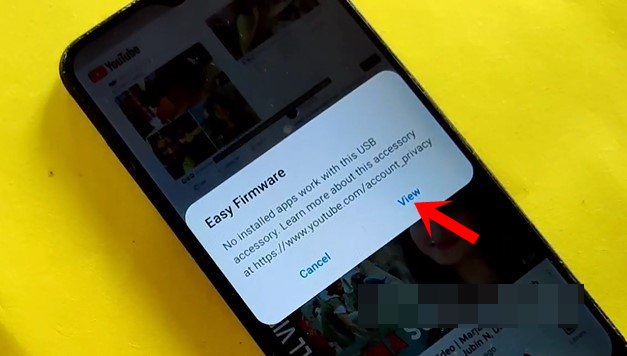
- You will get an Easy Firmware popup on your device, tap on View.
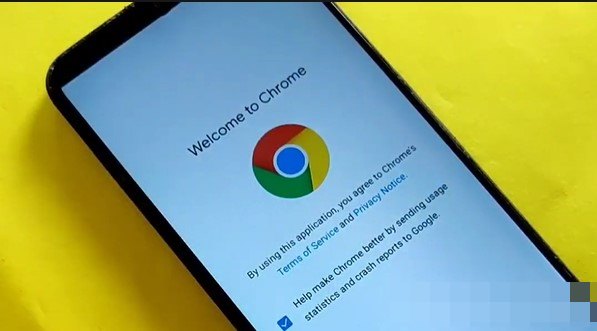
- It will open the Chrome browser, tap on Accept and Continue.
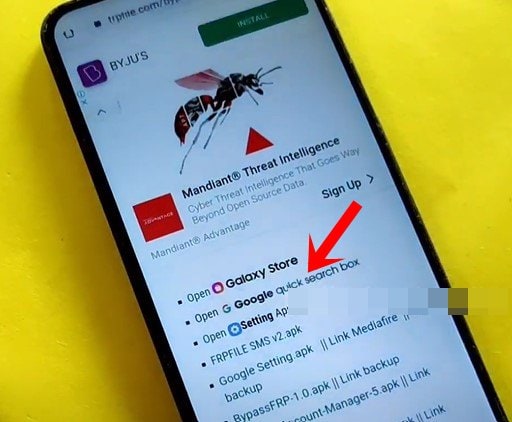
- Now go to the frpfile.com/bypass website and tap on Open Google quick search box. Using this tweak, we will proceed ahead to bypass FRP on your Samsung Galaxy F12 device.
- Google App will now be launched, search for Galaxy Store and select the same from the results.
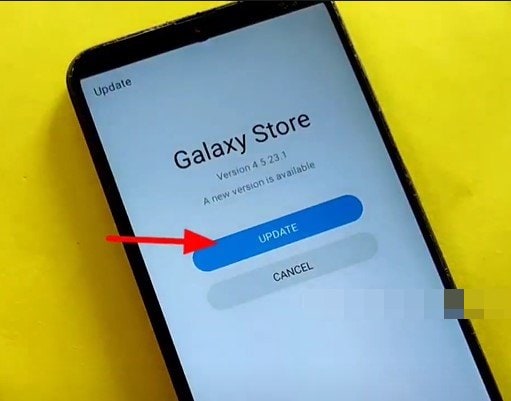
- The Galaxy Store will now launch on your device and ask you to update the app, do so as instructed.
- Once done, it will ask you to verify your Google Account. So head over to the FRP tool opened on your PC and click on Bypass FRP, male sure that the Samsung Galaxy F12 device is still connected to the PC.
- You will then get the Easy firmware pop up, tap on View and it should launch the YouTube app.
- Then tap on the avatar situated at the top right and select Settings.
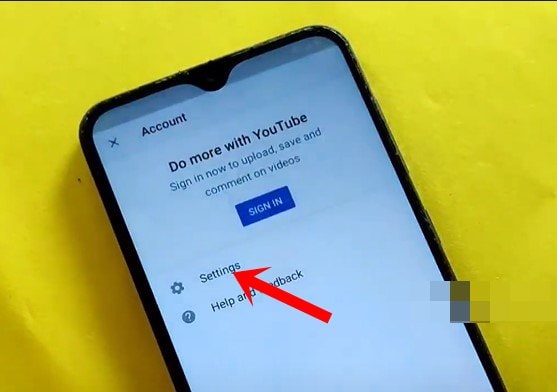
- Within that, go to History and Privacy and select YouTube Terms of Service.
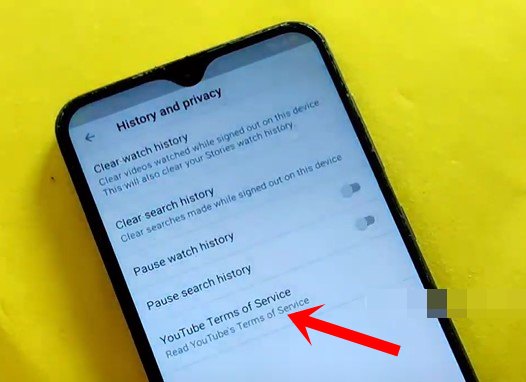
- This shall open the browser, type in frpfile.com/bypass, and hit Enter. Then tap on the Open Google quick search box option.
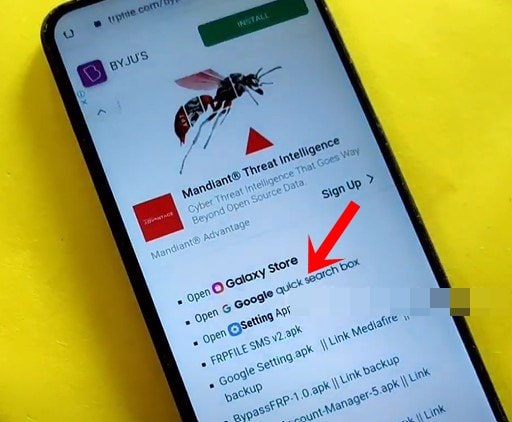
- It will launch the Google App, access the Galaxy Store from it. Then search for Play Services Hidden Settings from the Store and download it.
- Once downloaded, launch the app, tap on Open Hidden Settings. Then scroll to the Google Play Services and select it. This will help us to bypass FRP on your Samsung Galaxy F12 device.
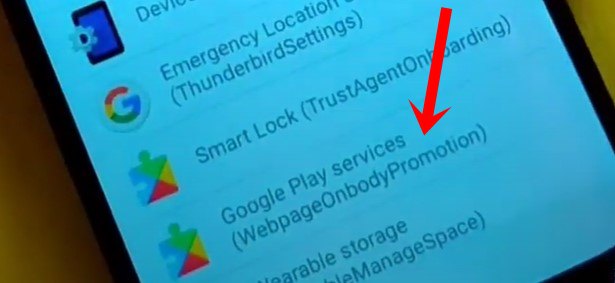
- It will now ask you to set a screen lock, as of now, you may select the PIN option. So type in the desired PIN and reconfirm.
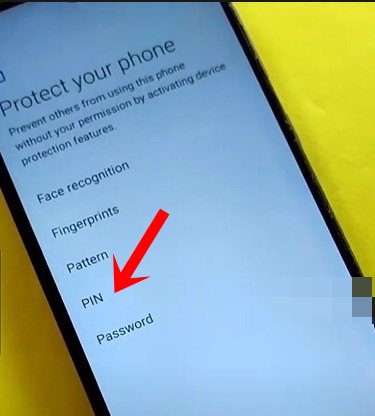
- After that, reboot your device. As soon as it boots up, it will ask for the password. Type in the one that you have set up.
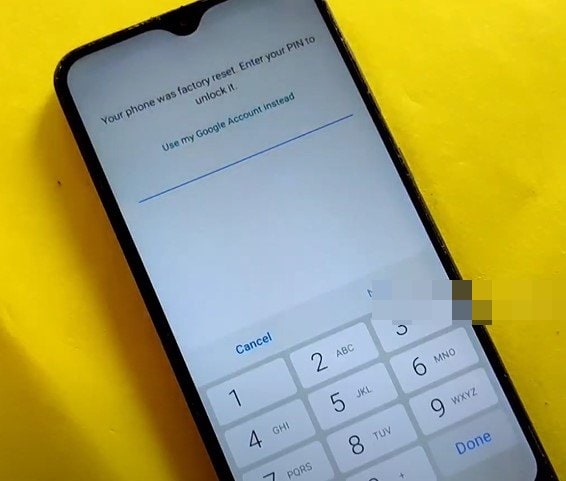
- Now proceed with the onscreen instructions, and you will once again be greeted with the password screen. Type in the same as before and hit Done.
- Skip all the other screens and your device should then be booted to the OS. That’s it.
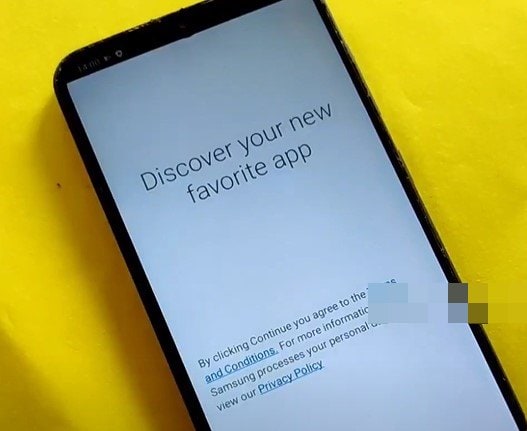
With this, we conclude the guide on how to bypass this FRP and remove Google verification on your Samsung Galaxy F12 (SM-F127G) device. If you have any queries concerning the aforementioned steps, do let us know in the comments section below. Rounding off, here are some iPhone Tips and Tricks, PC tips and tricks, and Android Tips and Tricks that deserve your attention as well.
