Gmail is arguably the most popular email service provider in the world. In this article, we will show you how you can create and add signatures in your Gmail account. Gmail offers a wide range of options to help improve their users’ email experience. Among these is the electronic signature feature, which allows you to have your own digital signature, much like how you have a physical handwritten signature for physical mails and letters.
Also Read

Page Contents
What Do I Need a Gmail Signature For?
While you may not need a signature in your Gmail if you mostly use your email account for sending personal and informal emails, if you use your mail for more official communication, then it is important that you have a signature.
However, Gmail does not set a signature up for you by default. Therefore, in order to get your own signature in Gmail, you are going to need to go to your email settings to set up and create one for yourself.
A Gmail signature is necessary to sign off official emails, and it comes with the added benefit of carrying your personal information. What this means is that you do not have to keep attaching your alternative contact information in every mail. Once you do a one-time setup with your Gmail signature, every email you sign off with that signature will automatically send your alternative contact information (if included) over to the recipient. So there’s no need to fuss anymore about making sure your recipient can reach you through other avenues because Gmail does all that running around for you through the Gmail signature you set up.
How Do I Create or Add a Gmail Signature?
To Create or add a Gmail signature, follow the following few simple steps:
- Open up your preferred browser.
- Go to www.gmail.com and log in to your Gmail account.
- Look in the top right corner of your screen for a gear icon and click it.

- A drop-down menu will appear with a list of different options. Right under the “Quick settings” text, click the option which reads “See all settings”.
- On the screen that appears, remain in the General tab and scroll down through the long list of options until you come across “Signature”.

- In the text box provided under this option, type in your preferred signature.
It is worthy of note, that because the textbox that Gmail provides when creating or editing your signature looks very much like a traditional text editing user interface, you can apply most of the standard text editing options to your signature. This includes the ability to change your text to bold fonts, italicize your text, and even underline it. You can also change the font style, font size, and include links and lists (both numbered and unnumbered). Gmail’s signature creation tool also allows you to include an image as a part of your signature.
Creating and Adding Signatures in Gmail for Mobile
If you would like to create your signature via the Gmail mobile app, follow these steps:
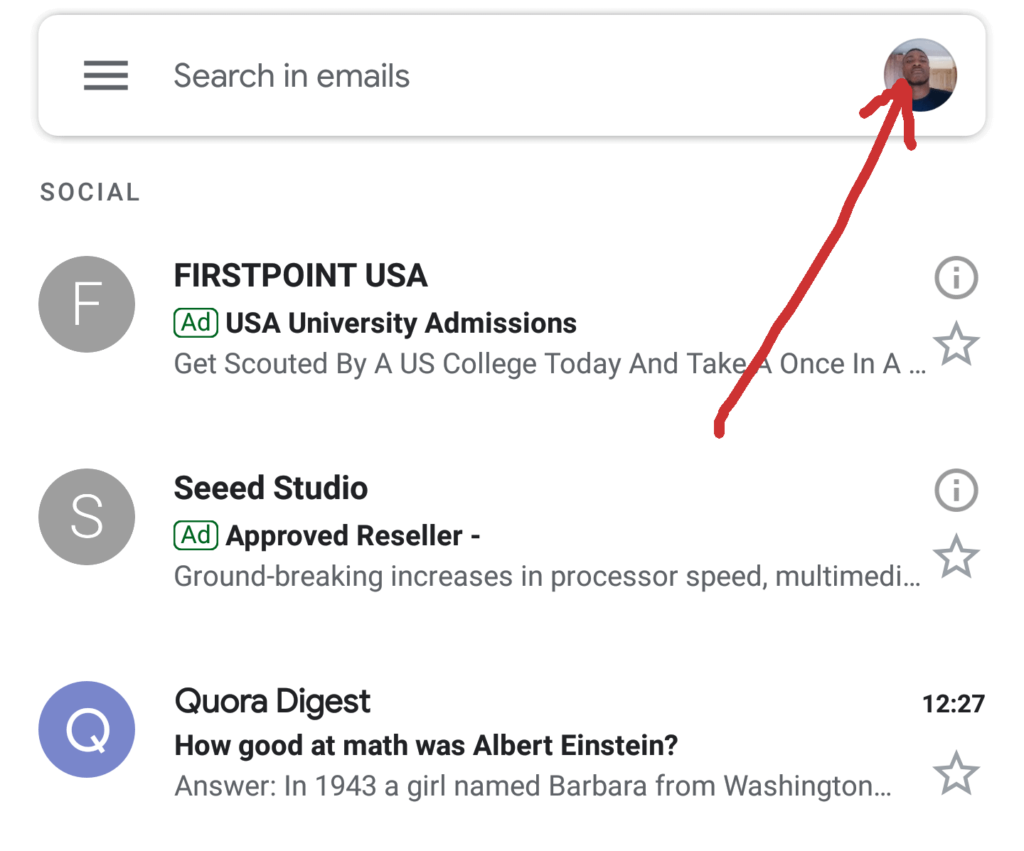
- Click on the hamburger icon in the top left corner of your smartphone screen.
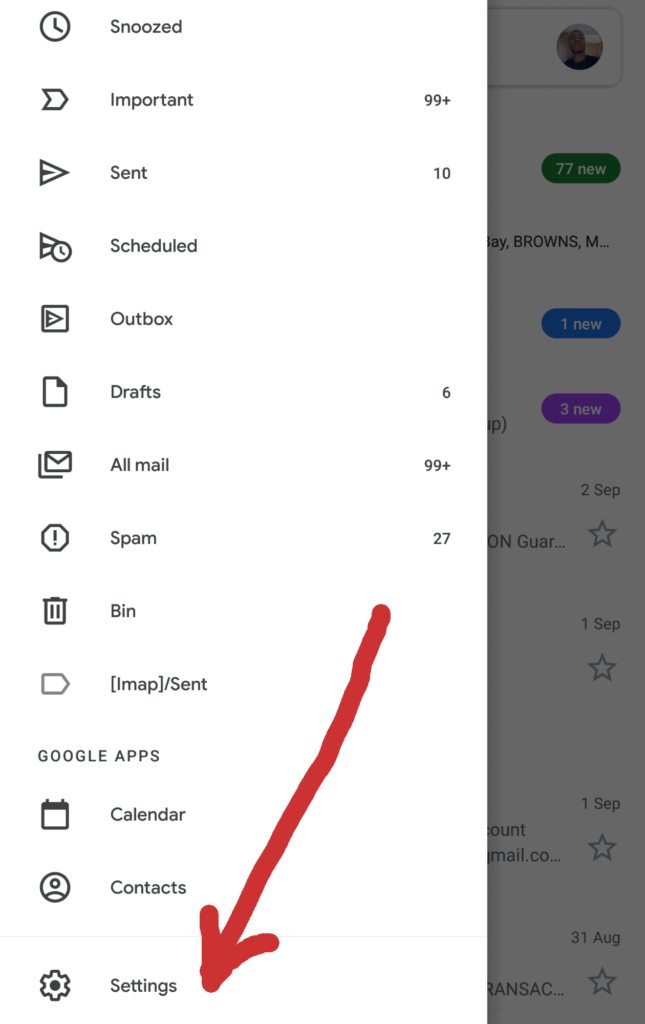
- Scroll down to the list of options and click on “Settings”.
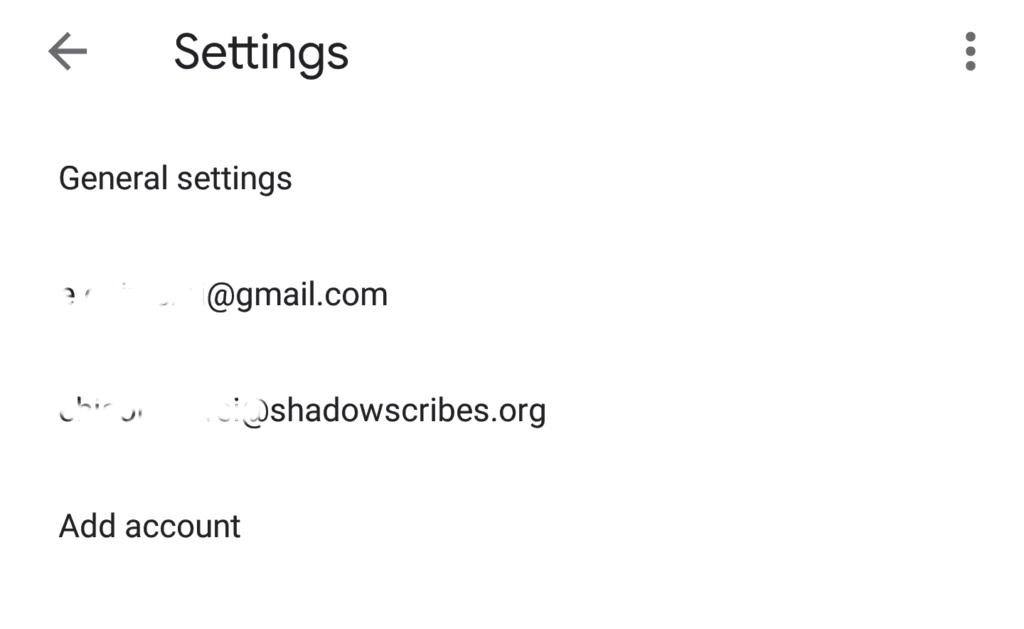
- If you have more than one Gmail account signed in on your Gmail app, select the one you want to create a signature for.
- On the page that comes up after this, scroll down until you get to the option that says “Mobile signature”.
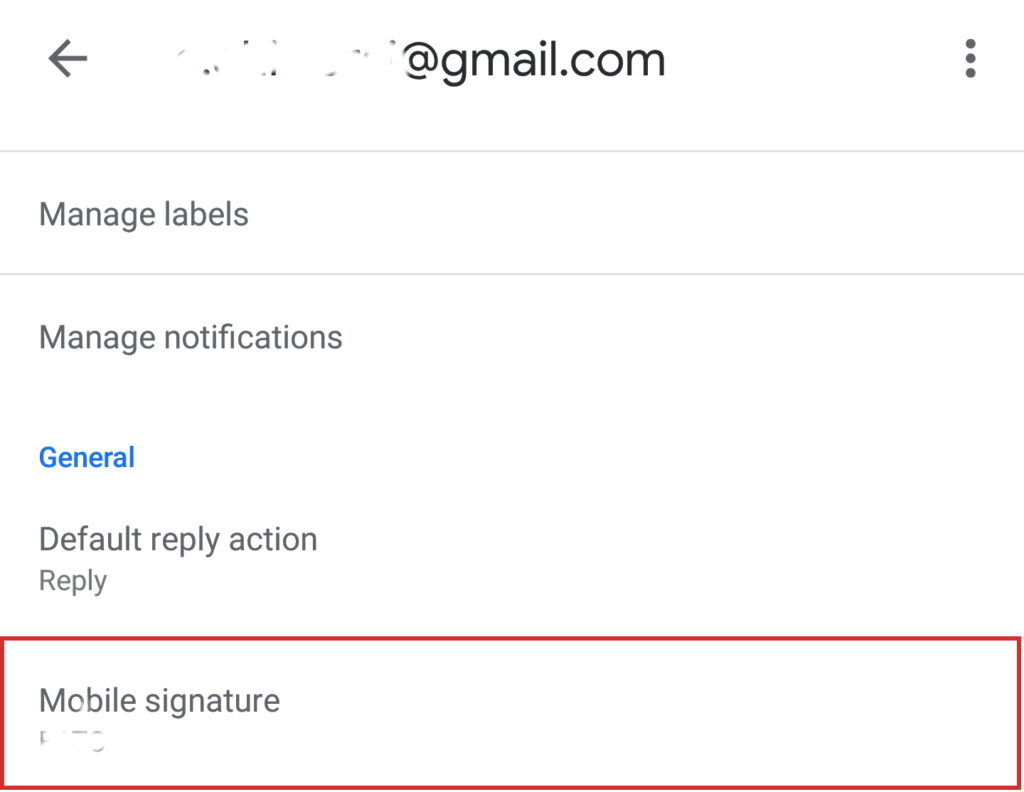
- Click on this and a textbox will appear that allows you type in your custom mobile signature.
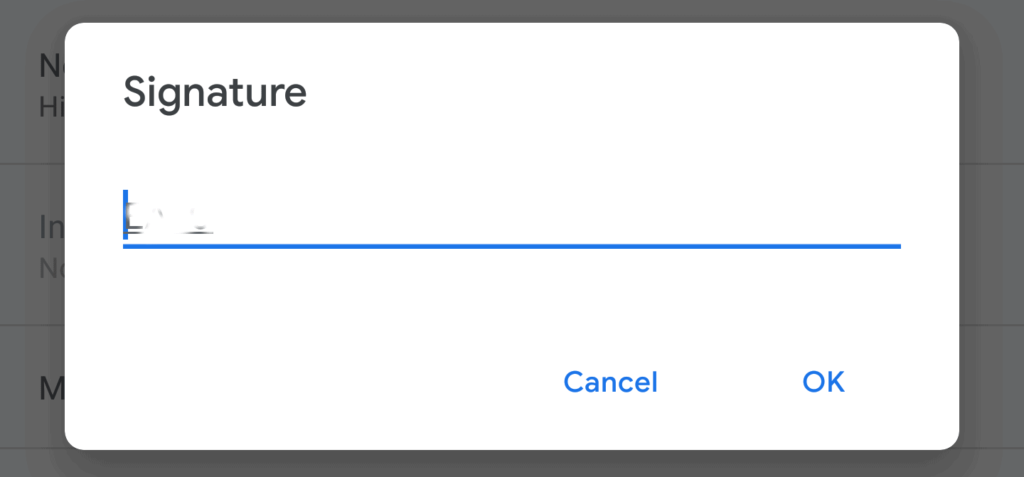
You should note that because this second option is the mobile app version, it is to be expected that the textbox is not as robust as the web version. On the Gmail app, you don’t have the flexibility that a traditional text editor has. You also cannot include images. All Gmail allows you do with the mobile signature feature is include plain texts to represent your digital signature.
We hope this tutorial has been helpful to you both as a PC and a mobile user who wants to learn how to create or add signatures in Gmail. Kindly drop all your comments and questions in the comments section below as we always love to hear from you.
