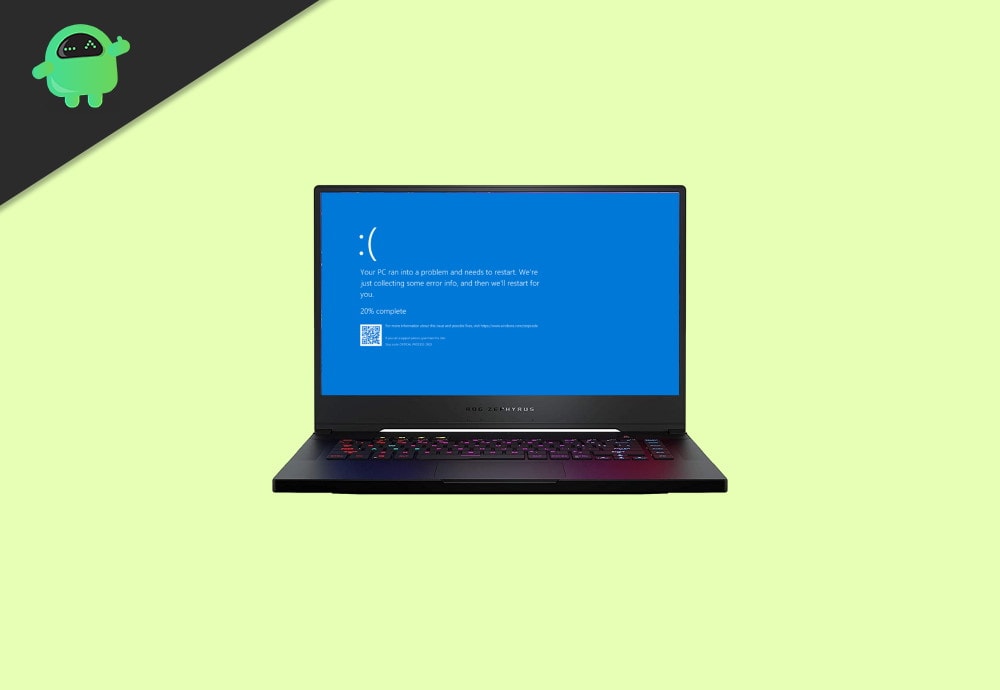
The BSOD or Blue Screen of Death errors are very common with all old and new Windows versions. Similarly, a lot of users have been reportedly facing the “Blue Screen Error Dxgkrnl.sys in Windows 10.” It commonly occurs while you are streaming videos or playing games online on your computer. The Dxgkrnl.sys is correlated to Microsoft DirectX driver.
The Blue Screen Error Dxgkrnl.sys when appears, your system automatically starts rebooting, and it can become quite frustrating after some time. Hence, if you are also the one experiencing this unlikely situation, then you have landed to the right place. In this article, we have brought you 8 easy and quick fixes for the Blue Screen Error Dxgkrnl.sys in Windows 10. Let’s get started:
Also Read
Page Contents
Causes: Blue Screen Error Dxgkrnl.sys in Windows 10
The Blue Screen Error Dxgkrnl.sys in Windows 10 can occur due to several reasons. Few of the common causes are:
- If the Graphic card drivers are corrupt, outdated, or incompatible.
- Due to any corruption in RAM.
- Suppose any Windows registry gets corrupt from recent dxgkrnl.sys related tools.
- If the dxgkrnl.sys file gets corrupted with virus or malware.
How to Fix the Blue Screen Error Dxgkrnl.sys in Windows 10?
FIX 1: Update the Graphics card driver:
One of the prime reasons for Blue Screen error Dxgkrnl.sys is the incompatibility between Graphic drivers and Windows 10 OS. An outdated or corrupt driver might also cause the error issue hence make sure your Graphic card driver is updated and compatible with Windows 10.
Update Graphic card driver manually:
- From the Start menu search and open Device Manager.
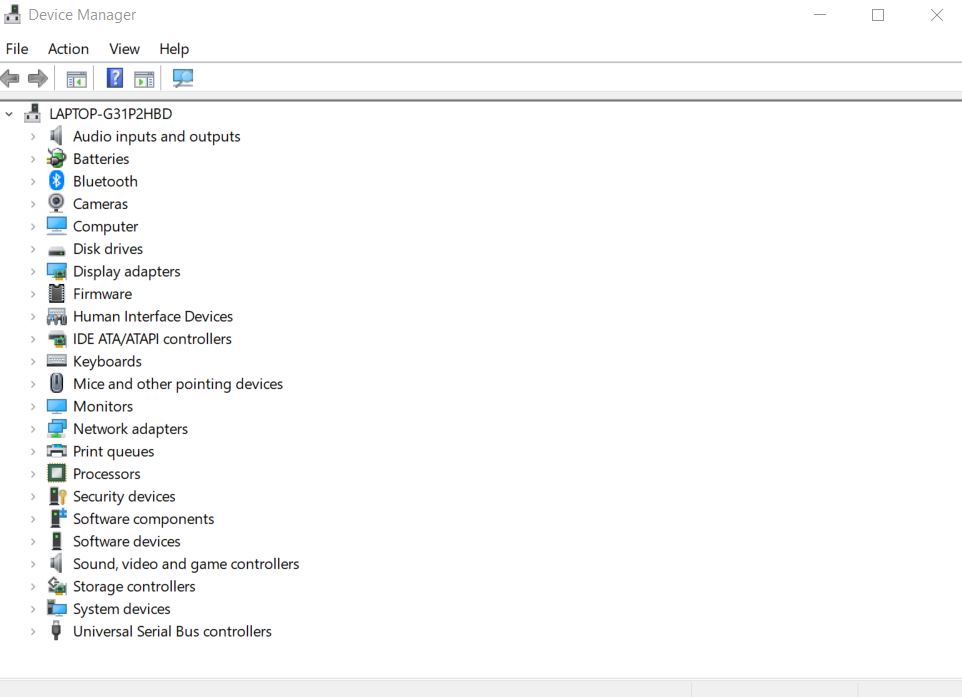
- On the Device Manager window, expand the Display adapters list.
- Now right-click on Graphic driver and select the option Update Device. Follow the on-screen instruction and complete the updating process.

Update Graphic card driver automatically:
Using automatic tools for updating Graphic card driver in Windows 10 is comparatively safer and more accessible than doing it manually. For doing this, you can either visit your Manufacturer’s website or Microsoft office (original) website and update or download the latest compatible one with your system. Or, you can also make use of other automated software tools available online.
FIX 2: Run the Blue Screen Troubleshooter:
Windows 10 comes with a built-in troubleshooter that is a solution in itself for a lot of software and hardware issues. It may also work for Blue Screen error dxgkrnl.sys. Follow the procedure explained below:
- Go to the Start menu and open Settings.
- Open Update & Security and click on the option Troubleshoot (on the left pane).
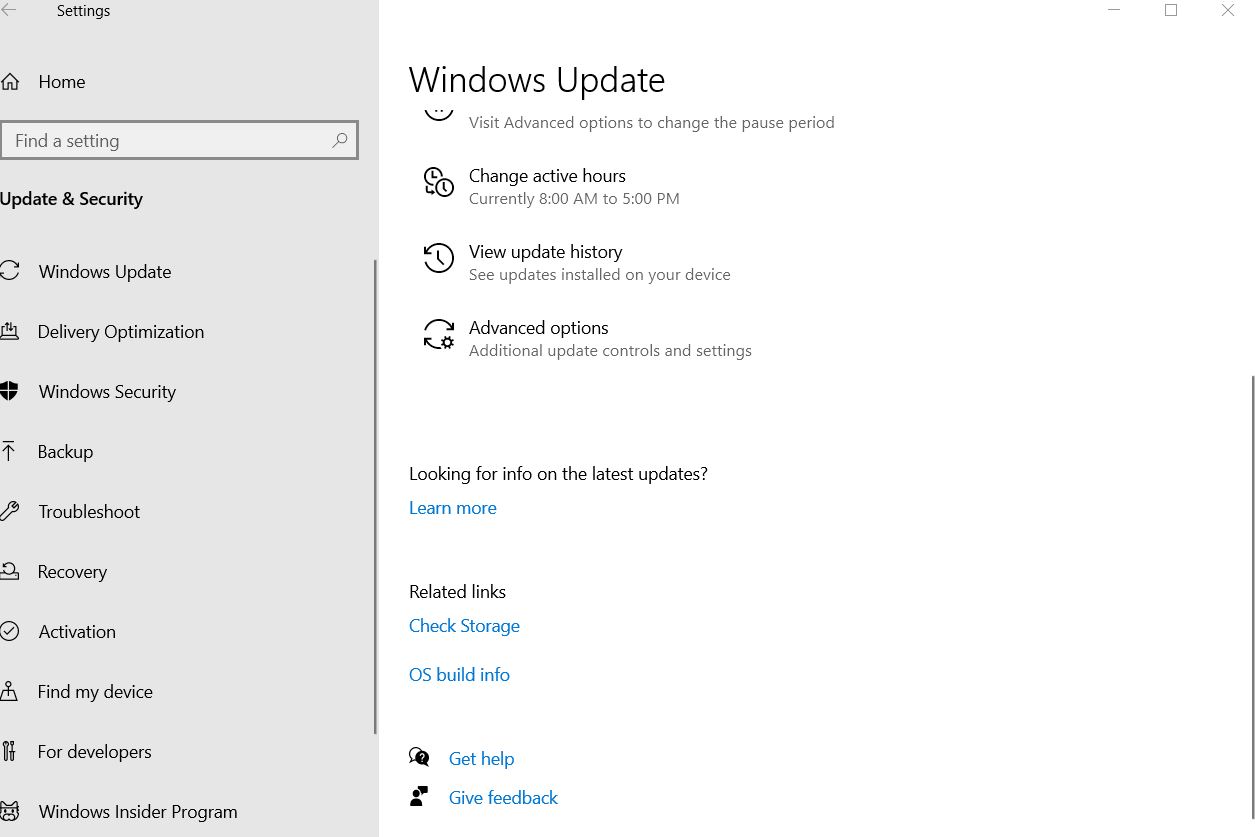
- Now select Blue Screen and select the option Run the troubleshooter. Follow the on-screen instructions and let the process complete on its own.
- Once done, restart your PC and check whether the Dxgkrnl.sys error is solved or not.
FIX 3: Run the DISM command-line tool:
For repairing corrupt system files, one of the best rescues is using the DISM command-line tool. It can position all the system images again and hence is useful for fixing the Dxgkrnl.sys error. For doing so,
- Go to the Start menu and search for Command Prompt.
- Once found, right-click on it and select Run as administrator.
- Now on the administrator window, type the following command,
DISM /online /Cleanup-Image / ScanHealth and press Enter.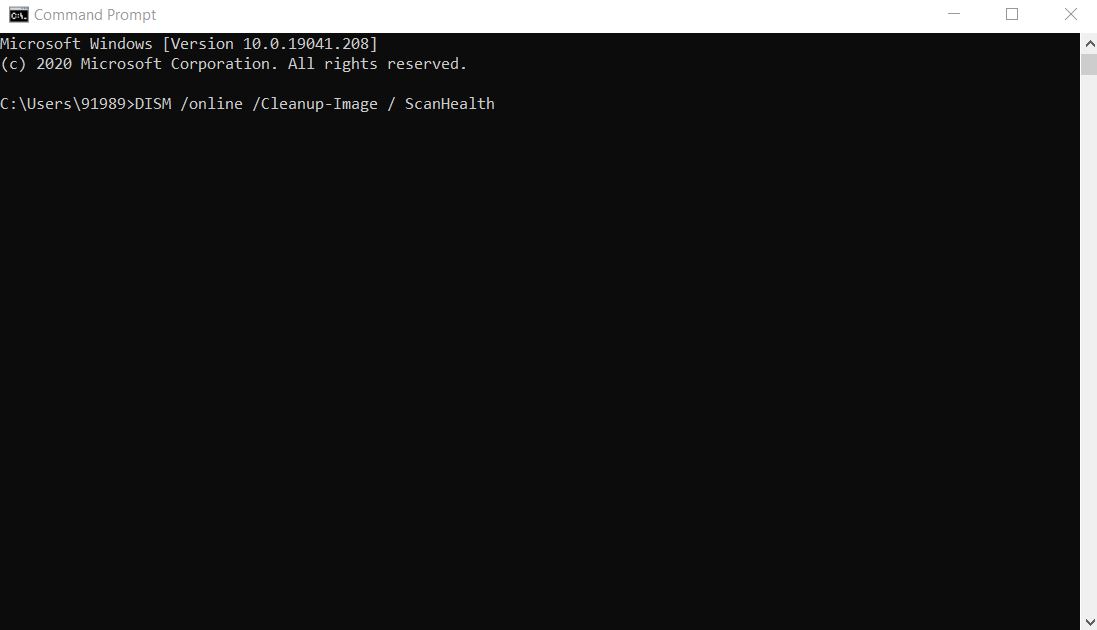
- Now type,
DISM /Online /Cleanup-Image /CheckHealth and press Enter.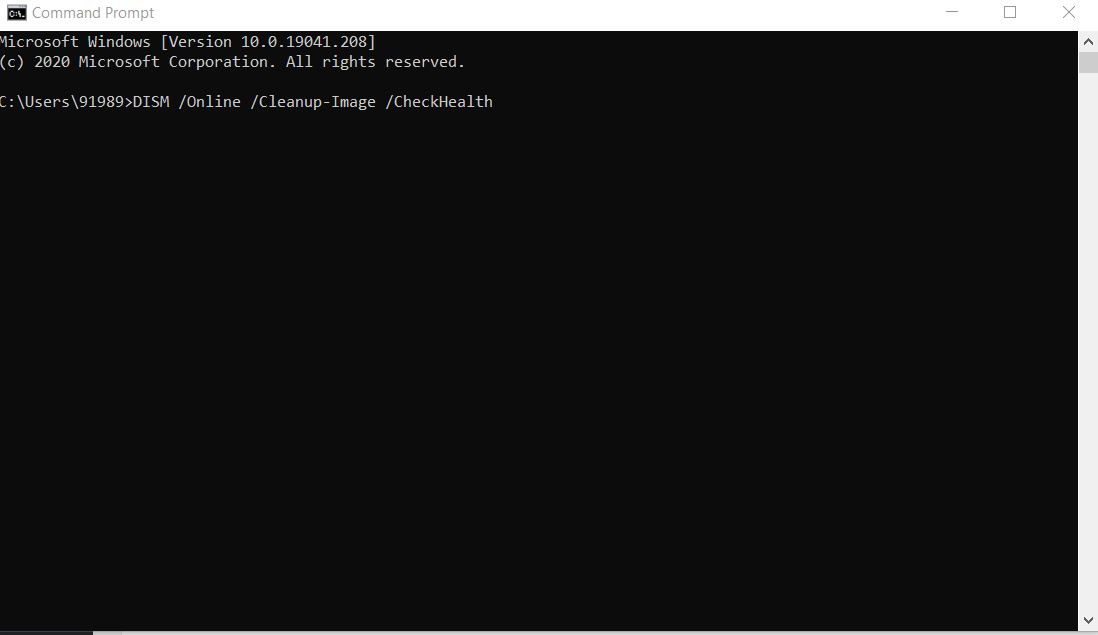
- Now type,
DISM /Online /Cleanup-Image /RestoreHealth and press Enter.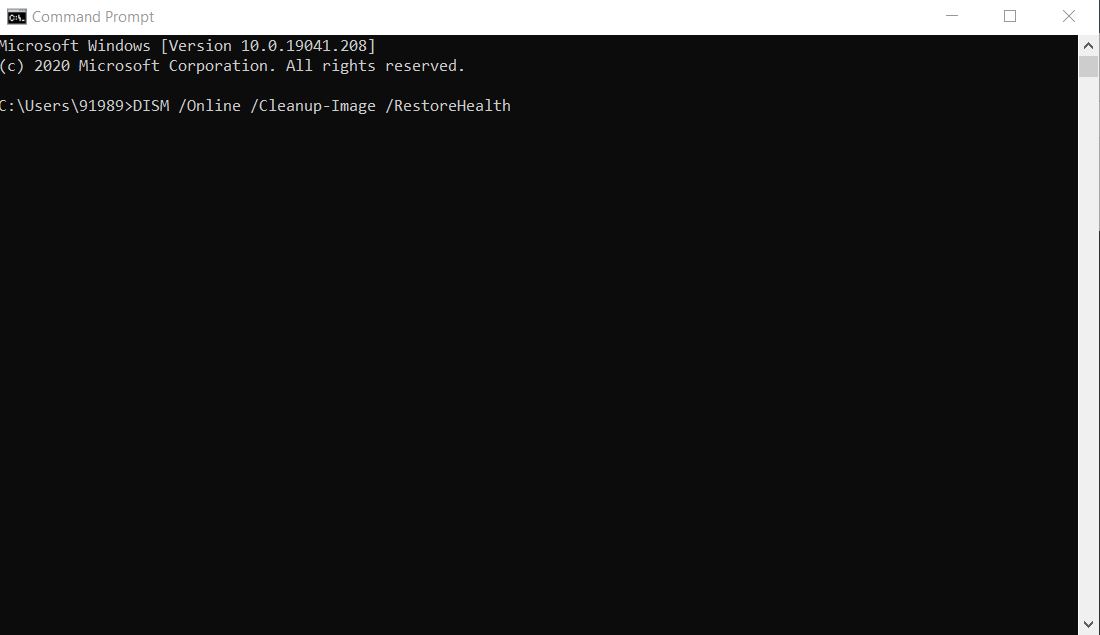
- Now, wait while DISM checks and restore all the corrupted system files. The process may take time. However, once done, restart your PC and check whether the Blue Screen error Dxgkrnl.sys is fixed or not.
FIX 4: Run the SFC Scan:
Similarly, like the DISM tool, SFC command is also used for checking and repairing corrupt files located in the compressed folder. For running SFC scan,
- Go to the Start menu and search for Command Prompt.
- Once found, right-click on it and select Run as administrator.
- Now type the following command,
SFC/scannow and press Enter.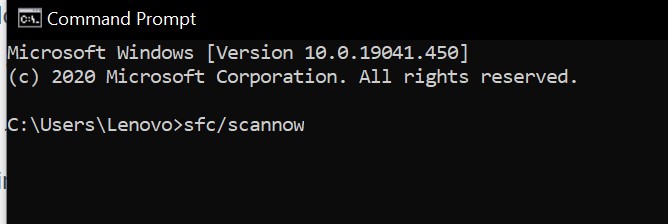
- Let it check and repair corrupt files (if any).
- Once done, restart your PC and check whether the Blue Screen error Dxgkrnl.sys in Windows 10 is solved or not.
FIX 5: Disable SLI:
When your system has two Nvidia graphics cards, then it most likely ends up showing you the Blue Screen error Dxgkrnl.sys in Windows 10. Usually, gamers use two Nvidia graphics cards in SLI mode as it helps them with improved performance. Also, is it said that while using SLI mode on Windows 10 there might occur a memory leak in VRAM. Hence to shut all such possibilities and get rid of the Dxgkrnl.sys error, follow the procedure explained below:
- Open the NVIDIA control panel.
- From the vertical panel navigate to 3D settings and select the option Set SLI Configuration (from the left-pane).
- Under Set SLI Configuration, check whether the option Do Not Use SLI Technology is selected or not. If not, make sure to select it.
- Finally, to save the changes click on Apply.
You may now check whether the Blue Screen error Dxgkrnl.sys in Windows 10 is solved or not.
FIX 6: Check for possible hardware failures:
As we said earlier, the Blue Screen error Dxgkrnl.sys in Windows 10 can also occur because of the faulty motherboard or RAM module. In simple language, it means that Dxgkrnl.sys can also occur if there are any sort of hardware malfunctions with your system. With enough technical knowledge & experience, you can check and repair the motherboard or RAM module. However, if you are not familiar with the hardware part of the computer, we recommend you to visit a repair center for whichever brand’s computer you own.
FIX 7: Change Graphics memory size in BIOS:
For some integrated graphics users, the Blue Screen error Dxgkrnl.sys in Windows 10 also got solved after they changed the Graphics memory size in BIOS. Follow the procedure explained below:
NOTE: The process might differ a little depending upon the type of BIOS that you are using.
- Firstly, restart your PC.
- While the system is about to restart, you keep pressing one of these keys (Del, F2, F10) depending upon your system configuration. Keep doing that till your PC boots.
- Once you enter the BIOS setup, locate either of these menus: Advanced, Advanced Chipset or Advanced Features.
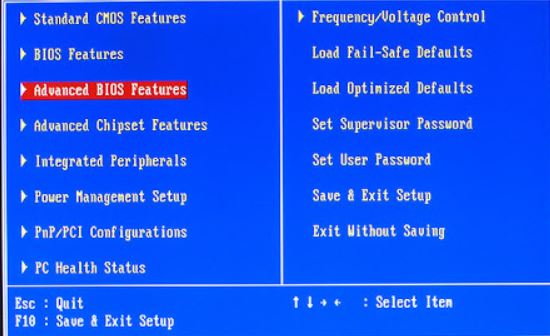
- Open it and then locate Graphic settings or Video settings. Here you require to change the memory size to at least 128MB or more.
FIX 8: Disable the Nvidia Surround:
The Nvidia surround feature allows you to enjoy the 3D experience within multiple desktops. This fantastic feature is most popular amongst professional gamers. However, the Nvidia surround when used with Windows 10 is likely to cause the Blue Screen error dxgkrnl.sys. Hence, you can try disabling the Nvidia surround to get rid of this error.
There are two ways to disable the Nvidia surround:
- Use shortcuts like press CTRL+ALT+S altogether or CTRL+ALT+R altogether.
Or
- Unplug all the desktops and then restart with only one monitor.
So, these were all the possible tried and tested fixes for the Blue Screen error Dxgkrnl.sys in Windows 10. We have tried to incorporate the best working solutions to help you get rid of this Blue screen error situation.
By the end of this article, we hope that you have got all your answers for dxgkrnl.sys BSOD error on Windows 10, its causes and fixes as well. Feel free to use the fixes mentioned in the article above and get rid of the error situation. If you have any queries or feedback, please write down the comment in the below comment box.
