When it comes to flashing the RDA bin file (firmware file) on the RDA chipset running devices, the RDA Flashing Tool is a no brainer. The RDA flashing tool is also known as RDA Multi Download Tools which can be run on the Microsoft Windows platform in order to easily install the RDA bin file (firmware).
It’s needless to say that the flashing tool comes with a simple user interface and it’s a portable application too which means you don’t need to install this tool on your computer. Just run the tool, connect your RDA chipset device with the computer via a USB cable, and start flashing your device firmware. Obviously, you’ll require the specific RDA bin file (firmware) for your respective RDA chipset-powered device.
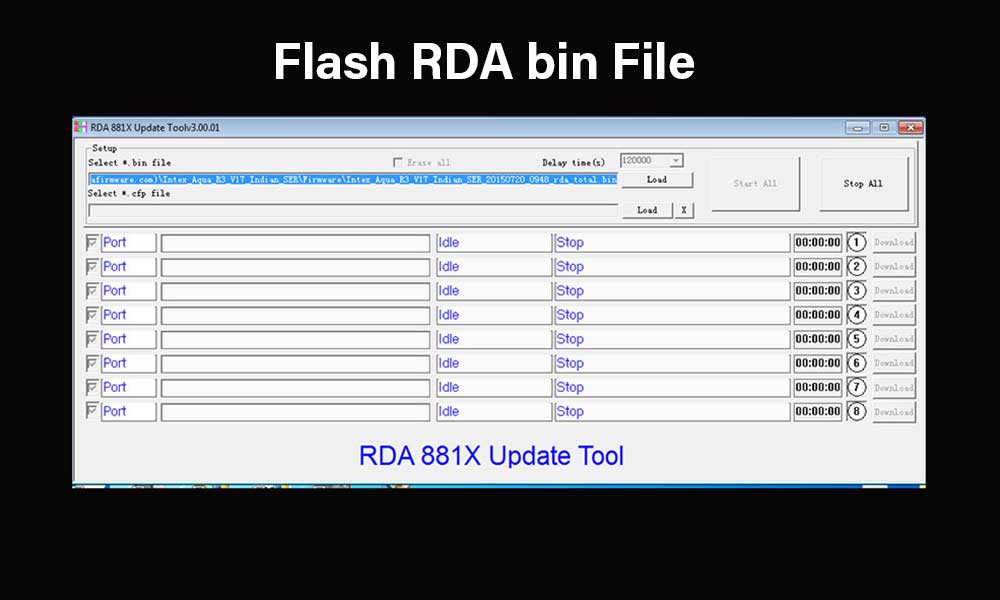
How to Flash RDA bin File using RDA Flashing Tool
Before heading over to the RDA firmware flashing guide, make sure to take a full data backup at first (if possible). Therefore, if anything goes wrong, you’ll be able to get back your important data.
Warning:
We’re at GetDroidTips won’t be responsible for any kind of damage or error that occurs to your handset while or after following this guide. Flashing firmware file on your device is fully depend on you that you can proceed at your own risk.
Requirements:
- Keep your device charged more than 50% at least.
- Take a full data backup of your device.
- You’ll require a Windows computer and a USB cable to connect your handset.
- Download the flashing tool and the RDA bin file as well.
Download Links:
- RDA Flash Tool (Multi Download Tool)
- RDA USB Drivers (RDA_Driver_v1.2_Signed.zip)
Flashing Steps:
- After downloading the USB drivers on your PC, install it.
- Now, extract the downloaded multi download tool on your PC.
- Double-click on the Multi_IEdownload_eng.exe file to open the flashing tool.
- Once the multi download tool launched, you’ll be able to see the multi download tool interface.
- Now, click on Browse > Find out the downloaded RDA bin file (firmware) from your PC.
- Click on the firmware file to select and click on Open.
- Next, switch off your RDA device and connect it to the PC using a USB cable. (Do not remove the battery from the handset)
- Click on Start All to initiate the firmware flashing process.
- Wait for the process to complete and you’ll get a success message with a green signal on the screen.
- Finally, remove the USB cable from your device and switch it on.
- Again the first boot will take some time. So, have some patience.
- Enjoy your RDA device with the stock firmware.
That’s it, guys. We assume this guide was helpful to you. For further queries, feel free to ask in the comment below.