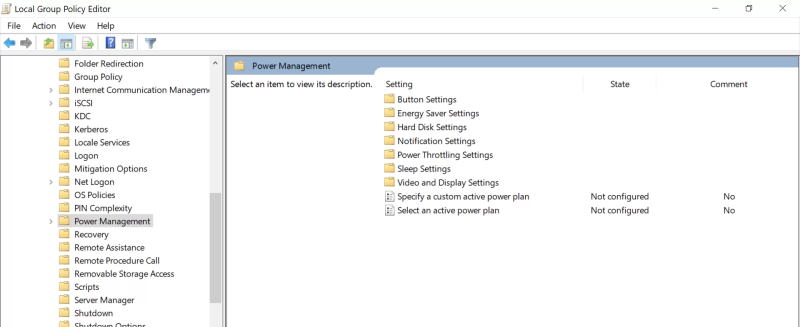
Group policy editor comes as a core component on your Windows installation. But sadly, it’s not the case when you have Windows 10 Home edition installed on your system because the Group policy editor is only included in pro versions like Windows 10 Pro or Pro Education. Here’s how you can also install and add features of Group Policy editor in Windows.
Group Policy editor makes it possible to apply policies to your system to control how your PC is used. This is a vital feature if you have multiple systems on your network or multiple users on your system. Since these features won’t be necessary in-home environment, so Microsoft decided to exclude this feature. But for some reason, you may want to use this feature. So in this article, let’s see how you can install the Group Policy editor on your Windows PC.
Also Read

Page Contents
How to install Group Policy Editor in Windows?
There are several different ways to install the policy editor. For Windows 7, it comes preinstalled, but for new Windows 10 users, users have to instal it manually. Here’s how:
Method 1: Enable using Powershell or CMD script
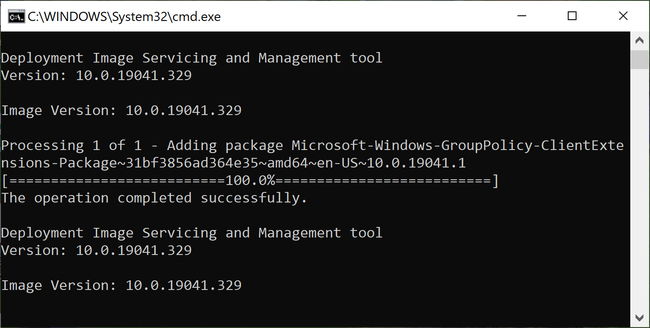
This is the easiest method. You have to download and run a script on your machine. Don’t worry. This script is only going to enable the Group Policy editor on your machine. So you can run this without any worries.
- First, download this zip file on your PC. gpedit-enabler
- Extract the zip file to anywhere accessible.
- Right-click on the gpedit-enabler.bat file and click on Run as administrator.

- Wait for it to complete.
If successful, you should see that the group policy editor is now installed on your system. But you have to do some extra steps if you are running a 64bit version of windows.
- Go to the C:\Windows\SysWOW64 folder on your PC.
- Copy GroupPolicy, GroupPolicyUsers, and gpedit.msc.
- Paste them into the C:\Windows\System32 folder.
Now you should be able to start gpedit. msc from the Run box itself. So to access it, press the Windows key and R key at the same time.

Now a box will appear. Type in GPEDIT.MSC and hit enter. The Group policy editor should open. But if you face any issues, you can refer to the below paragraph as well.
Method 2: Fix MMC cannot create a snap-in error
This error may pop up on some occasions. In that case, you have to follow these steps to solve it.
- Open file explorer and go to this folder C:\Windows\Temp\gpedit\
- Download this zip file to your PC x86x64
- Extract and copy the contents to the folder location mentioned above.
- It will ask you to replace two bat files; click on continue.
- Finally, run x86 (for 32bit windows) or x64 (for 64-bit windows).
Let it complete, and after a restart, you should see that the group policy editor is working without any issues on your system.
Conclusion
As you can see, installing the Group Policy Editor on your Windows 10 home editions is easy. For some people, these steps may look a bit confusing. But if you do everything as mentioned in this article, you. should be good to go. Just make sure you don’t change or modify any critical system components when copying or moving files around. While it is not required to perform a restart after installation, you can restart if you face any issues.
