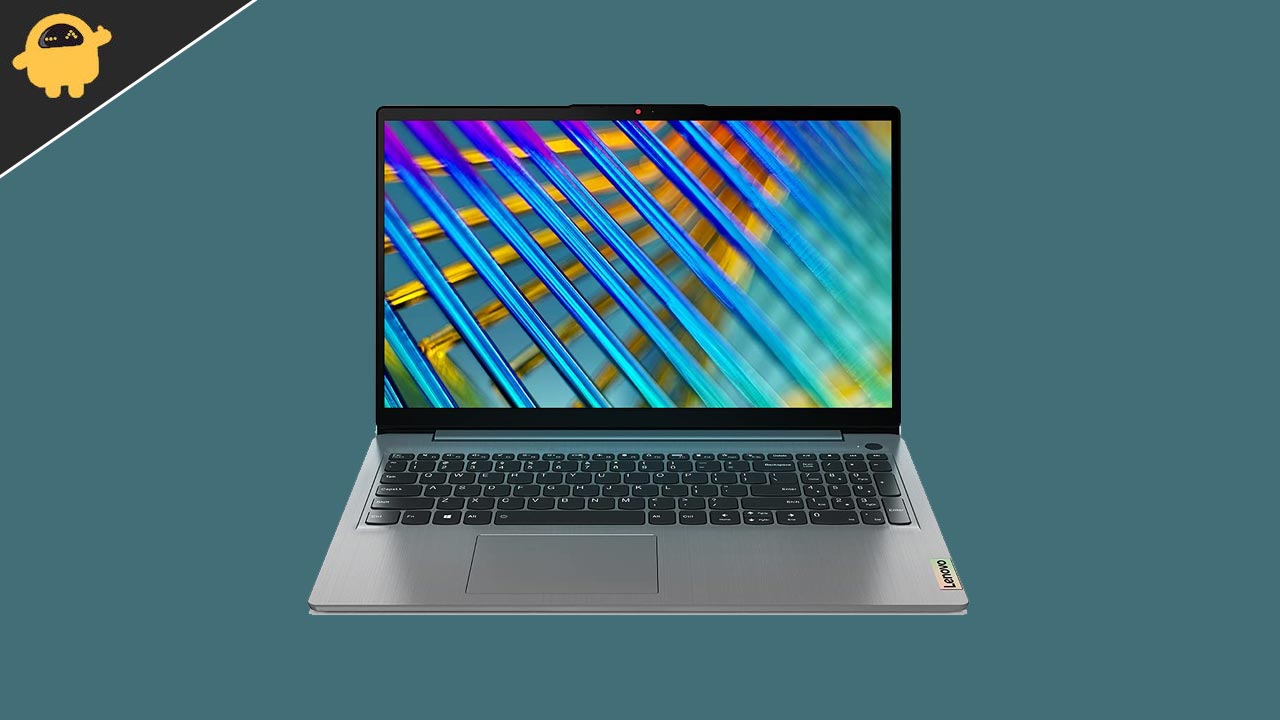
Dealing with power-related problems on your laptop, like your Lenovo IdeaPad failing to charge, can be extremely irritating. These problems can hinder your productivity, restrict your mobility, and lead to a frantic search for a solution. As we increasingly depend on our gadgets for work and entertainment, it is vital that they function without any issues. Hence, encountering a problem like your IdeaPad not charging requires prompt attention.
In this guide, we will assist you in diagnosing the causes of your Lenovo IdeaPad’s charging problem and provide step-by-step instructions on how to resolve it. We will cover various troubleshooting methods, including checking the power cable and battery status, as well as more advanced procedures. Our goal is to restore your Lenovo IdeaPad’s functionality, allowing you to carry out your digital tasks without any disruptions.
Also Read
Fix: Lenovo IdeaPad Not Connecting to the Internet
Fix: Lenovo IdeaPad Not Turning On
How to Fix If Lenovo IdeaPad Not Booting After Update
Fix: Lenovo IdeaPad Showing Black Screen
Fix: Lenovo IdeaPad Wi-Fi Not Working or Stopped Showing
Fix: Lenovo Ideapad 310, 320, and 330 Not Turning On
Fix: Lenovo Ideapad 310, 320, and 330 WiFi Not Working or Keeps Disconnecting

Page Contents
How To Fix Lenovo IdeaPad Charging Issue?
We are here with the method which you can try on your Lenovo Laptop through which you will be able to resolve the issue which is causing your laptop. The issue might cause due to software as well as a hardware problem. But, you don’t have to worry about it. Try the methods which we are mentioning below to try to resolve the problem.
Check Cable Connections
The first thing that we will suggest is to check the cable connection of the charger whether it is in working condition or not. Sometimes the charger is not working properly and not supplying proper voltage to the laptop due to which this issue can occur. So, make sure that you check the wire as well as your Charger adapter that both are working correctly.
After it, check the charging port of both the laptop and charger so that there is no object stuck within it. As it may also cause an issue in charging. After doing this, properly attach the charger and turn on the power source and check whether the laptop is charging or not.
Remove The Battery and Connect Charger
If you have a detachable battery with your laptop then remove it by turning off the laptop and charger. Unplug all the connected devices. Now, again plug the charger, after removing the battery, and turn on the laptop. If the laptop is turning on then there are some issues with your laptop battery, so you have to replace it with a new one to fix the issue.
Power Reset Your Laptop
You can also power reset your Lenovo IdeaPad to fix this issue.
- First of all, shut down the laptop.
- Unplug your charger.
- Remove the battery from the Lenovo laptop.
- Press and hold the power button for 30 seconds, and after it, release it.
- Now, insert the battery and plug the charger.
- After that, turn on your laptop and check whether it is charging or not.
Update Your Battery Driver
We will also suggest you update your Battery Driver to avoid this type of issue. So, follow the steps which are given below to update the battery driver.
- Open Start Menu.
- Search Device Manager in the search bar.
- Now, click on the batteries tab and expand it.
- Right-click on the battery driver and select the Update driver option.
- Now, follow the instructions which are given on the screen to complete the update.
After it, check whether the charging issue has been fixed or not.
Update Your BIOS
The other thing that you can try is updating your BIOS. This issue can also cause due to the outdated BIOS of your laptop. So, follow the steps which are given below to update the BIOS of your laptop.
- Go to Lenovo Support Page.
- Select PC.
- Now, go to your Product Page.
- Click on Drivers & Software.
- Select BIOS.
- Follow the instruction to download and update the BIOS Driver.
- After that, restart your laptop and plug in the charger.
Contact Customer Support
Even after implementing all the above methods, if the issue is still persisting then we will suggest you take your laptop and charger to the nearby service center. They will analyze the problem and will fix it. So, visit your nearby service center to get your charging problem fixed.
Conclusion
So, in this guide, we have mentioned the methods through which you can try fixing the issue. Therefore, follow all the methods carefully and if you have fixed the same issue through any other methods then do share it with us in the comment section below.
