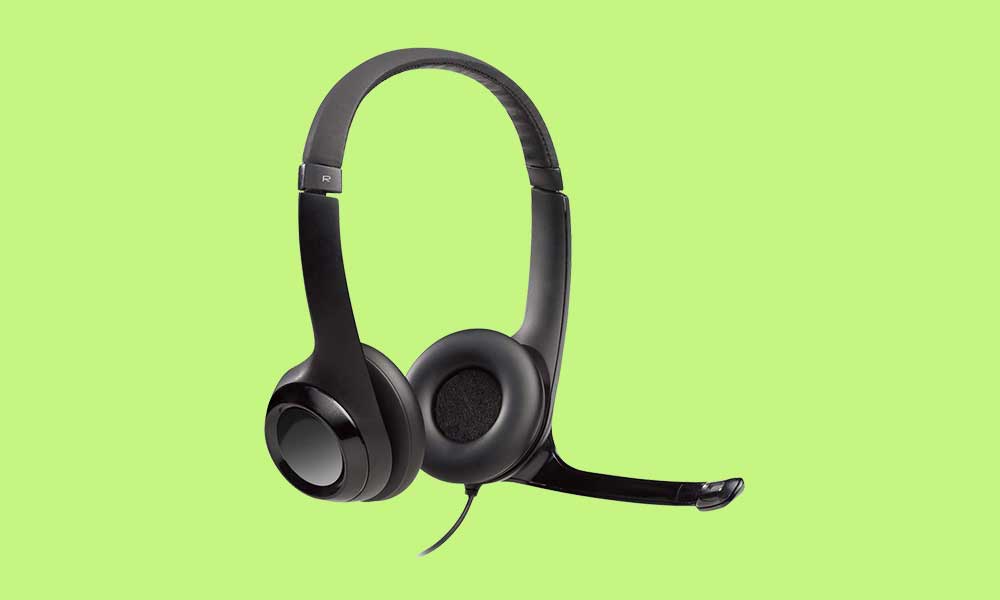
Logitech is known for its computer peripheral devices at both budget and premium segment price tags depending on the quality or features in the market. When it comes to wired over-the-ear headphones, the Logitech H390 Noise Cancelling USB headset is the first preference at a cheaper rate. However, due to some unexpected reasons, the Logitech H390 Noise Cancelling feature is not working for some unfortunate users which is pretty much irritating.
Now, if you’re also one of the victims to encounter the same issue then you can follow this troubleshooting guide completely to fix it. To recall, the active noise-canceling feature offers a focused audio listening experience to the ears without passing the extra ambient noise. So, you can only enjoy your music or voice without any kind of major disturbances anyway. But sometimes this feature may not work or stopped working if something wrong happens to it.
Also Read

Page Contents
Fix: Logitech H390 Noise Cancelling Not Working
Plenty of reports are coming out that several Logitech H390 wired headset users are getting a lot of background noises while using multiple apps or listening to music or even during calls. Talking about the possible reasons behind such an issue, it seems that whenever Logitech headsets are plugged in for the first time, the Windows PC settings and the volume configuration have any pre-configured option which is troubling you.
Luckily, here we’ve shared a couple of possible workarounds for you that should gonna help you out. So, without wasting any more time, let’s jump into it.
1. Adjust Volume and Device Settings on Windows
It’s highly recommended to adjust the volume level and device settings on Windows before going to any conclusion because some misconfiguration can simply trouble you a lot. To do so:
- Press the Windows + I shortcut keys to open Windows Settings.
- Click on System from the left pane > Go to Sound.
- Click on More sound settings > A new window popup will open.
- Go to the Recording tab > Click on your Logitech H390 headset.
- Select Properties > Head over to the Levels tab > Adjust the microphone level to 30.
- If you want to adjust the ambient noise level then you can do it further.
- Once done, click on Apply > Click on the Custom tab > Untick the AGC checkbox.
- Now, click on Apply and then OK to save changes.
2. Update Audio Driver
The second thing you should do is to update the audio driver on the PC because an outdated or missing audio driver can conflict with the noise-canceling feature on the connected headset.
- Press the Windows + X keys to open the Quick Link Menu.
- Now, click on Device Manager from the list > Go to the Sound, video and game controllers segment.
- Double-click on it to expand the list > Right-click on your Logitech headset and select Update driver.
- Click on Search automatically for drivers > If there is an update available, it’ll automatically install the update.
- Once done, reboot the PC to apply changes.
3. Update Windows
Sometimes issues with the outdated Windows OS version or build can trigger multiple conflicts to the peripheral devices. If in case, you’re also feeling the same thing then you can follow the steps below to do so.
- Press Windows + I keys to open up the Windows Settings menu.
- Click on Windows Update from the left pane > Click on Check for updates.
- If there is an update available, you should select Download and Install.
- Wait for the update process to be completed.
- Once done, make sure to restart your computer to apply changes.
4. Try Connecting the Headset to Another Port
You should try connecting the Logitech H390 wired USB headset to your PC via another USB slot. Sometimes you prefer to use multiple devices to a single USB slot whenever available but the loose connectivity or compatibility can trigger issues. It’s better to connect the headset to another USB port to check for the issue.
5. Set Windows Audio Service to Manual
If in case, you’re still facing the Logitech H390 Noise Cancelling Not Working issue then you can follow the steps below:
- Press the Windows + R shortcut keys to open the Run dialog box.
- Now, type services.msc in the box, and hit Enter to open Services.
- Scroll down the list and search for Windows Audio service.
- Double-click on it and select Manual from the Startup Type option.
- Click on Apply and then OK to save changes.
6. Rollback Audio Driver
If none of the methods worked for you then try downgrading the audio driver on the PC (if available).
- Make sure that the Logitech H390 wired headset is connected to the PC.
- Press the Windows + X keys to open the Quick Link Menu.
- Now, click on Device Manager from the list > Go to the Sound, video and game controllers segment.
- Double-click on it to expand the list > Right-click on your Logitech headset and select Properties.
- Go to the Drivers tab > Click on Roll back driver.
If you’re getting the greyed out ‘Roll back driver’ then you can follow the steps below:
- Right-click on your Logitech headset > Select ‘Update Driver Software…’.
- Select ‘Browse my computer for driver software’ > Select ‘USB Audio Device’ from the list depending on the brand.
That’s it, guys. We assume this guide was helpful to you. For further queries, you can comment below.
