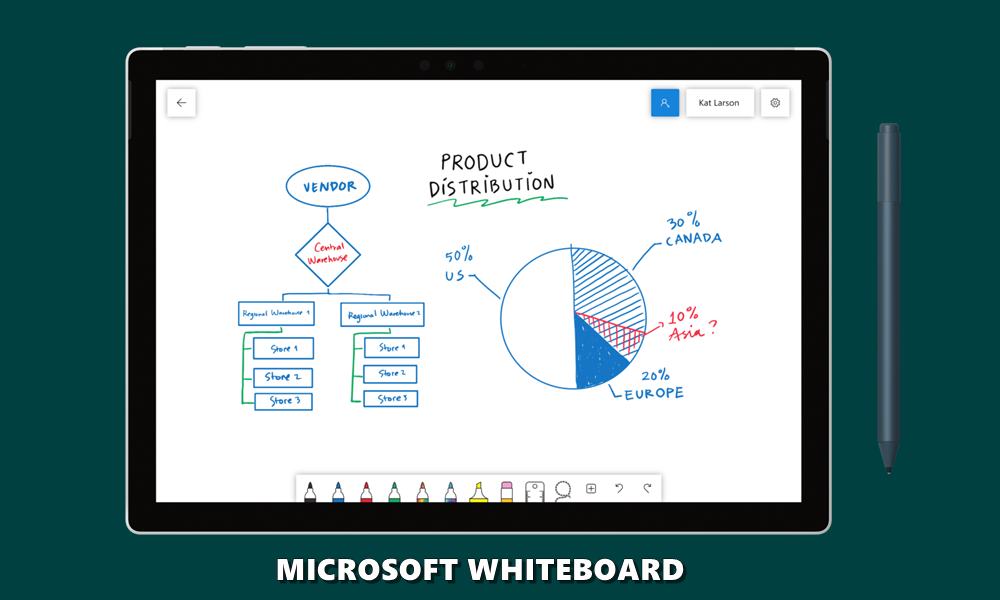
In this tutorial, we will show you how to use the Microsoft Whiteboard app. During this lockdown phase, there is some genre that seems to have benefited quite a lot. For example, streaming services like Netflix and group video calling apps like Google Meets and Zoom came out as the eventual winner. In the latter section, there are some creation and collaboration tools as well. Microsoft Whiteboard is one of them. Although it was introduced in the latter stages of 2017, it is recently witnessing a change in fortune. Quite a lot of teachers and office personnel are heading over to this app.
However, with such a plethora of options to deal with, a newcomer might feel lost in the app. But once you realize its true potential, there’s no stopping you. Therefore, in this tutorial, we will list out all the instructions, tips, and tricks to make you a pro in Microsoft Whiteboard. If you have been invited to a whiteboard or have created one yourself, these tips will be beneficial in both the scenarios. Even if you are already using it, there’s still room to learn something new about Microsoft Whiteboard. With that said, let’s begin with the guide.

Page Contents
How to Use the Microsoft Whiteboard
Offering a wide array of shapes, tables, and ink recognition features, the Whiteboard app offers a plethora of things to try out. Let us check them out in detail.
Installing the App
Getting your hands on this Microsoft application is pretty easy. Head over to the Microsoft App Store if you are on a Windows PC. For macOS users, you could download the same from the App Store. If you have any other platform but still wish to try it out, ask your Windows or Mac users to send you the group-joining link. Open the same on any browser and then click on the View on the web option and sign in with your Microsoft Account.

Moving on, once you have opened the Microsoft Store, type in Microsoft Whiteboard in the search bar, and hit Enter. Then hit the Get button next to the result’s listing. The installation will now begin and upon its completion, the app will be added to the Start menu. Now launch the app and accept the terms and conditions. Finally, enter your Microsoft account credentials to log in to the app. That’s it. You are now done with the initial steps. Let’s now have a look at some of its tips and tricks.
Creating a Whiteboard
Now that you have set up the app, its time to start with the first prerequisite, i.e. creating a whiteboard to work on. Here is everything you need to know in this regard.

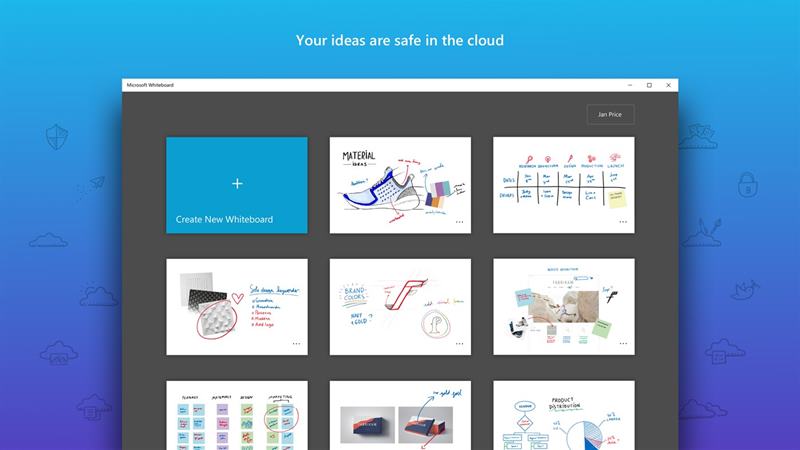
- Launch the app and click on Create Nw Whiteboard option. It will be a large new blue tile that is visible in the main menu itself.
- Now click on the Invite Someone option. The option is situated at the top right, right before your avatar.
- The next option will bring the Link Sharing option. Turning it on will allow other members to join this group and collab with you. Anyone with the link can do so. If you wish to restrict access, just toggle off this feature anytime you wish.
- You should now see the Copy Link, click on it. The link will now be copied to your clipboard. Simply send it to anyone you wish and wait for them to join. In the meantime you could try customizing your whiteboard, as mentioned below:
- If you are having a pen tool or a stylus, or you are having a touch screen PC, consider enabling the Active pen mode. This will make your work pretty easy.
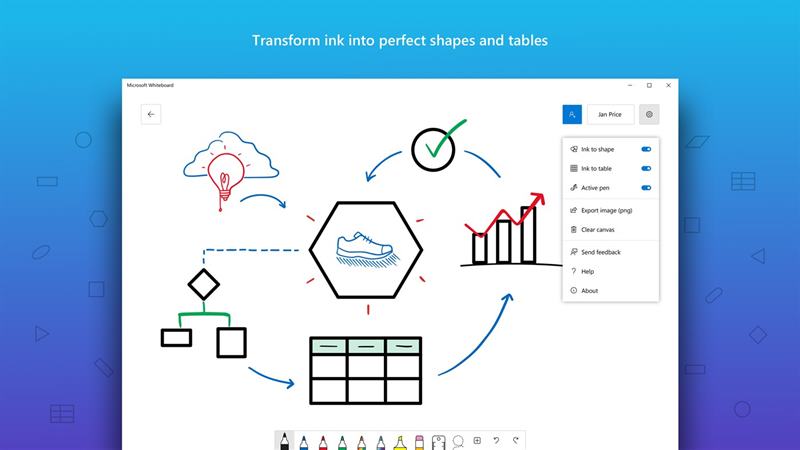
- Furthermore, if you can’t draw a perfect shape, then Microsoft Whiteboard should do it for you. Simply enable the Ink to Shape option. It doesn’t matter if you draw the edges and corners perfectly or not. The app will identify it and will draw a perfect shape for you.
- Similarly, if you play with data, you might need to deal with tables. In this regard, the Ink to Table will come in handy.
- By default the entire background is white. This might not be of everyone’s liking. So if you wish to change it, head over to the Format background option and select from a wide range of colors.
- Finally as and when you are done with the Whiteboard you could export and save all your work as an image as well. Click on the Export option and select the image type that your file should be saved as.
Customizing the Whiteboard
Now that you have created a whiteboard and invited your friends to join, here is how you could start working on it.

- Start by clicking on the Inking Mode, which offers a plentitude of drawing tools. This should be the first icon in the bottom toolbar.
- To further explore its capabilities, click on a drawing tool. You should see each option further having plenty of other customizations as well. For example, just the pen icon will give you around 6-7 different types of pens and colors as well. Likewise, there’s also a marker, highlighter, pencil, eraser, scale and various other options to try out.
- It also offers pen tips of different shapes, sizes, and colors as well. You could choose the desired color palette and the thickness of the line from the said option itself. to change the width of the lines, hit the black circle that shows your current width.
- Now that you have selected pen, thickness, and colors, it’s time to show off your artistic abilities. Head over to the whiteboard and start drawing.
- If you wish to draw something of great precision, consider enabling the gridlines or the ruler tool. Both of them should be present at the bottom toolbar. Similarly, there’s also the Redo and Undo options situated in the bottom toolbar.
- Once you are done, click on the Done Inking option situated at the bottom left corner of the toolbar.
Creating Objects/Adding Files
Till now you have learned to draw on the whiteboard using sketch tools0 but that’s just the tip of the iceberg. There’s plentitude of other features waiting for you.

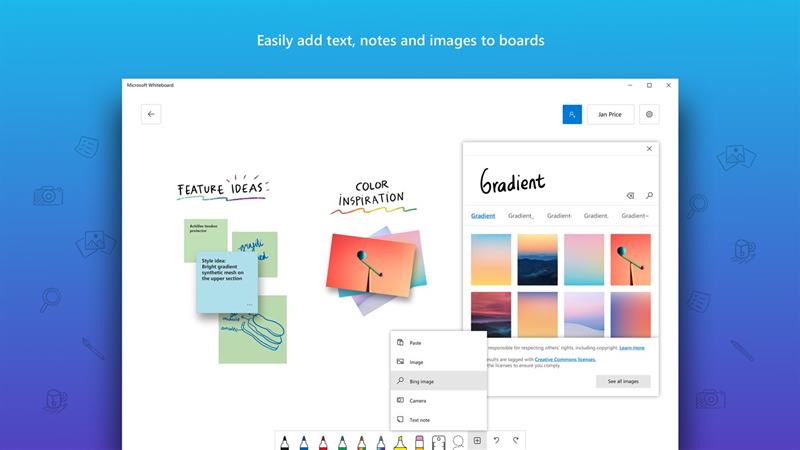
- Hit the Plus icon in the bottom toolbar. This will throw open a long list of menu, including Text, Note Grid, List, Template, Bing Image, Camera, PDF, Word Documents, and Powerpoint Document. Let’s check out what each one of them does.
- The text option, as the name suggests, allows you to add text. You could increase or decrease the size of the text by dragging the text box from the corners.
- The Note Grid option is a type of sticky note, that gets added to one corner of the drawing board. However, it’s more than just editing capabilities. Adding images, customizing texts with colors are just a few of the possibilities. You could also add an image, either from your PC or online using the Bing Image search.
- Adding external files is also possible. For example, you could add Templates, PowerPoint (.ppt), Word (.doc or .docx) and PDF files. Further options could be brought about by right-clicking on the canvas.
- In that menu, there will be an option to clear the entire whiteboard. So if you don’t wish to create a new whiteboard but still want to start everything from scratch, use the Clear option rather than manually using the Undo option continuously.
Conclusion
So this was all from this guide on how to use the Microsoft Whiteboard app. We have listed the complete instructions right from installing the app to customizing it as per your need. With that said, if you still have any doubts left, do drop in your queries in the comments section below. Likewise, don’t forget to check out our iPhone Tips and Tricks, PC tips and tricks, and Android Tips and Trick section as well.
