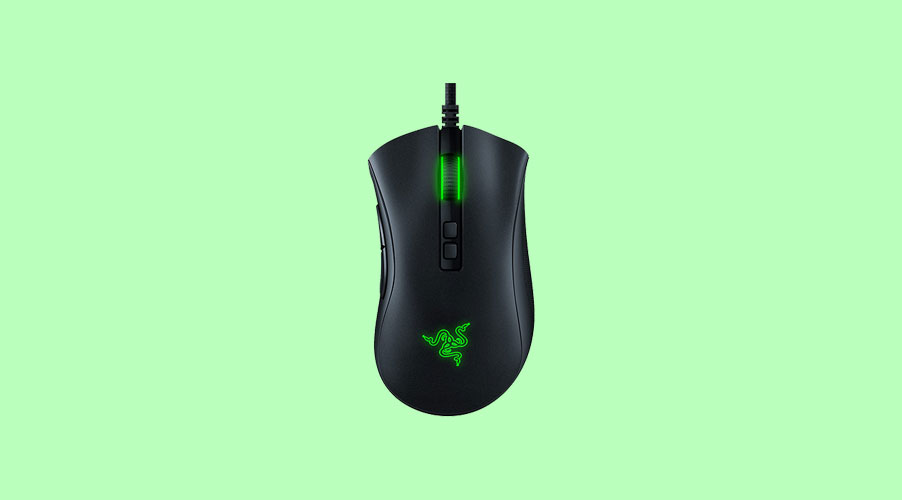
Razer is one of the top brands in computer accessories, whether we talk about mice, keyboards, and speakers. Their products are mainly focused on gamers. Their products are top-notch in quality. But still, some users face an issue with their synapse tool, and in this post, we’ll tell you how to fix Razer DeathAdder Not Showing Up in Synapse.

Page Contents
What is Razer Synapse?
A synapse is software by Razer to control and customise Razer devices. You can change colour, save different settings and do many more different things with the help of this software. Make sure you download it when you purchase any Razer accessories. Here is the list you look for when your Razer DeathAdder is not Showing Up in Synapse.
1. Reinstall all your Razer devices
When you plug in your Razer DeathAdder after using another local mouse, your PC cannot recognize a new device instantly due to software issues. It can be solved by just reinstalling the Razer DeathAdder from your PC.
Here are the steps you can follow to Reinstall your all Razer devices:
1. Click Windows+R to open a run command.
2. Now type devmgmt.msc for device manager.
3. Click on Mice and other Pointing Devices to see all connected USB devices.
4. Right-click on your Razer DeathAdder and tap on uninstall.
5. Unplug your Razer DeathAdder from your PC and wait a minute.
6. Replug your device and restart your PC.
7. Open Synapse and recheck your device connectivity.
2. Install Razer Synapse Latest Version
Companies release new versions of their software to improve the users’ overall experience. Still, most people don’t update their software regularly, leading to issues between connected devices. Check your Razer Synapse software version and update it if you use the old one.
With every update, Razer added new devices to their software and fixed the minor bugs their users faced during usage. They also improve its UI and improve overall performance.
1. Launch Razer Synapse software on your PC.
2. Click the top right corner of your screen.
3. Now go to the about tab.
4. Click on check for updates.
5. Download the update in my apps section if you find any pending updates.
6. Reconnect your Razer device, and check if the device is checked.
3. Run Troubleshoot In Razer Software
Troubleshooting is a feature that can help users detect all minor problems with their software. It will solve every problem if it’s found. You have to sit on your chair and wait while it’s fixing your software. Here are the following steps you need to follow for running troubleshooting.
1. Press Windows+R to run the command
2. Type control on run command for a control panel.
3. Go to programs and features.
4. Select Razer Synapse from the installed software list.
5. Click on change, leading to the Razer Synapse installation wizard.
6. Now you can see What you would like to do? Section, tap on the repair button.
7. It will start troubleshooting. Once the troubleshooting is finished, restart and connect your Razer DeathAdder.
4. Reinstall Razer Synapse Software
If you try all the above methods and still your device is not connected to your PC, then the last thing you can do from your software is reinstalled your Razer Synapse software.
1. Press Windows+R for the run command.
2. Type control on run command for a control panel.
3. Now select Razer Synapse and click on uninstall.
4. After uninstalling your software, download synapse’s latest version from Razer’s official website.
5. Install The Outdated Drivers
Users more often face driver-related issues nowadays. It happens because they use an old driver on their PC, and it can not create malfunctions on your keyboard and mouse connectivity. It also prevents you from using the internet.
- Try pre-installed software: Nowadays, many companies (HP & Dell) provide pre-installed software that can scan and update your driver. Open that software on your PC and run a scan of it automatically to find if you have any outdated drivers and update it to make sure you connect with the internet while performing this task.
- Direct Download From the Internet: You can download your PC driver directly through your motherboard manufacturer’s website. Go to their website, search for a supportive PC driver, and try connecting your Razer DeathAdder again.
6. Test Your Device In Different PC
Try using your Razer DeathAdder on a different PC to recheck. This method will solve all your doubts about any physical damage to your Razer DeathAdder or your PC.
Make sure you install Razer Synapse software on your PC first before connecting your Razer DeathAdder. This way, you can detect your issue and contact the vendor for a particular solution.
7. Reboot Your PC
The simplest, best method to solve any technical problem is to reboot. A simple reboot often solves all major issues users face during their words.
We highly recommend you reboot your device after following the above methods. It will boost your PC and restart all drivers and software your PC needs to work normally.
So, that’s all for today. For more troubleshooting guides, follow GetDroidTips!
