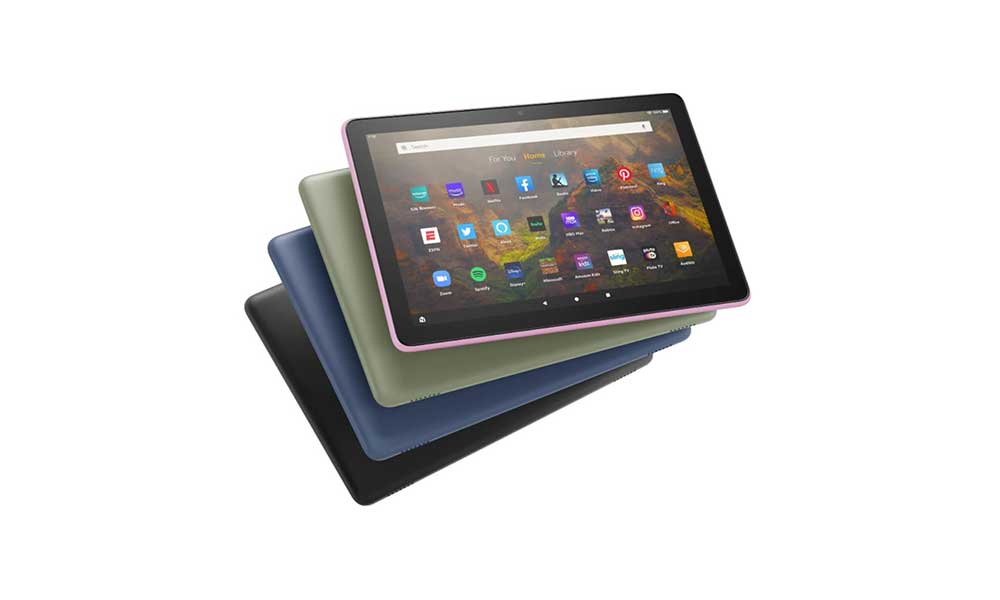
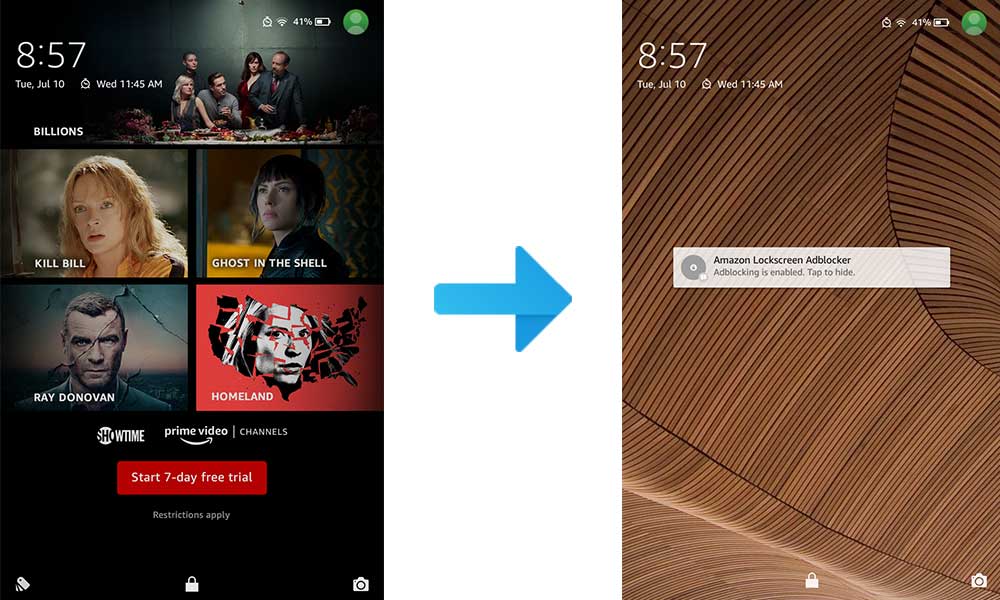
Both the Amazon Fire HD 8 and HD 10 tablets run on Android OS on top of Fire OS out of the box. Well, both of these are by far one of the value-for-money tablet devices from Amazon but they’re natively designed for pushing entertainment subscriptions to the users. Now, if you’re one of the Amazon Fire HD 8/10 users then you can check out How to Remove Amazon Lockscreen Ads From Amazon Fire HD 8 and HD 10 easily.
A big thanks to Datastream33 (XDA Senior Member) for sharing this guide so that other affected Amazon Fire HD 8 or HD 10 tablet users can also remove the native lock screen ads. According to the XDA member, though running a command through ADB has initially removed lock screen ads on the tablet, after receiving the firmware update the same issue happening again.
Even setting up value to 0 for the “LOCKSCREEN_AD_ENABLED” option in the settings database file, it seems that the Fire OS is forcefully reverting the lock screen ads again to changing the value to 1 as default. So, those who’re unable to remove lock screen ads from their Amazon Fire HD 8 or HD 10 tablet, don’t worry. There is a way to simply set up an automated app to perform the task by changing the value to 0 automatically.

Page Contents
Amazon Lockscreen Ads Remover – Changelog
Version 4.5
- *Support for “Amazon Lockscreen Ads Remover Updater (Add-On)” has been dropped.
*Support has been dropped because there aren’t any planned updates, and it’s just causing more issues than anything.
Version 4.0
- Fixed an issue where an extra fiber would start when hiding the Service Notification.
- *Disabled parallel launch to prevent the script from running multiple instances of itself.
- Various bug fixes and improved performance/stability.
*Special thanks to XDA members @asdiidjisjd23 and Sabrina Wortmann for bringing the multiple instances bug to my attention, and giving advice on how to fix it. Thank you both so much!!
Version 3.0
- *Fixed a startup bug that caused the script to function improperly.
- You can now hide the Persistent Service Notification.
- New downloadable add-on for auto-updating script.
- Optimized performance of adblocker.
- Various bug fixes and improved performance/stability.
* Special thanks to XDA member @andyk88 and Automate developer @Henrik Lindqvist for assisting me in fixing the startup bug! Thank you both so much!
Version 2.0:
- Improved performance and stability.
- * Fixed logging and battery draining issues.
- Squashed a few bugs.
* Special thanks to XDA member @jdmegkoupe for such an amazing help by fixing the script and preventing it from running continuously, improving battery life, and reducing logs. Thanks so much!
How to Remove Amazon Lockscreen Ads From Amazon Fire HD 8 and HD 10
A special thanks to XDA member @Toxicshadow for the assistance with removing the missing superuser notification. Before jumping into the guide below, you’ll have to follow all the requirements. This guide doesn’t require root access on your Amazon Fire HD 8 or HD 10 tablet.
Requirements
- Install Google Play Services on Fire tablet. [Steps are given below]
- You’ll require a Windows PC and a USB cable.
- Install ADB and Fastboot Tools on your PC.
- USB Debugging should be enabled on the tablet.

Steps to Remove Lock Screen Ads
- You’ll need to download and install the Total Commander (File Manager) app on the tablet from this Amazon Store link.
- Now, enable ‘Apps from Unknown Sources’ under Settings > Security of the tablet.
- Then download all four APK files on your tablet via the stock browser and install them one by one: [Important]
- Once all four APK files are installed, switch off your tablet > Then turn it on to apply changes.
- Make sure to enable USB Debugging on the tablet and install ADB & Fastboot Tools on the PC.
- Open the Google Play Store app on your tablet that has been installed recently.
- Sign in to your Google account > Install the Automate app from Play Store.
- Now, open the Automate app > Tap on ‘Accept’ and then ‘OK’ > Tap on ‘OK’ again.
- Tap on the hamburger icon menu from the top corner > Tap on ‘Settings’.
- Tap on ‘Privileges’ > Make sure to locate the following privileges (codes):
access photos, media, and files on your device

modify system settings

modify private settings
- Tap on them to get the installation prompt and make sure to install all three. [Do one by one]
Note: Make sure the boxes for the privileges are ticked before moving on to the next step.
- Once the boxes are ticked press the back button.
- Now, scroll down the settings of Automate to find out the following code:
Run on system startup
- Once you find it, just tap on it > Now, select ‘Enable’ from the dialog box. [It’ll basically allow the Automate script to run at startup whenever the system boots up to start blocking Amazon ads on the lock screen]
- As we’ve already mentioned, make sure to turn on USB Debugging on the tablet.
Please Note: If you’re using Fire HD 8 or lower tablet then you’ll need to tap on ‘Enable ADB’ from the Developer Options menu and just enable it instead of USB Debugging. [ADB has been successfully enabled on your Fire tablet] While the Fire HD 10 will have USB Debugging to enable.
- Now, connect your device to the PC using a USB cable > Head over to the installed ADB & Fastboot folder on the PC.
- Click on the address bar inside the folder and type cmd > Hit Enter to open Command Prompt. [If asked by UAC, click on Yes to allow admin access]
- Then run the following command by typing it inside the command prompt window and pressing Enter:
adb devices
- It should give you the ‘List of devices attached’ code which will indicate that your tablet is connected in ADB mode.
- Now, run the following command by copy-pasting it:
adb shell pm grant com.llamalab.automate android.permission.WRITE_SECURE_SETTINGS
- Then execute another command below:
adb shell pm grant com.llamalab.automate android.permission.CHANGE_CONFIGURATION
- Next, run the following command:
adb shell pm grant com.llamalab.automate android.permission.SET_PROCESS_LIMIT
If nothing follows the command then it has been executed successfully and the permissions have been properly given to the Automate app.
NOTE: If anything follows the command that means the process didn’t finish successfully. Make sure to retry the steps once again and don’t do mistakes in adb commands. Simply copy-paste the commands and run them to reduce errors or mistakes.
- Disconnect your tablet from your PC > Open the Automate app.
- Now, tap on ‘More Flows…’ > Go to ‘Start’.
- Then simply install the community flow add-on.
- From the right side corner, you’ll see a magnifying glass icon. Just tap on it.
- Type Amazon in the field and hit enter to search for it.
- Check for ‘Amazon Lockscreen Ads Remover V4.5 (ADB Required)’ flow from the list.
- Next, tap on it and wait for the page to load > Head over to download it to Automate.
- If in case, you’re having issues with the community flows then you can directly download and import the Amazon Lockscreen Ads Remover V4.5 into Automate from this Google Drive link.
- Go back to the Automate home screen or main menu > You should see the flow that you’ve just downloaded.
- Tap on the ‘Amazon Lockscreen Ads Remover V4.5 (ADB Required)’ flow.
- Finally, tap on the ‘Start’ button to run the script.
- You’re done. Enjoy!
This is how you can successfully remove all the lock screen ads from your Amazon Fire HD tablet.
That’s it, guys. We assume this guide was helpful to you. For further queries, you can comment below.
Source: XDA
