This tutorial outlines the steps to secure your Google Drive with Face ID or Touch ID on your iPhone and iPad. The cloud storage service Google Drive offers around 15GB of free storage service, which is sufficient for everyday usage (however, extra storage could be purchased as well). Near about every one of you might be using Drive to store your all important files and data. But there is a serious security concern that needs to be addressed, if you leave your iPhone in an unlocked state, then there is a high chance that anyone could check out the contents of the files stored on your Drive. This will then expose all your sensitive data. So what could be done in those cases?
Well, unknown to many there exists a handy security feature baked into Google drive itself. The feature is called Privacy Screen and it adds an additional layer of security to the Drive. This feature goes a great length in securing your Google Drive via Face ID or Touch on your iPhone as well as iPad. On that note, let us check out what else does it have to offer and the steps to enable it on your Apple devices.
Also Read
Page Contents
How to Secure Google Drive With Face ID or Touch ID on iPhone and iPad
When you enable the Privacy Lock feature in Google Drive, then the only way you could unlock the app is by using your Face ID or Touch ID. This will have to be done every time you launch the app (with few exceptions, mentioned later on in the guide). Furthermore, Silicon Valley giants have also taken care of the regular tweaks that some might use to bypass this security. For example, if you head over to the app switcher screen, which shows the snippets of all the opened apps, the contents of the drive will be well and truly hidden.
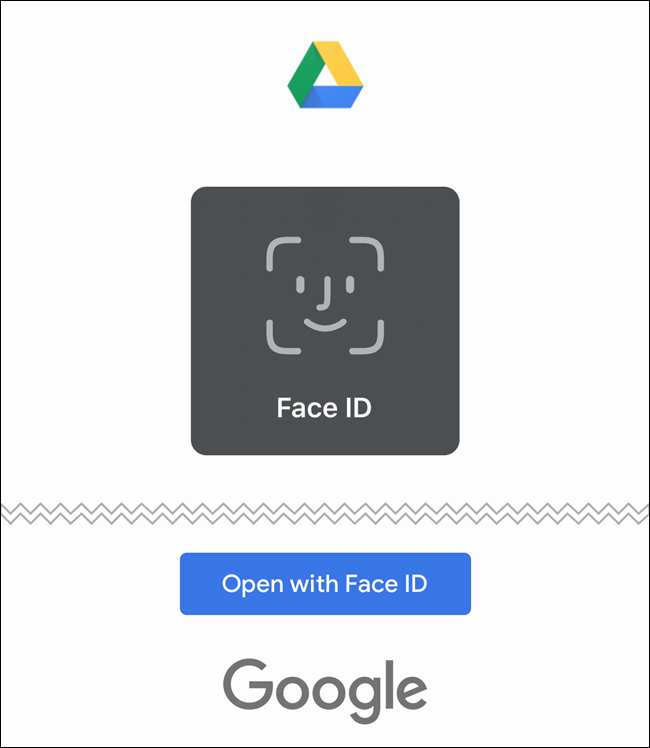
On that note, if your Face ID or Touch ID fails to register, then there is still another way out. After two fail attempts, it will ask you to enter your passcode. Type in that and you could access all your stored files. With all that said, follow the below steps to secure Google Drive with Face ID or Touch ID on your iPhone or iPad.
Setup the Privacy Screen Feature on Google Drive
Make sure that your Google Drive app is having version 4.2020.18 or later. If not, update it from the App Store before proceeding ahead.
- Open the Google Drive app on your Apple devices and tap on the hamburger menu situated at the top-right.
- Select Settings followed by the Privacy Screen option.
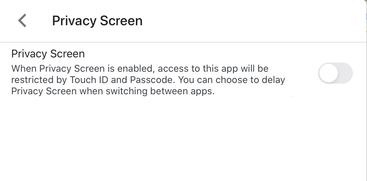
- Enable the toggle next to Privacy Screen. Now perform a Face ID or Touch ID scan to complete the process.
- That’s it. You have successfully enabled an additional layer of security on your Google Drive. Let’s now check out its other features as well.
Delay the Privacy Screen Feature
After enabling this lock, every time you open the app you will have to successfully pass this security. Not even that, if you minimize it and then come back to the app, you will again have to pass this Privacy Screen. For some, this might be a little effort-taking task, especially if you are multitasking between Drive and other apps. Fortunately, Google has an option to deal with it as well. There is a delay option in Privacy Screen which would allow you to delay the Face ID or Touch ID for 10 seconds, 1 minute, or 10 minutes. Here is how this could be done:
- From Google Drive, head over to Settings.
- Then go to the Privacy Screen option and if the feature is enabled, you should see the Delay option as well.
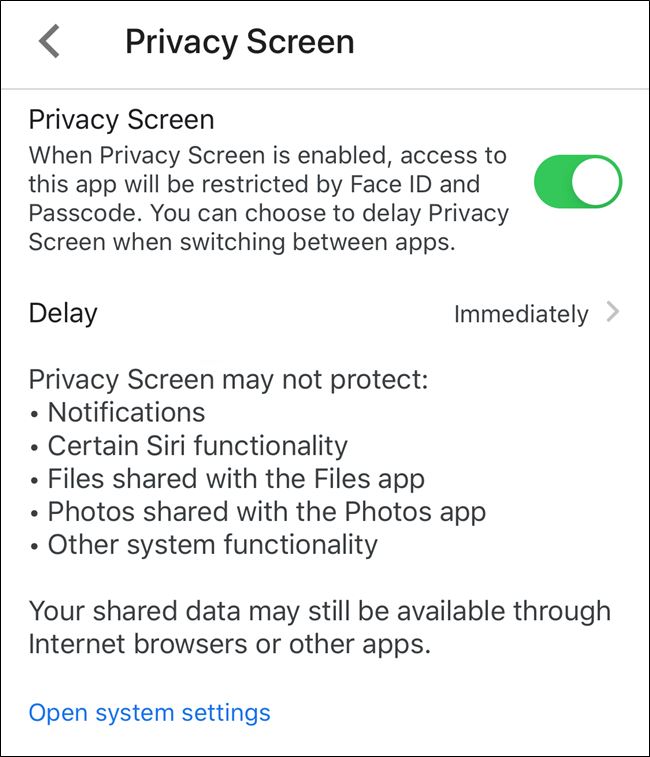
- Click on it and select from 10 seconds, 1 minute, or 10 minutes.
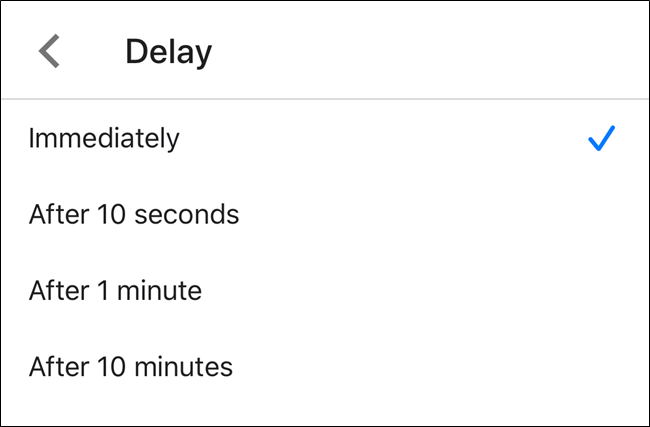
- Now once you have logged in to Drive, it wouldn’t ask for re-authentication if you switch between apps, for the stipulated period.
Some other things to keep in mind
If you use this privacy feature in Drive, then you wouldn’t be able to access any of its contents from the default Files app. In some ways, it makes sense, and it is probably the right thing. However, if you wish to view Drive in the Files app, then there is no way to authenticate it. The only option left is to disable this privacy feature, otherwise, all the Drive contents will remain hidden.
On the other hand, there are some aspects of Drive that will not be affected even with this Privacy Screen functionality. For example, all the search suggestions will still show Drive file names. However, you could block Drive files from appearing in the Search result (Settings > Drive > Siri & Search).
Likewise, all the notifications from Google Drive will also be visible (which could also be disabled from the Notifications section of the Google Drive Settings menu). Similarly, apps connected to Google Drive like Sheets, Docs, Slides will remain unaffected too.
Conclusion
So this was all from this guide on how to secure your Google Drive with Face ID or Touch ID on your iPhone and iPad. What are your views about the Privacy Screen feature? Are you going to enable it or is the phone lock sufficient for you? Do let us know your views in the comments section. On that note, don’t forget to check out our other iPhone related tips and tricks. Likewise, we have tips lined up for other OS as well, including Windows and Android. Do have a look at them as well.
