The Legend of Zelda: Tears of the Kingdom, a captivating addition to the beloved franchise, presents players with numerous intriguing puzzles scattered throughout its vast landscape. One such puzzle involves Orochium Shrine, nestled within the icy Hebra Mountains region, northwest of the Forgotten Temple. This article will guide you through the steps to locate and conquer the Orochium Shrine, ultimately leading you to collect the coveted Light of Blessing.
Locating the Orochium Shrine
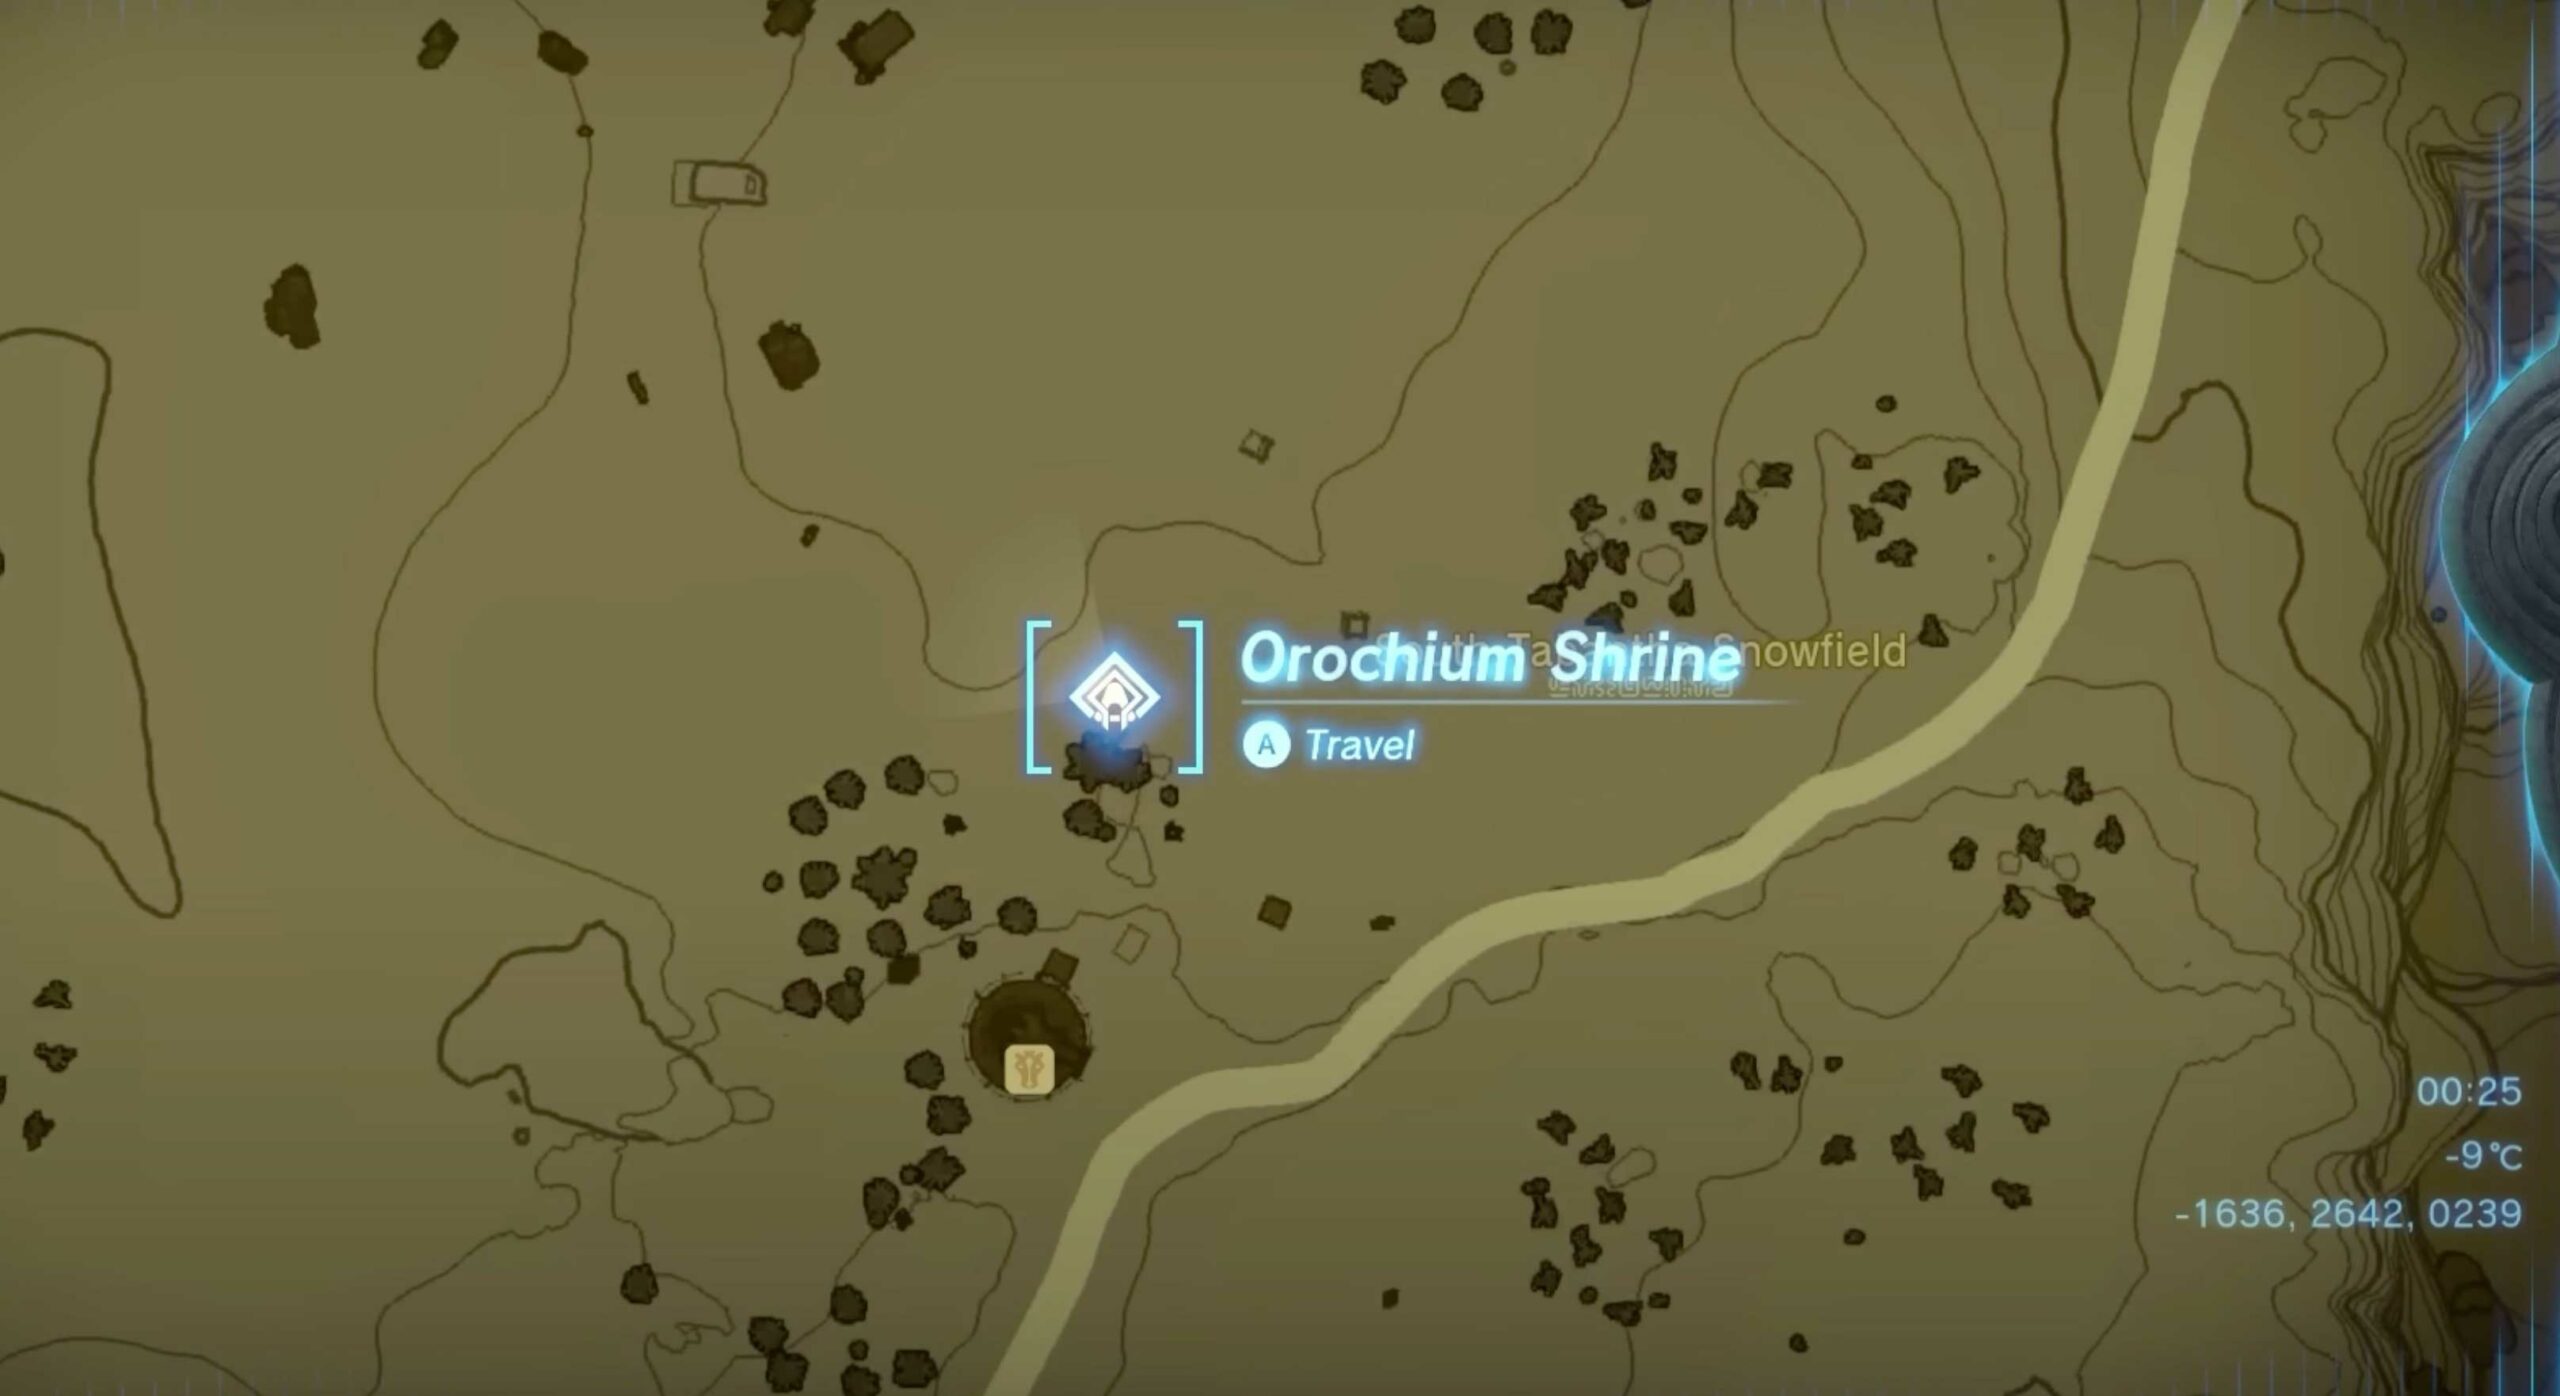
Finding Orochium Shrine is a key part of the Geoglyphs quest. The shrine is prominently situated north of the Snowfield Stable within the frosty Hebra Mountains. The exact coordinates are -1638, 2643, 0239. Brace yourself for the chilly climes by equipping your Archaic Warm Greaves or consume something that offers cold resistance.
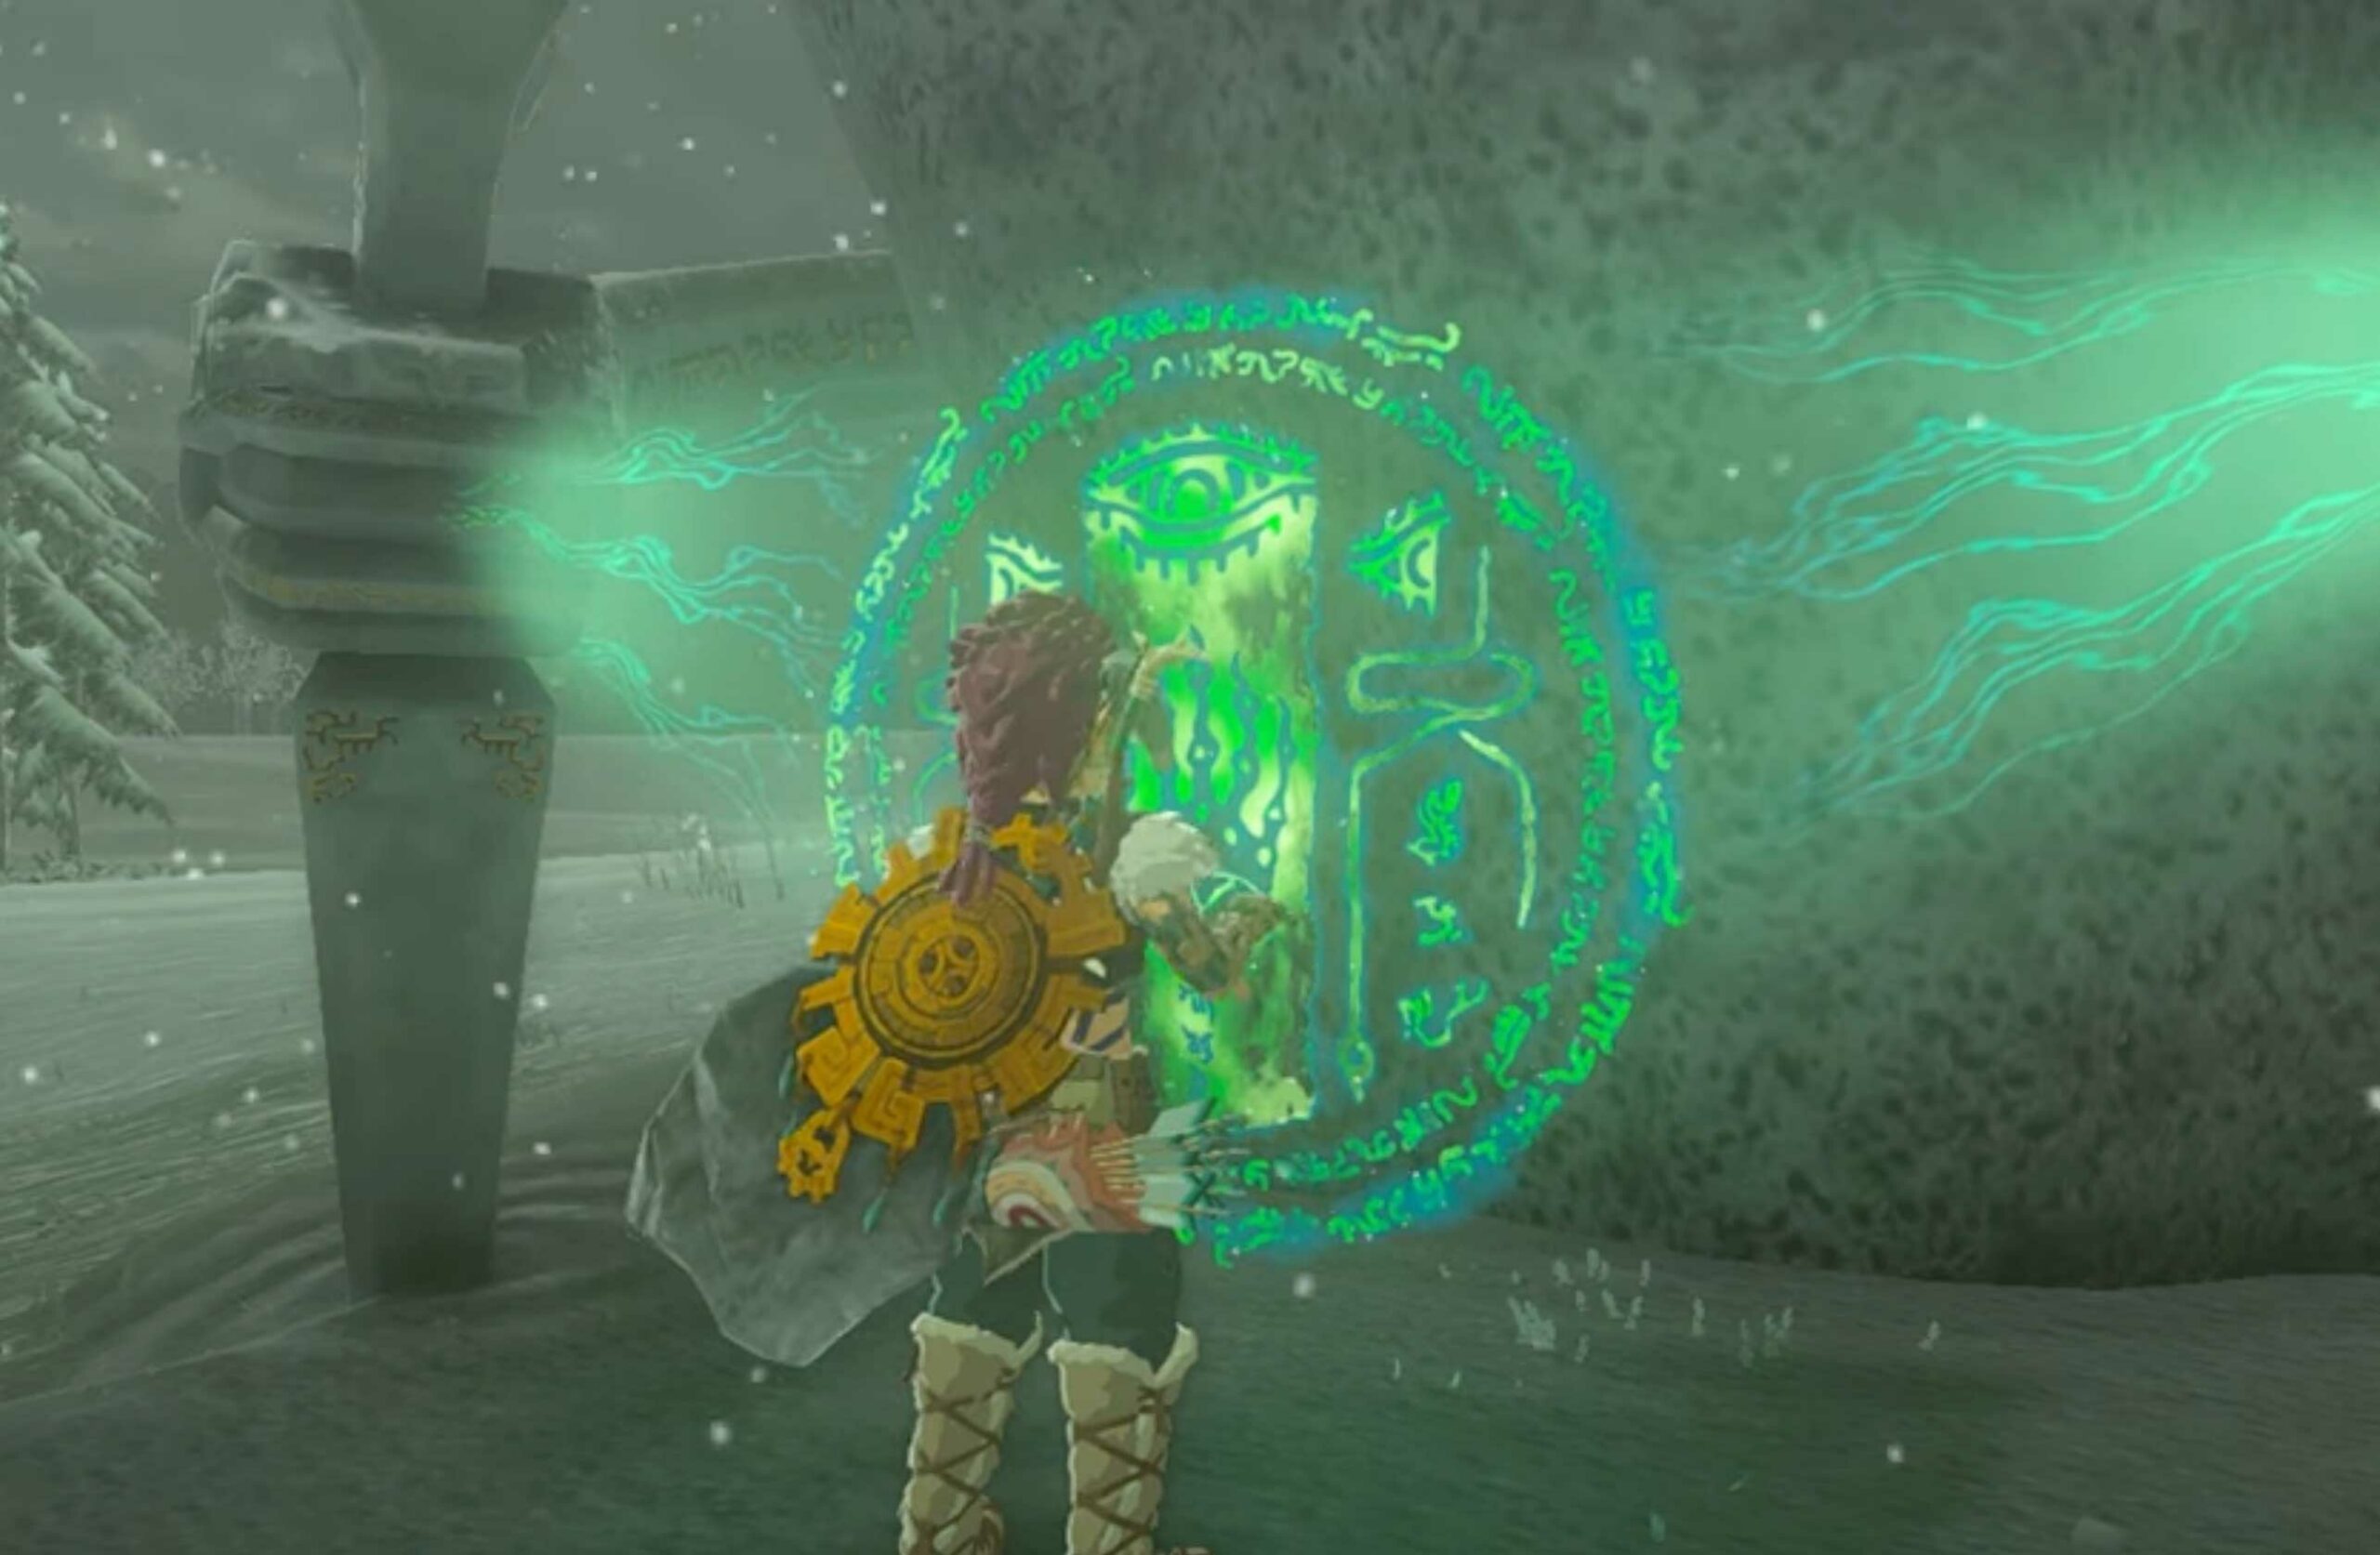
Navigating Through the Orochium Shrine
The Orochium Shrine presents a long and winding path filled with enemies and laser traps. Your mission, similar to the Tukarok Shrine challenge, involves maneuvering a metal ball from the rear to the front of the shrine.
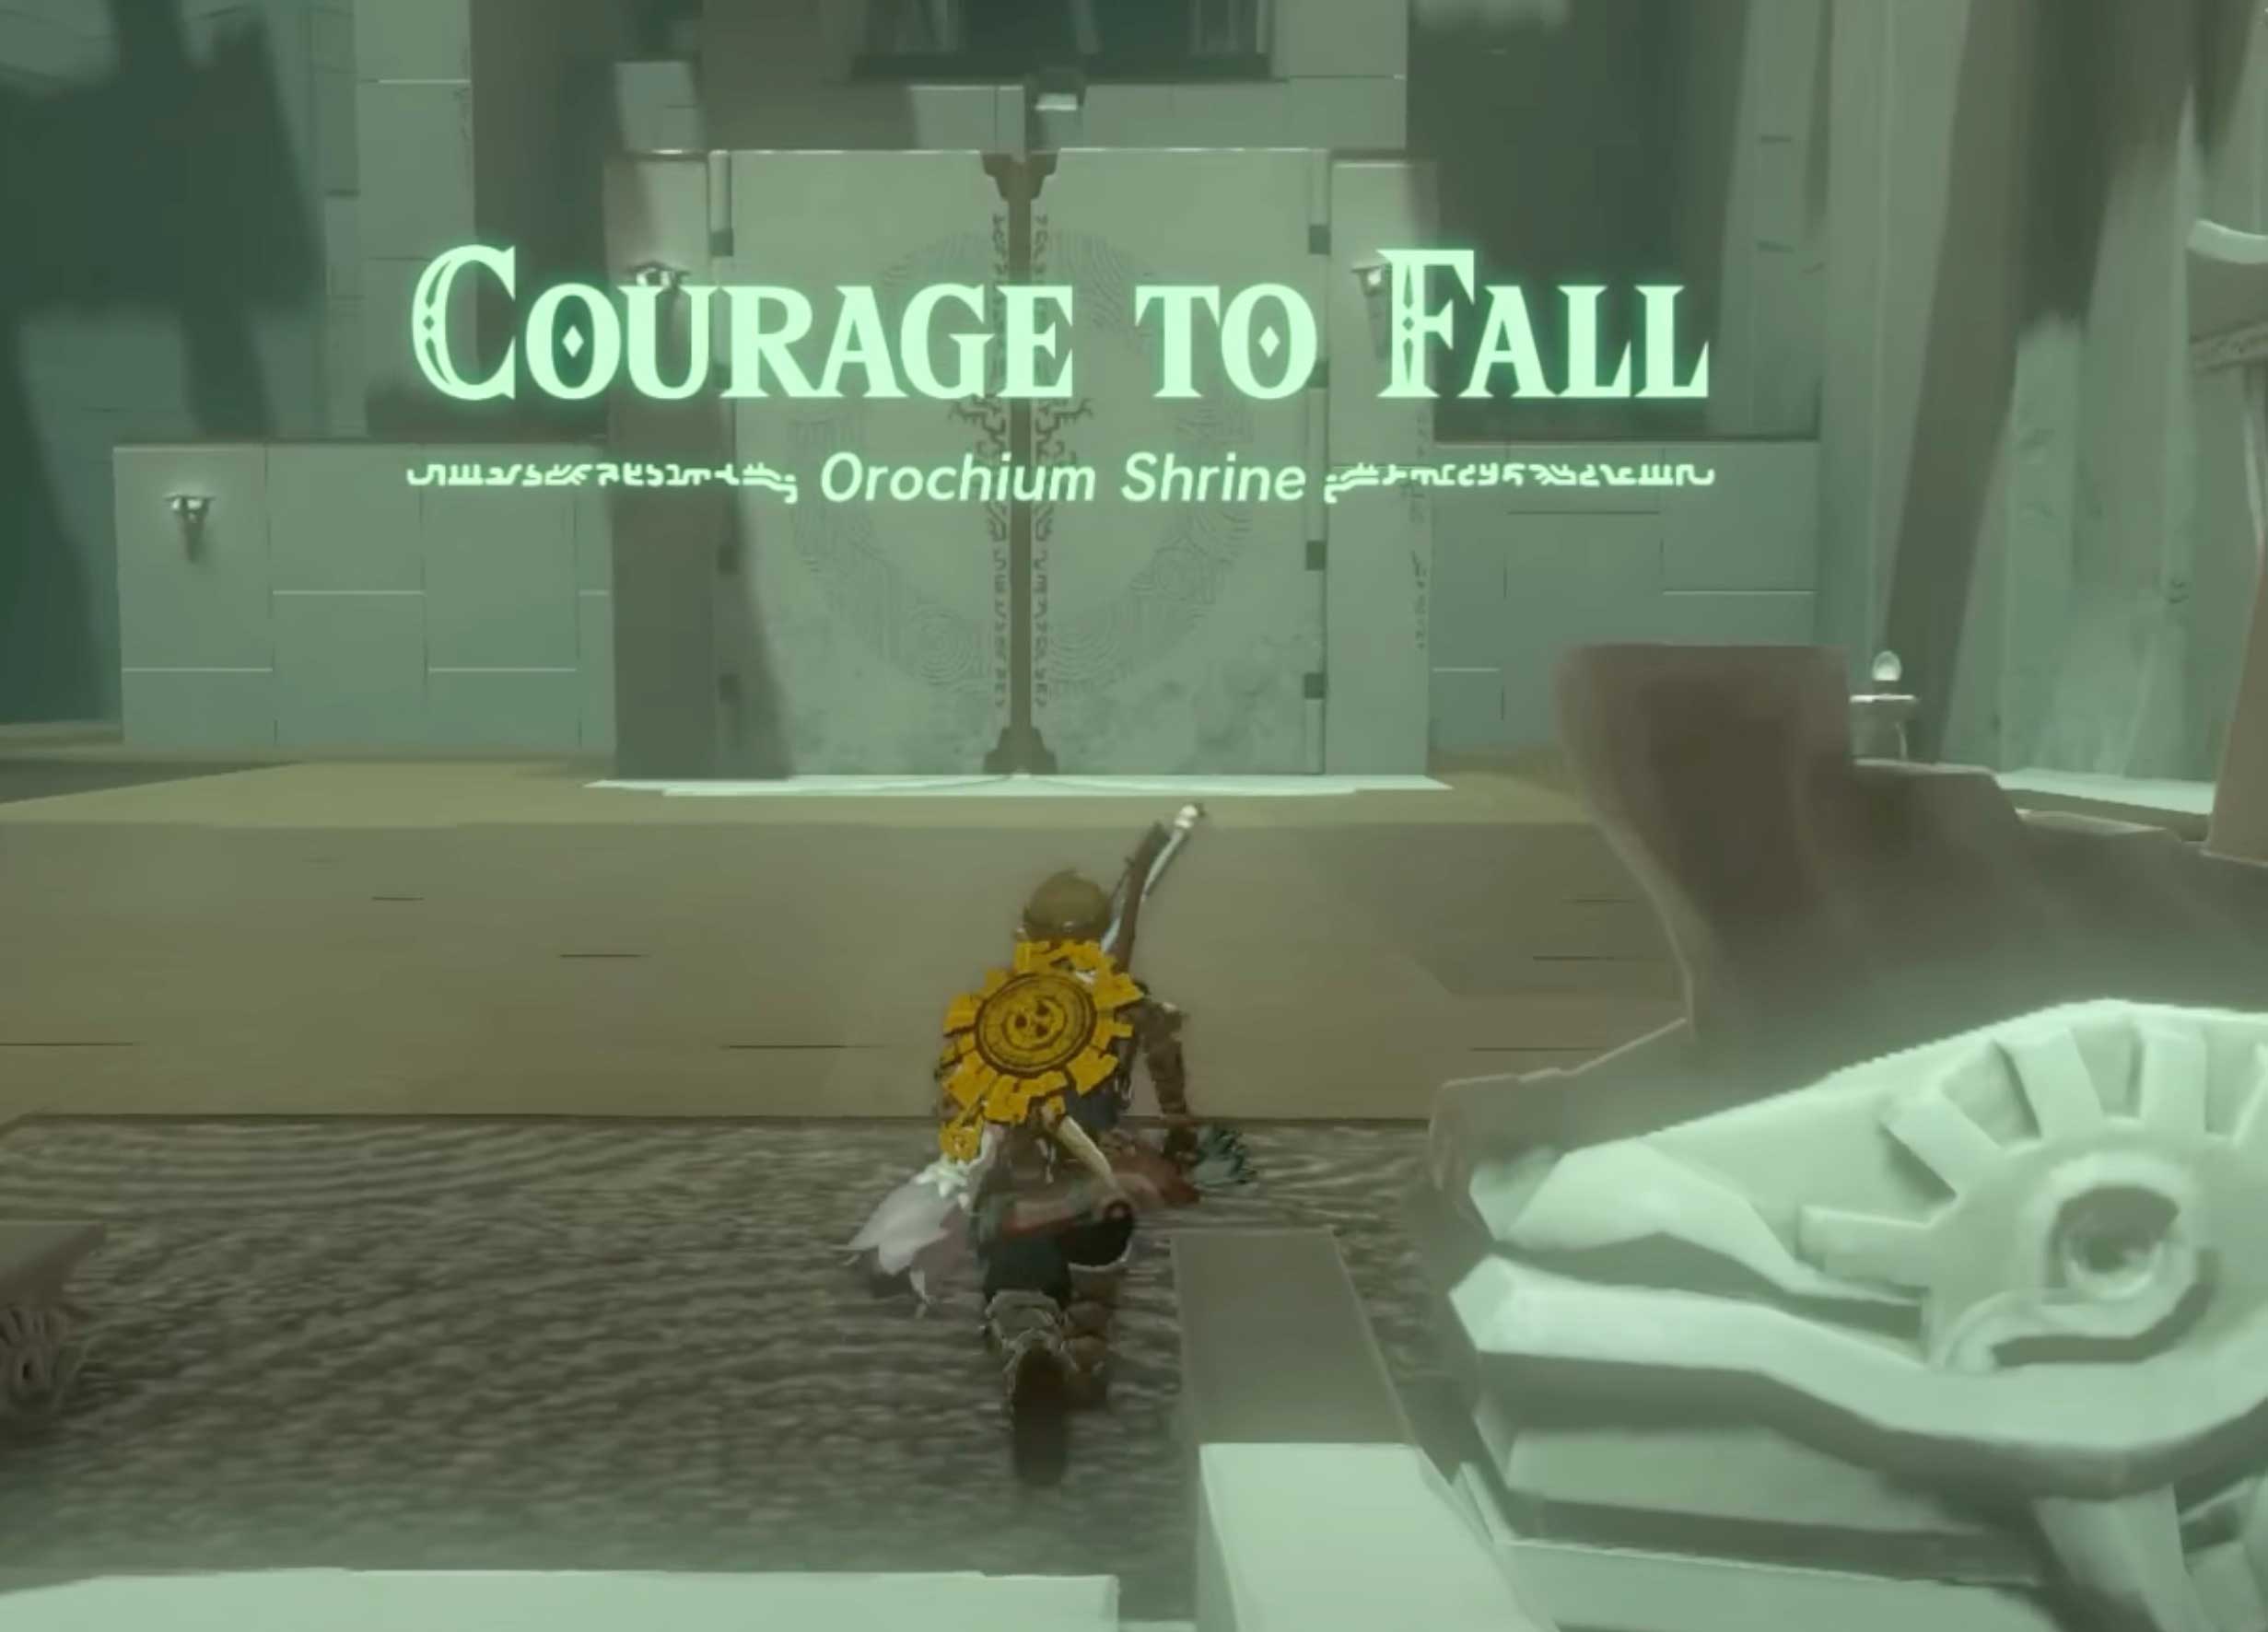
Once inside the shrine, utilize Ultrahand to open the stone doors straight ahead. You’ll encounter a laser grid and a ball pit to your right. For now, bypass the lasers and head left to face a Soldier Construct II. A well-placed shot to its eye followed by a melee attack will bring it down, leaving behind a useful Soldier Construct II Horn.
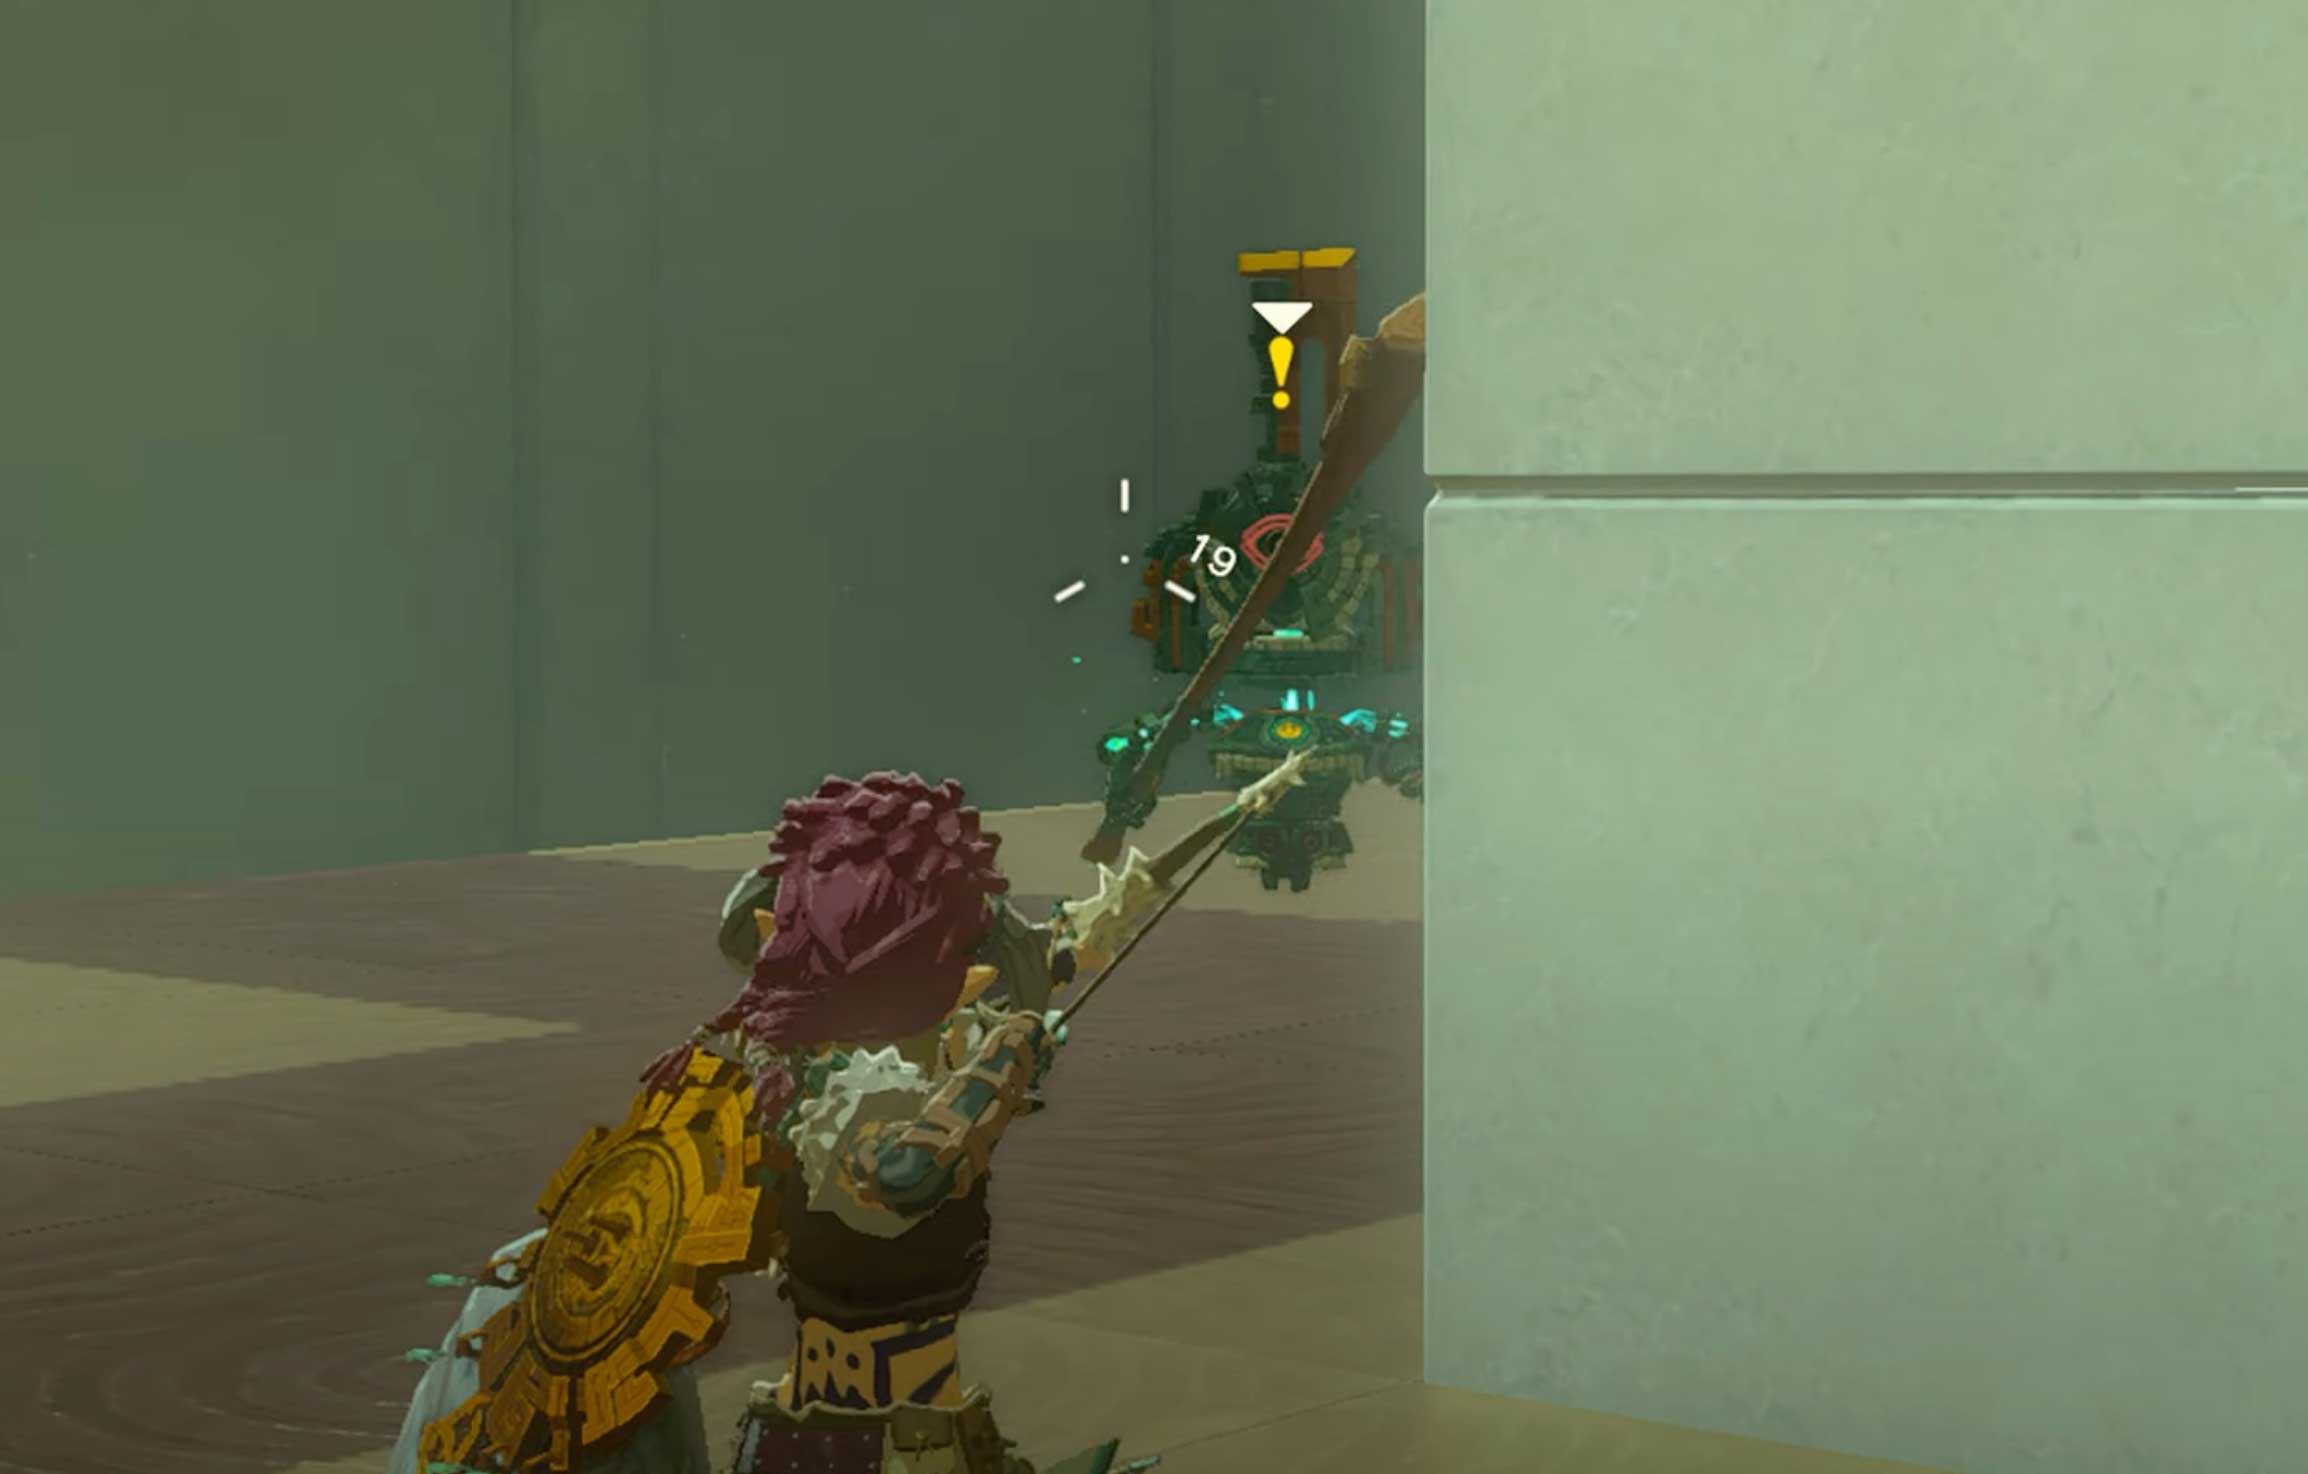
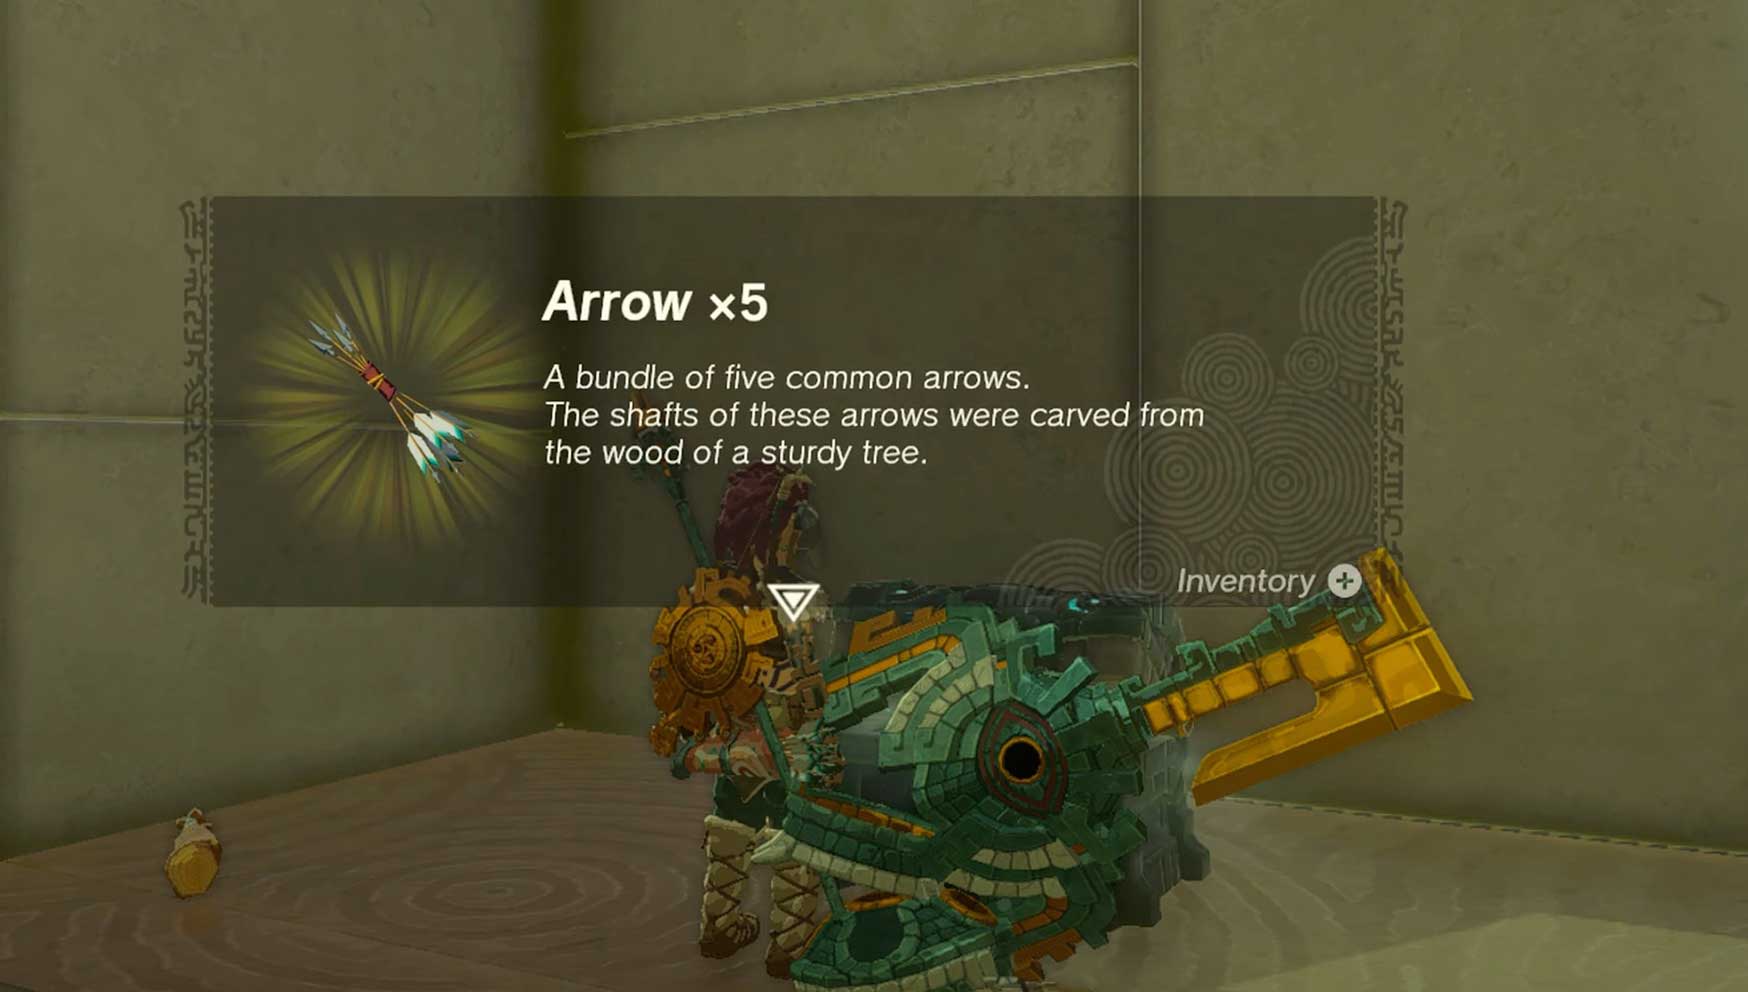
Your next step is to climb the ladder and crawl into the next room using Ascend. Be ready to take out another Soldier Construct II from your vantage point. Upon its defeat, proceed downstairs and dispatch a third Soldier Construct II guarding a chest containing five arrows.
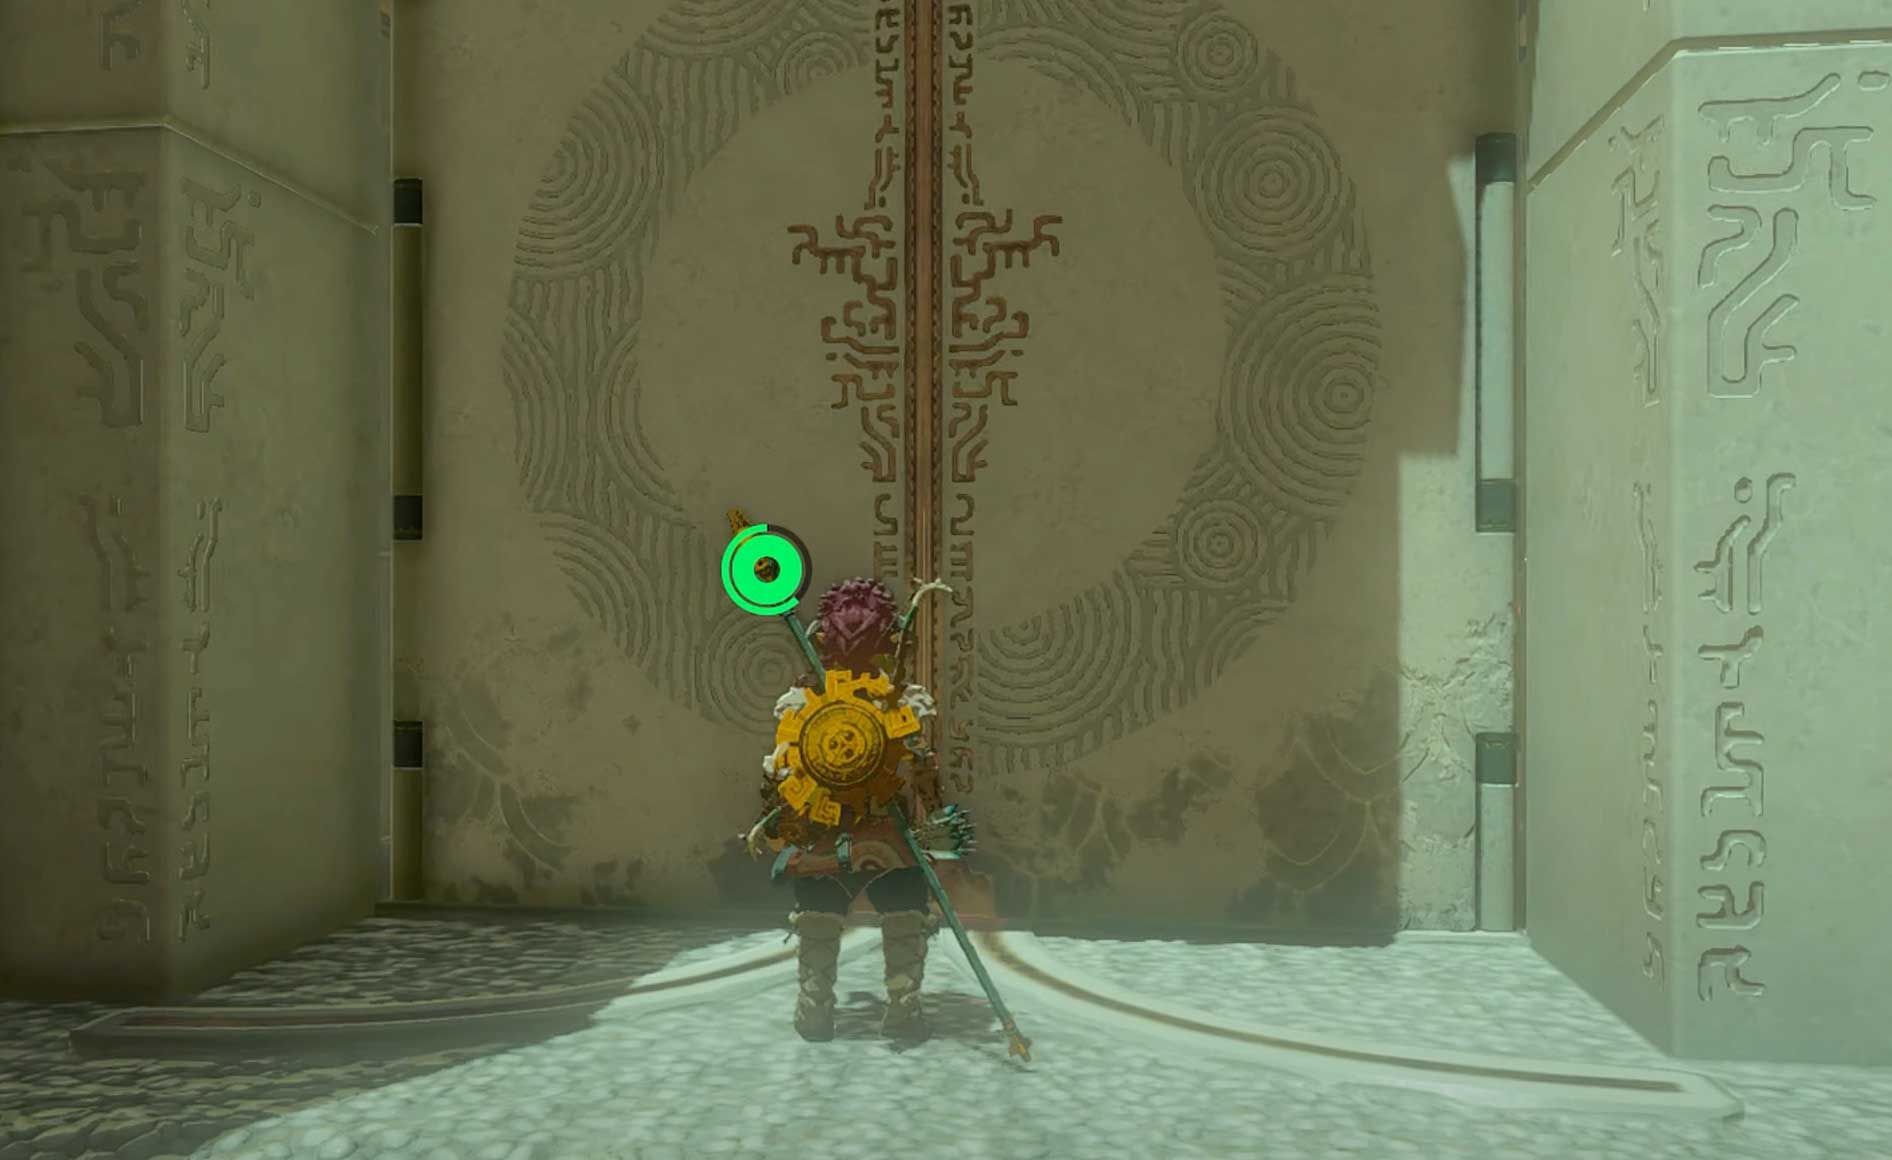
By now, you’ll have reached another laser-protected door. Crawl under the lasers and neutralize the pair of enemies flanking the green door in front of you. This door conceals the ball you need but requires a key. To acquire the key, sprint into the laser trap. This triggers a trap door, plunging you into a corridor filled with moving lasers.
Securing the Key and the Ball
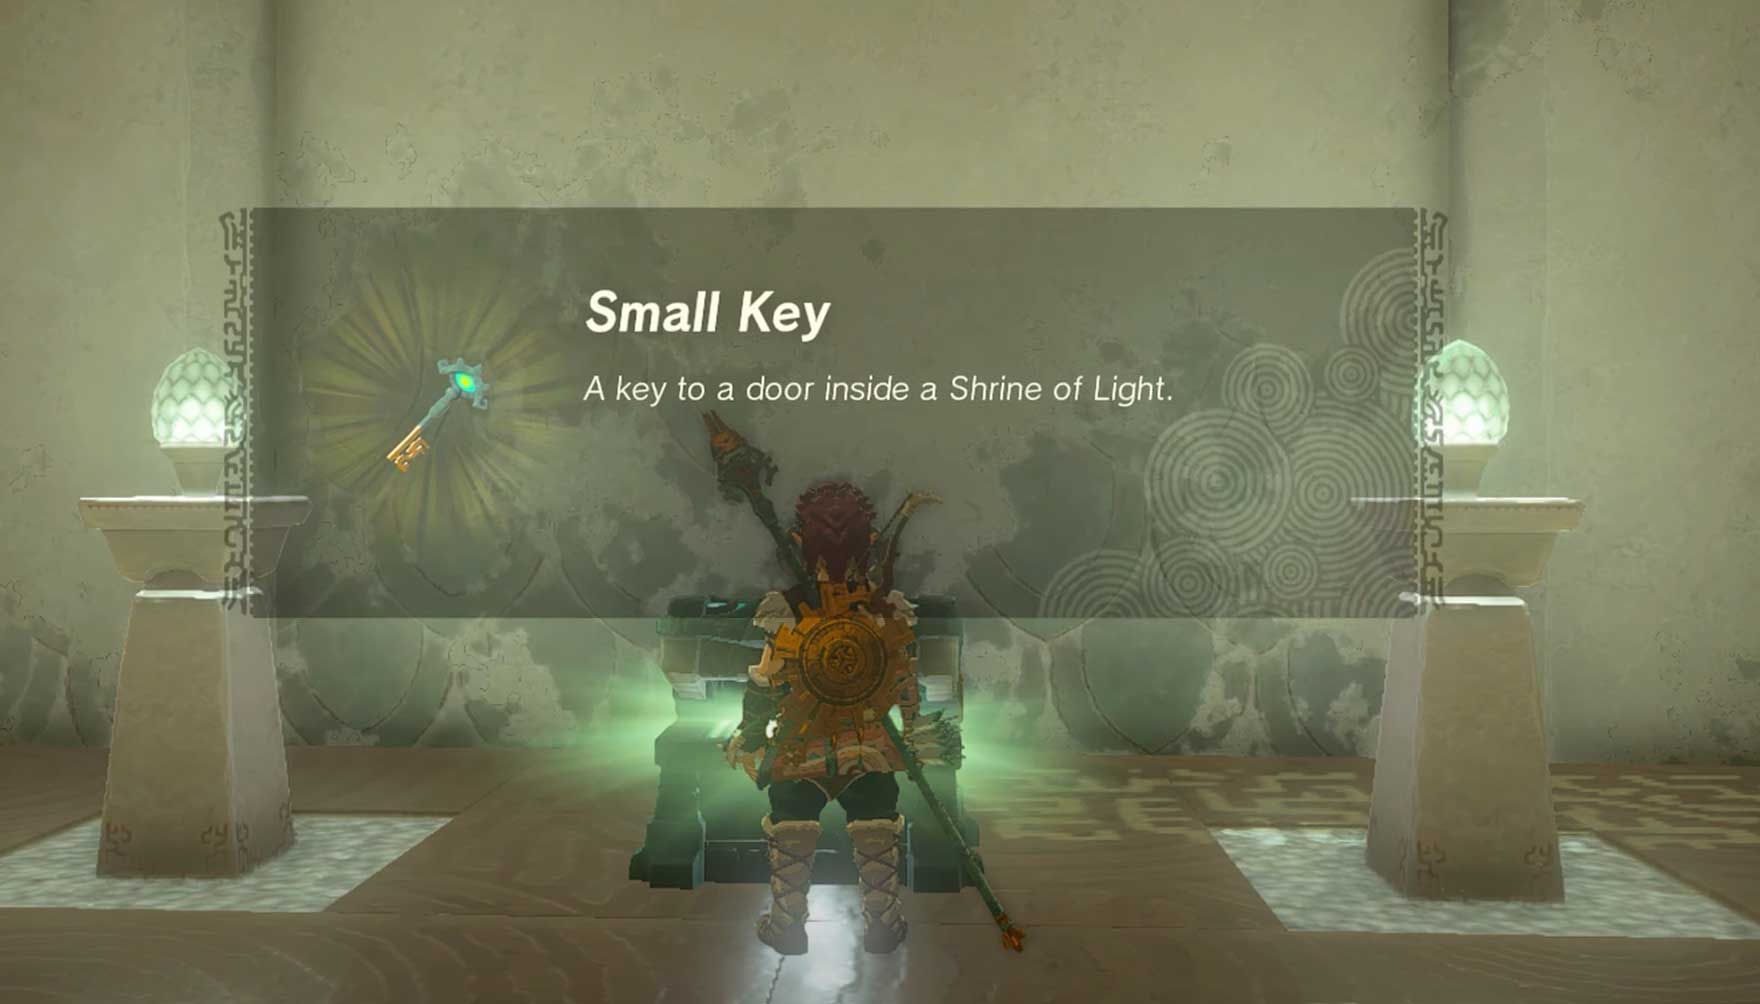
Carefully avoid the moving lasers and ascend at the corridor’s end to find a chest holding a small key. With this key in hand, cross the laser-filled corridor again, ascend through the trap door, and unlock the green door. Grab the ball within and prepare for the final leg of the puzzle.
Transporting the Ball
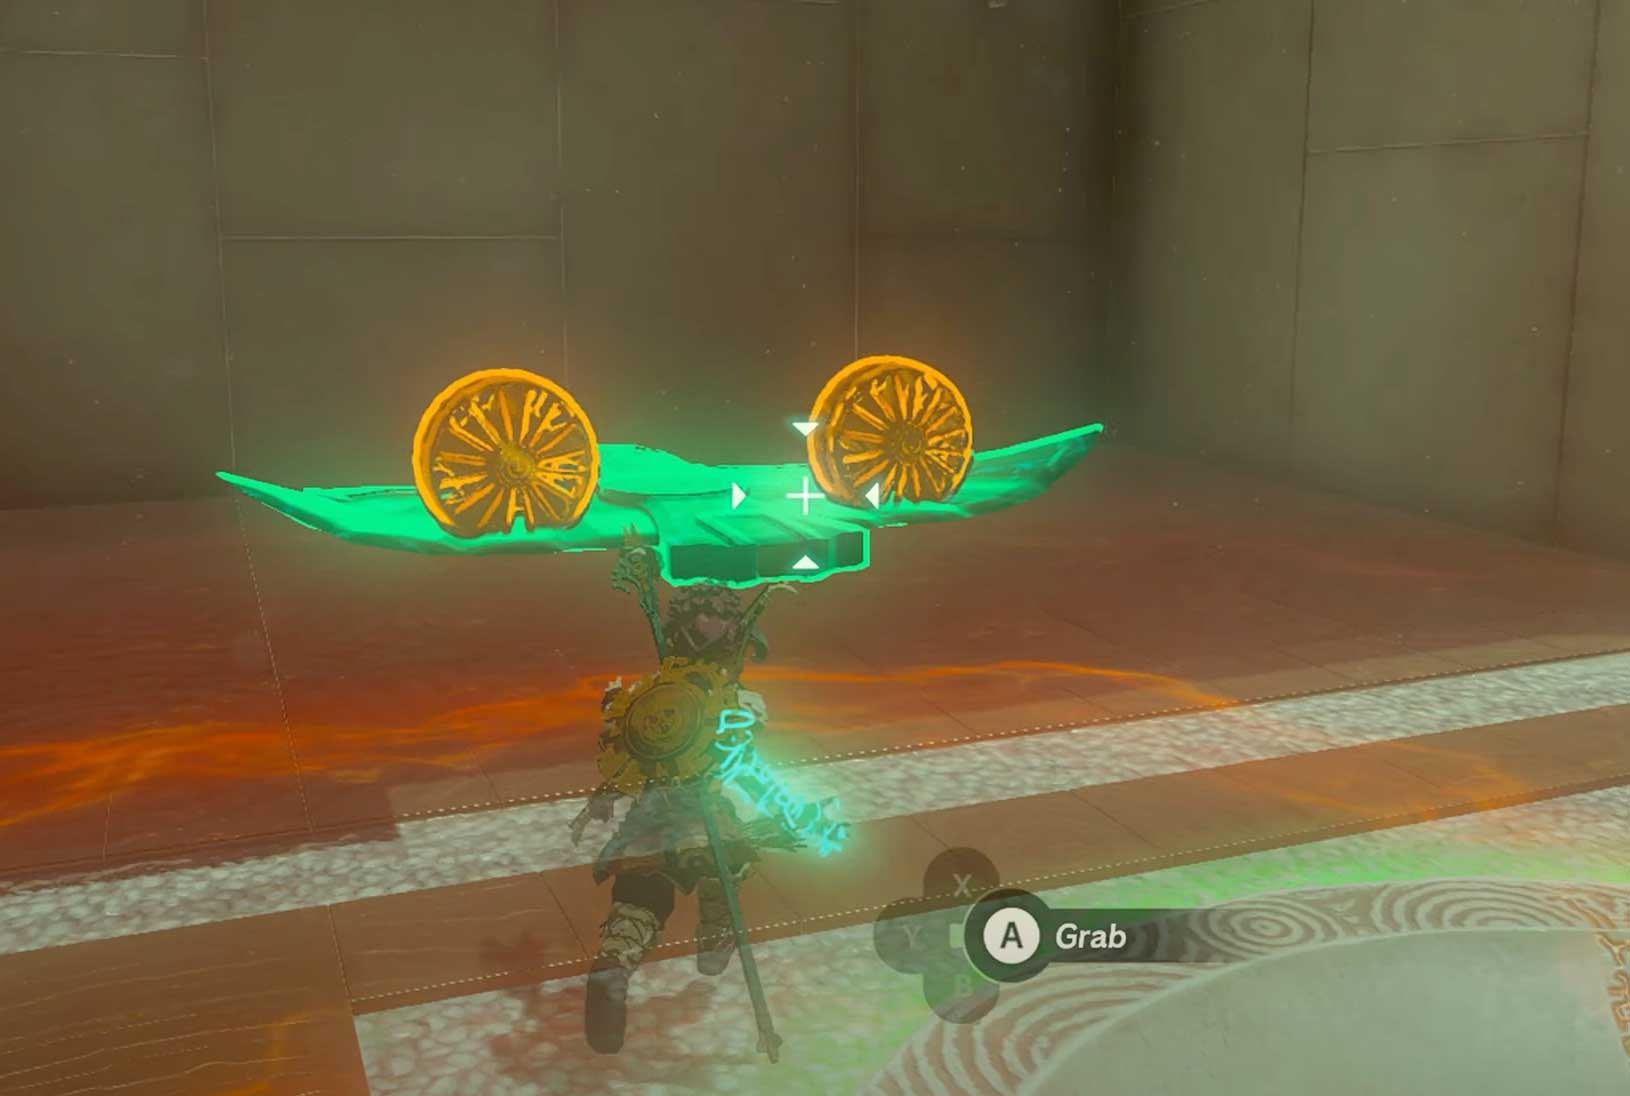
Take the ball and ascend the floating platform behind the locked room. Drop the ball into the pit to unlock a wing with two attached fans. Fasten the ball to the wing, position it on the track, and strike it with your weapon to activate the fans. This will transport you and the ball back to the start of the shrine.
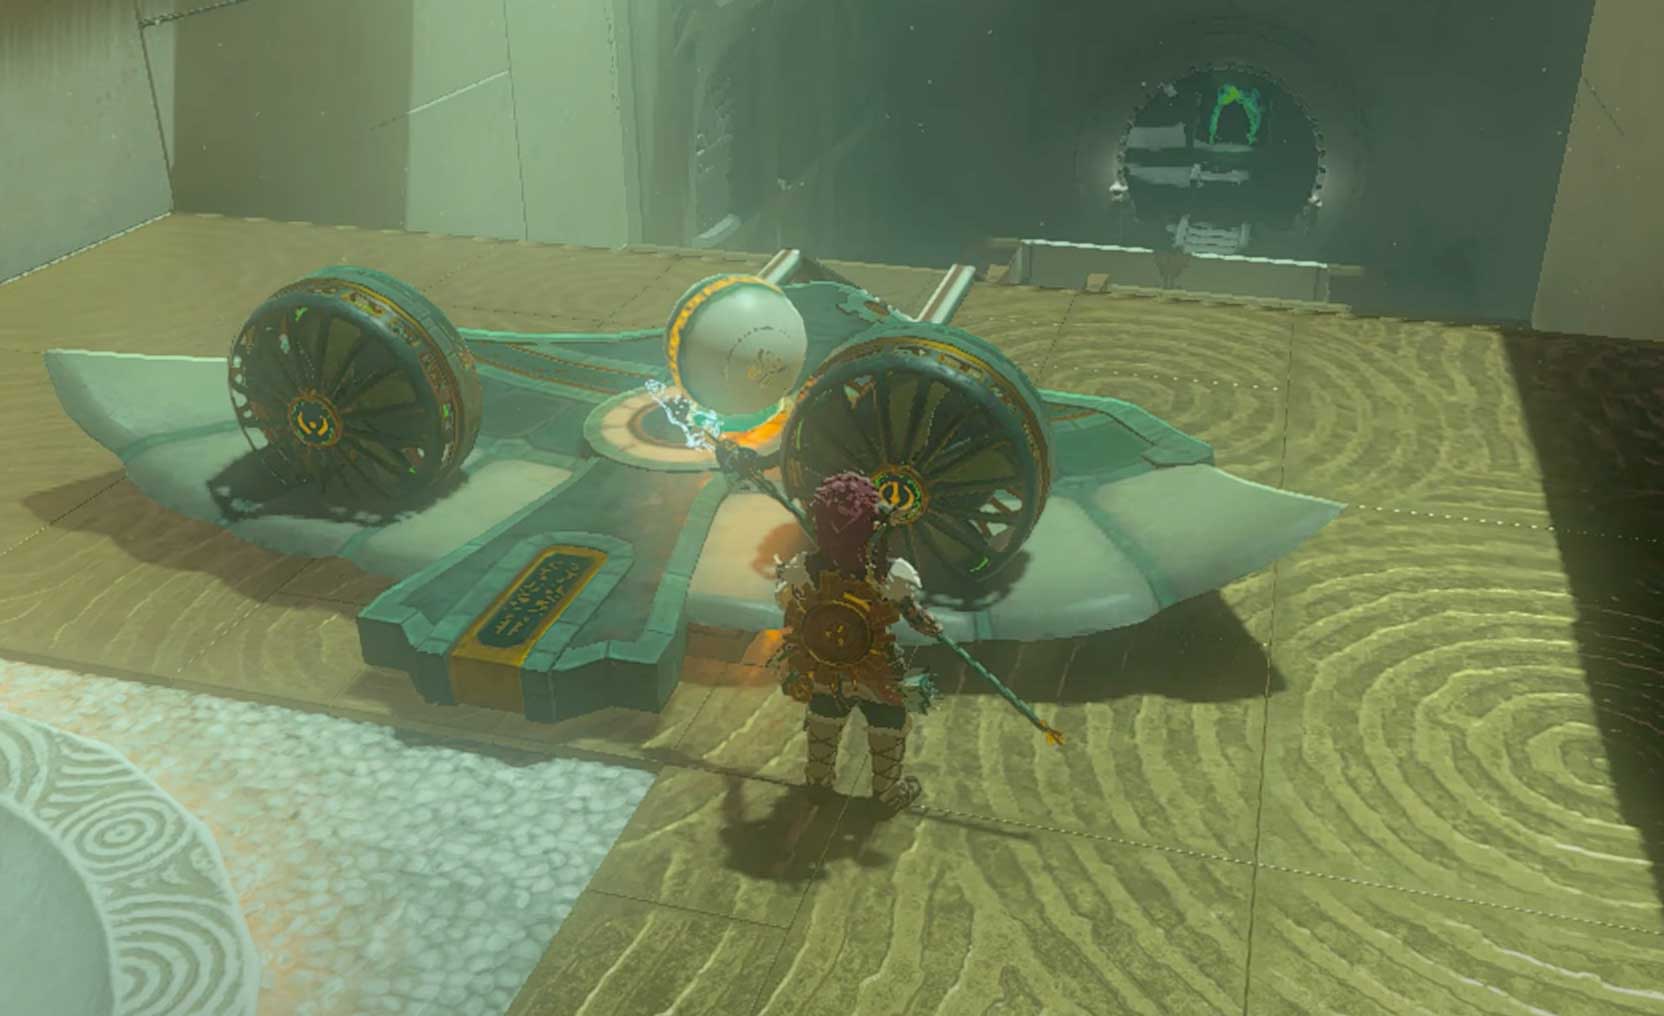
Once there, detach the ball and place it into the initial pit. This will complete the puzzle and allow you to interact with the sigil, claiming your Light of Blessing.
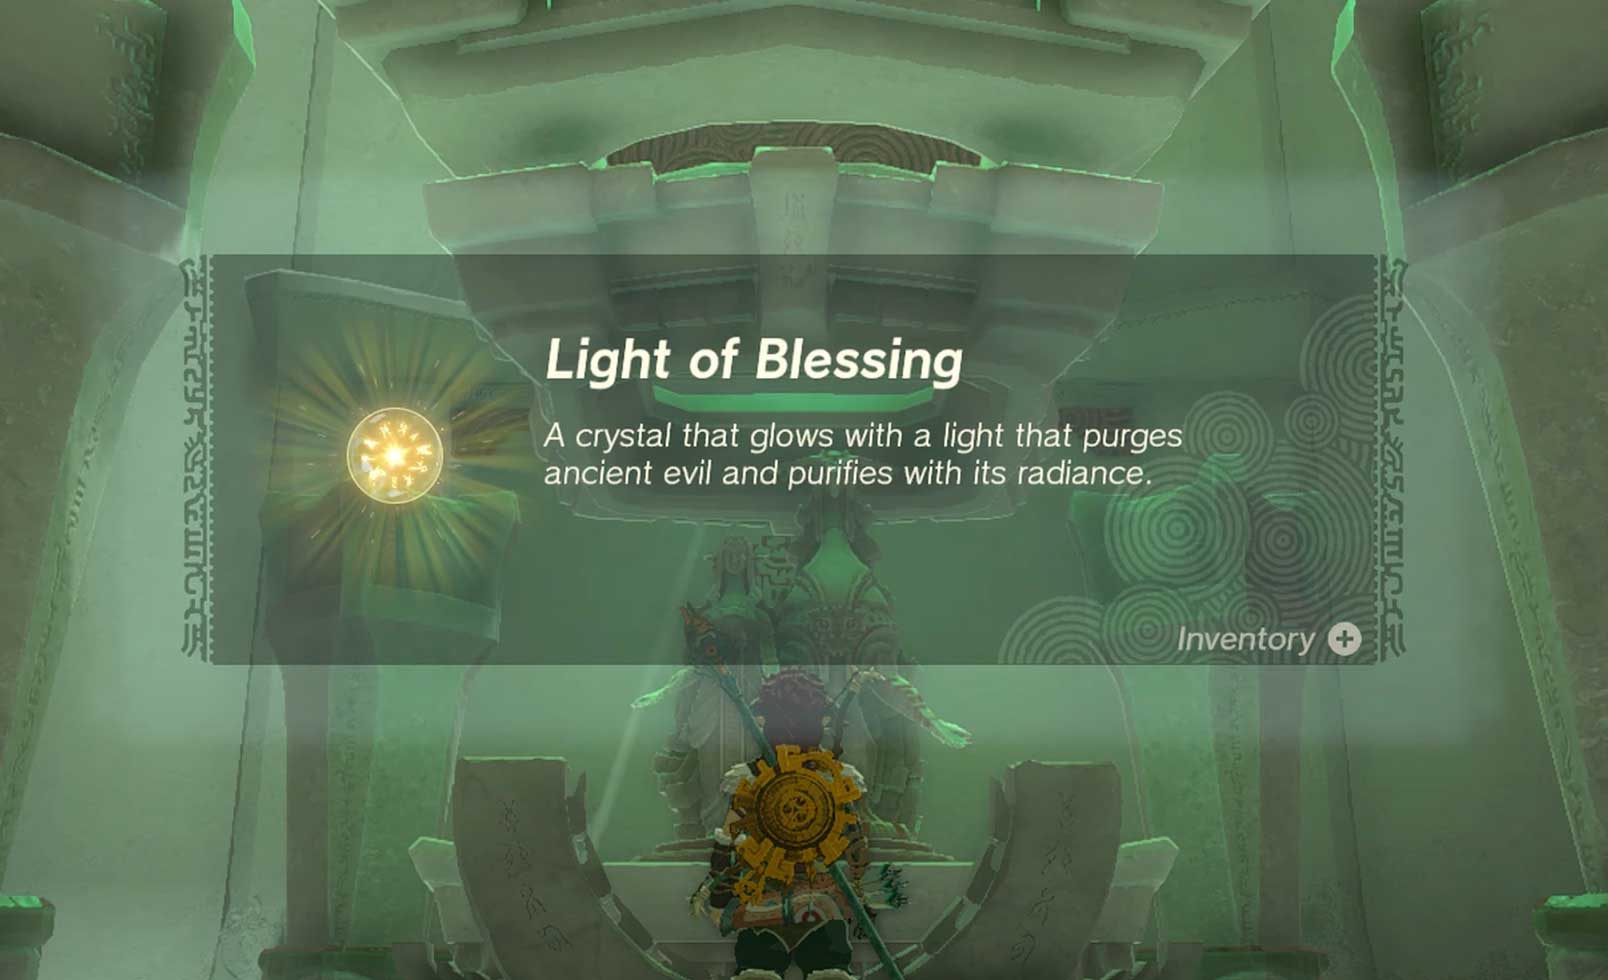
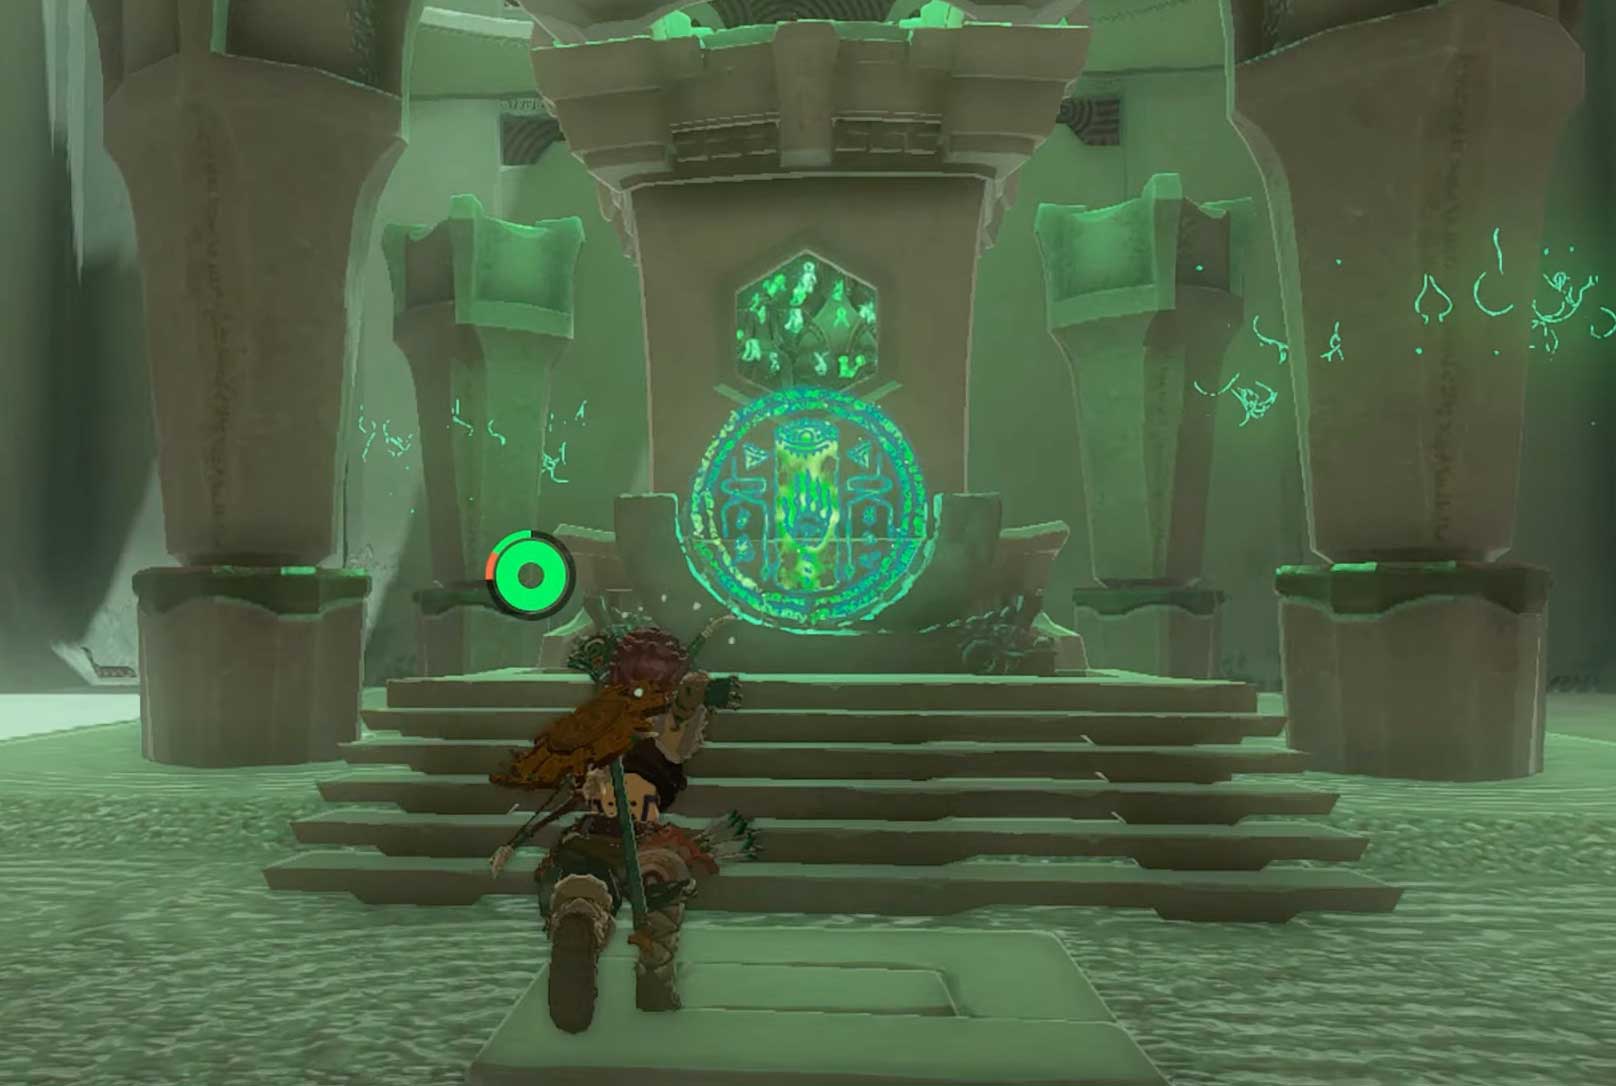
The Orochium Shrine puzzle, despite appearing daunting initially, becomes more manageable once you grasp its core mechanics. By carefully following this guide, you will be well on your way to completing this challenge and receiving your well-deserved reward.
Also Read
Zelda Tears of the Kingdom All Side Quests Guide
Zelda Tears of the Kingdom Gleeok Locations and How to Defeat
How to Disable Satori’s Blue Beams of Light in Zelda Tears of the Kingdom
Zelda Tears of the Kingdom Hinox Locations Map Guide
How to Play Zelda Tears Of The Kingdom on PC using Ryujinx and Yuzu