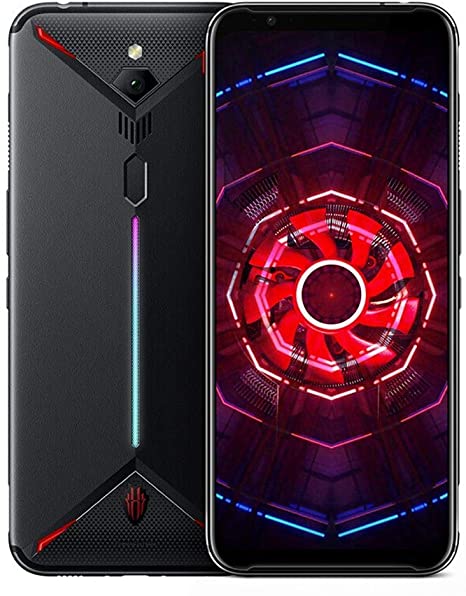
If you are looking to convert Nubia RedMagic 3 from Chinese ROM to the Global ROM, then follow the instructions mentioned below. The device, launched last year, comes with pretty impressive specifications. Under the hood, you get a Qualcomm SM8150 Snapdragon 855 octa-core chipset. Talking about the memory, it goes all the way up to 256GB storage and 12GB of RAM in the top variant. Furthermore, it beholds a mammoth 5000mAh battery. Coming to the camera department, there’s a 48MP front camera capable of recording videos at 4320p@15fps. Likewise, there’s a 16MP selfie camera with HDR support.
On that note, if you’re owning this device but don’t like its Chinese ROM, then there’s some good news for you. You could easily switch it for the Global ROM. In this tutorial, we will be sharing the steps for just that. So without further waiting, here are the instructions to convert Nubia RedMagic 3 from Chinese ROM to the Global ROM.

Page Contents
Convert RedMagic 3 to Global ROM from Chinese ROM
Before we list out the steps to do so, make sure to follow all the below-mentioned points in the requirements section. Only after that, you should try flashing the Global ROM.
Warning
Prerequisites
- First of all, make a backup of your Nubia RedMagic 3. This is because the manual installation of the Global ROM requires a complete wipe of your device. We will be doing so because most of the apps are built-in for the Chinese ROM and won’t be compatible when you flash the Global ROM.
- Make sure that your device is at least 50% charged, in order to avoid any sudden shutdown during the process.
- Finally, download the software build for your device depending on your region from here: Europe and Asia version | North America version
Now follow the below instructions to convert Nubia RedMagic 3 from Chinese ROM to the Global ROM.
Installing the Global ROM
Transfer the downloaded ROM file to the root of your device. By root we mean just inside the internal storage where all the other folders are present. Make sure you don’t put the ROM file inside any folder. Now follow the below steps:

- Go to Settings on your device and head over to System Update.
- Tap on the Settings icon (the three dots situated at the top right) and select Local Update.
- Navigate to the Global ROM file, select it and tap on the Install Now button.
- Once the flashing is successful, your device will boot to the newly installed Global ROM.
However, you might experience many issues because the apps installed on your device are still for the Chinese ROM. Hence the first thing that you need to do is a full wipe of the device. Follow the instructions given below for that.
Wipe Data in Nubia RedMagic 3
There are two ways of doing the said task. You could either do a reset from the Settings menu of the device or use the recovery. If you prefer the second option, then here is what needs to be done.
- Once your device has been booted to the Global ROM, power it off using the hardware key.
- Now press the Volume Up and Power button together until the device boots to stock recovery.
- Choose the preferred language using the Volume keys and then use the Power key to confirm the selection.
- Next, go to Wipe and select User Data. Wait for the process to finish.
- As soon as it does, your device will now boot to the OS. Setup your device using your Google Account information and enjoy the new ROM.
Conclusion
So these were the steps to convert Nubia RedMagic 3 from Chinese ROM to the Global ROM. Do let us know if you face any issues while executing the above steps. On that note, also check out our iPhone Tips and Tricks, PC tips and tricks, and Android Tips and Tricks.
