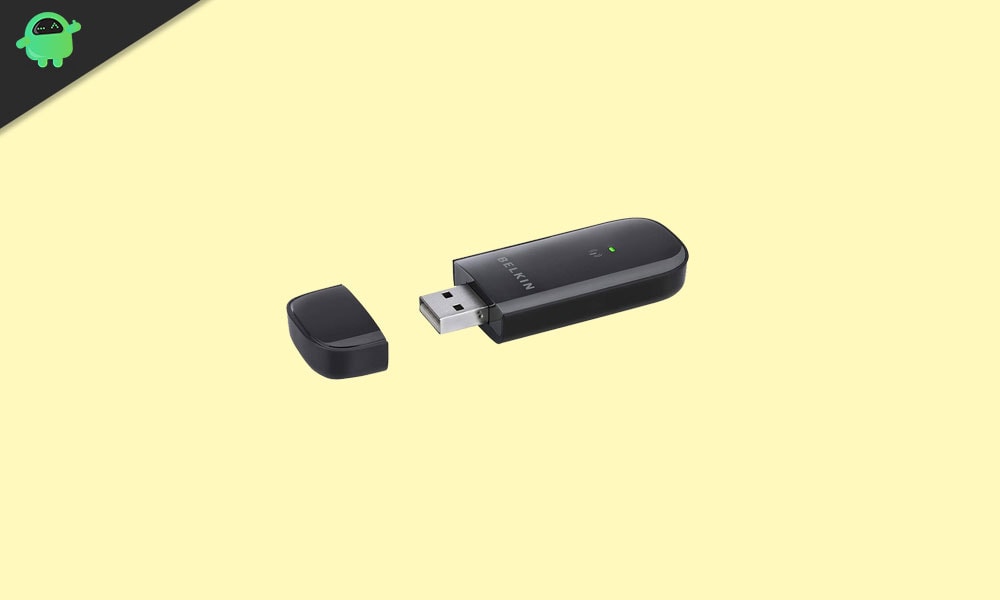
Belkin Wireless Adapter is one of the most popular wireless Adapters used across the globe for connecting a personal computer to a wireless network. However, there have been reports of its incompatibility with Windows 10.
Some of the commonly encountered problems with Belkin Wireless Adapter include the following:
- Belkin Wireless Adapter does not connect.
- Belkin Wireless Adapter code 10 error.
- Belkin Wireless Adapter is not recognized.
- Belkin Wireless Adapter frequently disconnects, loses connection.
Now we will look at the fixes that will help you solve this issue.

Page Contents
How to fix the Belkin Wireless Adapter not working in Windows 10:
Fixing the above mentioned Belkin Wireless Adapter issues is possible. You can solve the problems by following these steps:
- First of all, download the latest drivers.
- Now get the drivers installed manually.
- You should install the drivers for your previous version of Windows.
- Now connect your Adapter to a different USB port
Given below is a detailed description of how to get these things done:
Fix 1: Download the latest drivers
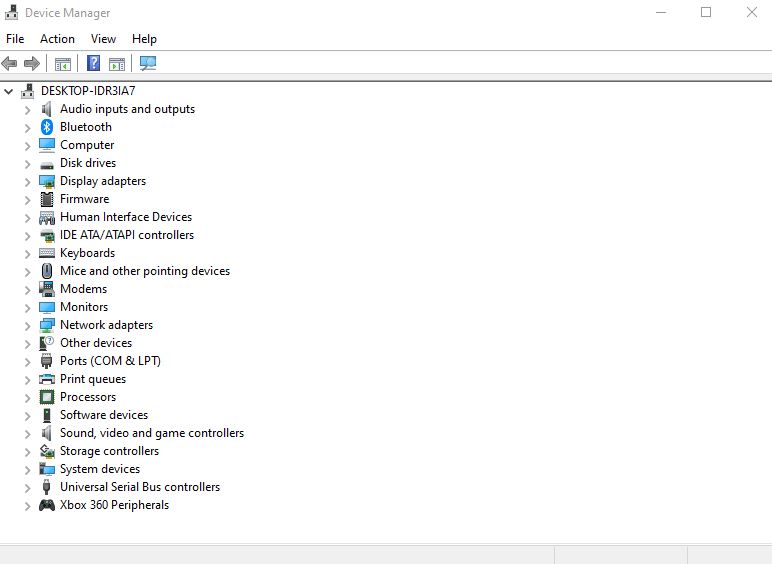
- Open Device Manager and there uninstall the Belkin Wireless Adapter device. You will find the uninstalling option by right-clicking on the ‘Belkin Wireless Adapter’ in the list.

- Then go to ‘Delete the driver software for this device’ and click on Uninstall.
- Once you uninstall the driver, install the new (latest) driver.
This one of the best solutions to fix your Belkin Wireless Adapter device. However, if this didn’t help, consider moving to the next fix.
Fix 2: Install the Drivers Manually
- Right-click on the ‘Start’ Button. From the drop-down menu, choose ‘Device Manager’ and click on it.
- Find the ‘Belkin Wireless Adapter’ here and right-click on this. Then choose ‘Update driver’ from the menu.
- Navigate to ‘Browse my computer for driver software’ and click on it.
- Then choose ‘Let me pick from a list of available drivers on my computer’. Clicking on this will open a list of all the drivers that are available for you.
- The ‘Belkin Wireless USB Adapter’ (Microsoft) will be selected by default. Now you have to select ‘Belkin Wireless USB Wireless Adapter’ (Belkin International Inc.)
- Click ‘Next’
Fix 3: Install the Drivers from the Previous Version of Windows
- Navigate to and right-click on the setup file. Then choose ‘Properties.’
- Go to the ‘Compatibility tab’. Click on ‘Run this program in compatibility mode for’ to check it.
- Now choose an older version of Windows. Then click on ‘Apply.’ To save the changes, click on ‘OK.’
- Now, Run the setup again.
Fix 4: Connecting your Adapter to a different USB port
It has been seen that the ‘Belkin Wireless Adapter’ sometimes does not work with Windows 10. This particularly happens when it is connected to a wrong USB port.
Most users complain that the USB 1.1 port is particularly not compatible with the Belkin Wireless Adapter.
Also, it is reported that USB port 2.0 and 3.0 are most compatible with this Wireless Adapter, and of these two, USB 2.0 is better.
Also, it will be best if you took care that your network connection is working well without any hindrances. Run a network troubleshooter to resolve the network issues if any.
Well, that’s all we have for you to fix your Belkin wireless Adapter. We hope this guide helped you to fix that. Now, check out our Windows Guides, Gaming Guides, Social Media Guides, iPhone, and Android Guides to know more. If you have any queries, comment down with your name & email ID. Moreover, subscribe to our very own YouTube Channel in order to watch awesome videos on gaming and smartphone tips and tricks.
