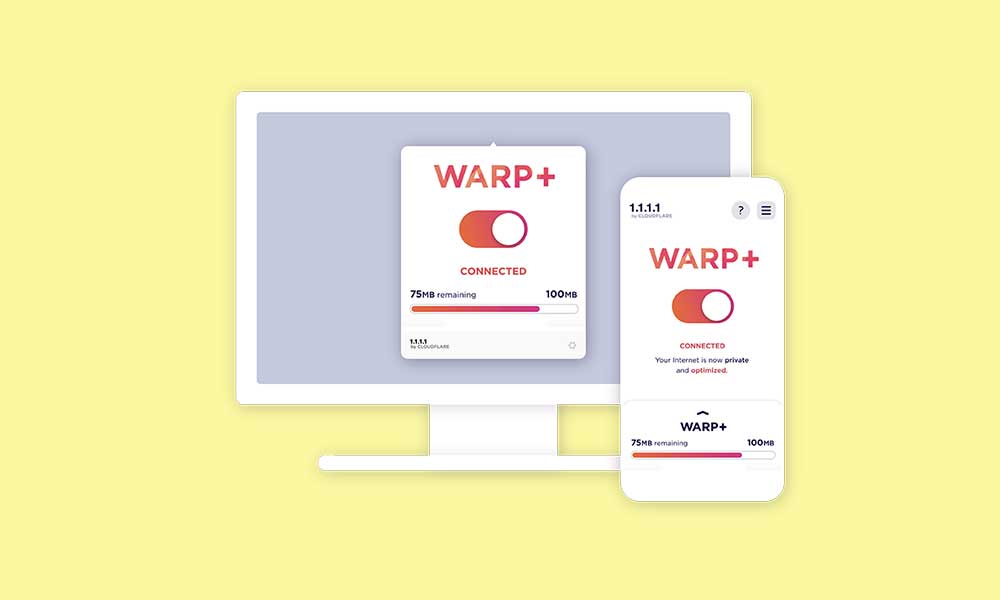
Cloudflare is a web infrastructure and website security company that offers content delivery network (CDN) DDoS mitigation services across the globe. Plenty of people owns internet properties under Cloudflare that should be fast, stable, and secure from external issues. Cloudflare’s 1.1.1.1 is the world’s fastest public DNS resolver to improve the internet. Now, if you’re of those users, you can check this guide on How to Get Unlimited Cloudflare WARP+ GBs.
Cloudflare’s WARP is one step ahead of the technology that makes the entire connection from both devices faster and safer than before. Not only mobile users but also desktop users can use this service to improve the internet experience much secure and private. It’s worth mentioning that now getting the unlimited Cloudflare’s WARP+ GBs much easier than anything else. So, without wasting any more time, let’s jump into the guide below.

How to Get Unlimited Cloudflare WARP+ GBs
- Head over to this GitHub link > Download the WARP+ Cloudflare GUI zip file on your computer. [You can find the latest version under Releases]
- Now, make sure to extract the compressed zip file on the desktop > Open the extracted folder.
- Double-click on the Cloudflare WARP Plus application file to open it.
- The program interface will open > Here you’ll have to input the WARP+ ID. [Click on the Cloudflare 1.1.1.1 WARP+ program that’s already running > Click on the Settings icon > Select Preferences > Copy the Device ID and paste it on the WARP+ ID section]
- Keep Thread count 100 > Click on Get Proxylist > Now, click on Start.
- It’ll start testing and adding the additional GB (Gigabytes) to your account. As the process may take some time, make sure to wait for it to complete.
- Once it’s done, make sure to go to the Cloudflare WARP+ application that’s running > Click on Settings > Go to Connection.
- Make sure to click on Reset Encryption Keys > After resetting, it’ll notify you. Just click on OK.
- Now, you’ll have to close (exit) the WARP+ application to apply changes from the taskbar.
- Launch the Cloudflare WARP+ application again > Click on Settings > Go to Preferences.
- Click on Account > Now, you’ll be able to see that additional GBs has been added to the Data Remaining section.
- You’re good to go. Enjoy!
That’s it, guys. We assume this guide was helpful to you. For further queries, you can comment below.
