Google Drive Backup and Sync is a popular solution for the safe storage of a high volume of data in the cloud. While we store our data on the PC, it is susceptible to hacking and data corruption. So, frequently backing up our data to cloud storage is a wise decision. Google’s own backup and sync is a great tool for creating a substitute repository of all our data. By default, when you install the backup and sync tool its folder is created in the C: drive of your computer. You can change the Google Drive Backup and Sync Folder Location to other drives than the default one.
Also Read: How to Use Google Drive on Fire TV Stick
In this guide, I will show you how to change the Google Drive Backup and Sync default folder to something else. The steps to carry this out is pretty simple. First, You have to disconnect your account from the service. Then again you have to re-sync your PC data. At this point, you can reset the folder where you want to keep the backup and sync folder. Alternatively, you can manually move the Google backup and sync folder from its default folder. I have explained both the methods in this guide. Let’s check those out now.
Also Read
Change Google Drive Backup and Sync Folder Location
Here are the steps for the first method.
Disconnect Your Account and Re-Sync Your Data
- On your PC desktop move the cursor to the system tray
- There you should see a cloud icon with an arrow which is the one for Google Drive Backup and Sync
- Click on this cloud icon
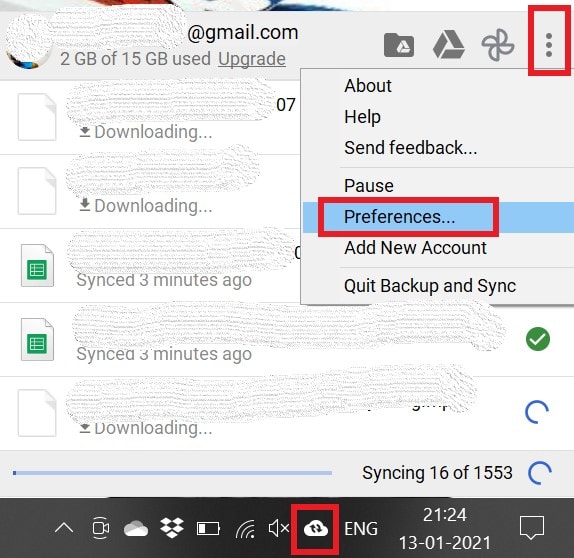
- Select the option Preferences
- From the left-hand panel click on Settings
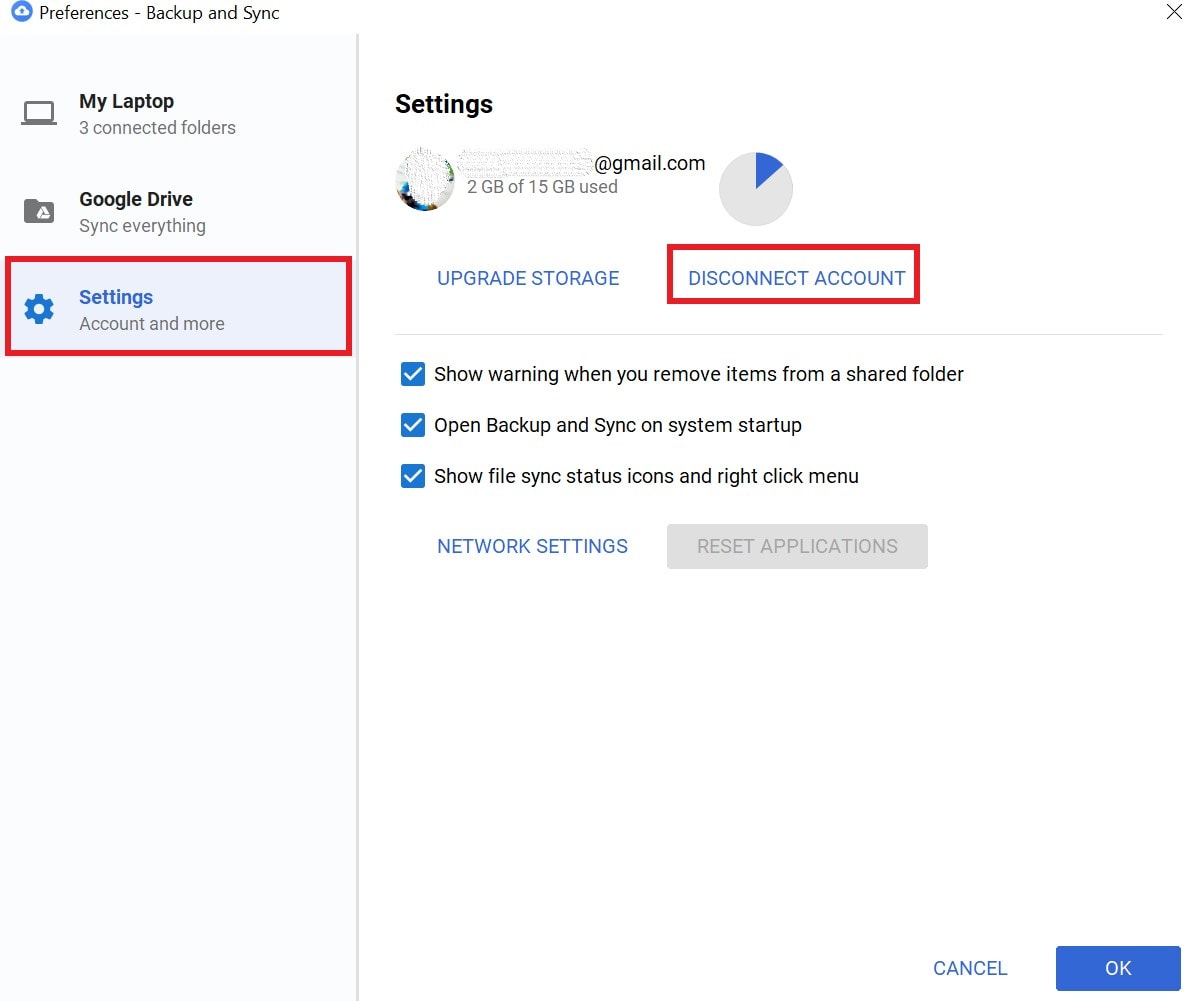
- Click on Disconnect Account
At this point, your Google drive will get disconnected from your PC. rest assured that your files won’t be lost or deleted. They will remain alright.
- Click on Drive Backup and Sync icon
- For reconnecting you have to sign-in to your Gmail account
- After that, you will come across the Advanced Setup tab. Click on that
- There will be an option Change. Click on it change the default Google Drive backup and sync folder location
- Now, the files will re-sync to the new folder location.
After the re-sync finishes, you may delete the backup and sync folder in the previous location to clear up the storage.
Manually Move the Google Drive Backup and Sync Folder from Default Location To Other Location
There is another alternative method where you can simply move the folder from its default location C: drive to any other folder of your choice.
- On the device System tray, click on Drive backup and Sync icon
- Then click the 3-dot button in the upper right corner of the small menu that shows up
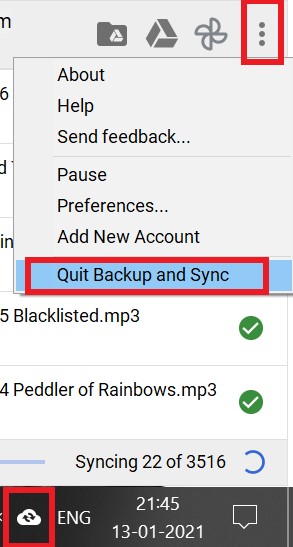
- Click on Quit Backup and Sync
- Manually select and move the Google Drive Backup and Sync folder from its default location to a new folder in some other drive within the computer.
- Open Backup and Sync
- You will see a warning that the backup and sync folder cannot be found.
- There will be an option Error-Google Drive folder is missing. Click on it
- In a new window that will show up, you have to locate the folder in the new location to where you moved the backup and sync folder in the previous steps
- Then select the same as the new location for Google Drive Backup and Sync.
These are the two methods you can use to change the Google Drive Backup and Sync folder from its default location to any other location. Try these out and let me know in the comments section.