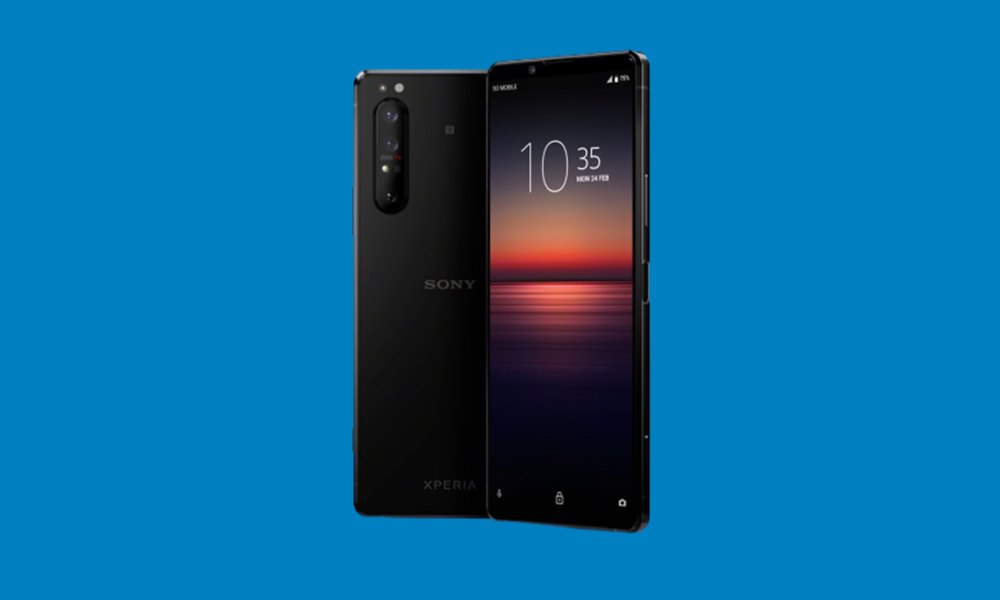
In this tutorial, we will show you how to flash the Treble A/B GSI Custom ROM onto your Sony Xperia 1 II devices. One of the biggest perks with an open-source operating system is the ability to try your hands on a plethora of tweaks and modifications. Among them, installing a custom ROM would occupy among the top spots any day of the week. These ROMs add additional features to your device, something that the stock cannot provide.
However, the thing is not every device has such an active custom development, and hence some get bereft with these offerings. But when Google launched Project Treble, alongside Android 8.0 Oreo, the entire Android ecosystem underwent a major overhaul. Earlier, whenever a new Android update made its way, the OEMs had to wait for the chipset manufacturers like Qualcomm to make changes to their components.
However, with Project Treble, these lower-level codes (including chipset and modem) didn’t need to be updated every time a new Android version made its way. This gave rise to faster Android updates and also paved the way for Generic System Images. And in this guide, we will be making use of this GSI file. So without further ado, here are the required instructions to flash a Treble A/B GSI Custom ROM on Sony Xperia 1 II.

Page Contents
How to Flash Custom ROM on Sony Xperia 1 II – Treble A/B GSI
To begin with, there are a few requirements that your device needs to qualify. Please go through them once before proceeding with the flashing steps:
Prerequisites
- Download the Android Generic System Images (GSIs) from Google’s Android Developer site.
- Next up, download the AOSP Vendor Package from the Sony Developer site. Make sure to download the one that corresponds to your device only. These custom binaries will make it possible for the AOSP to run on your Xperia devices.
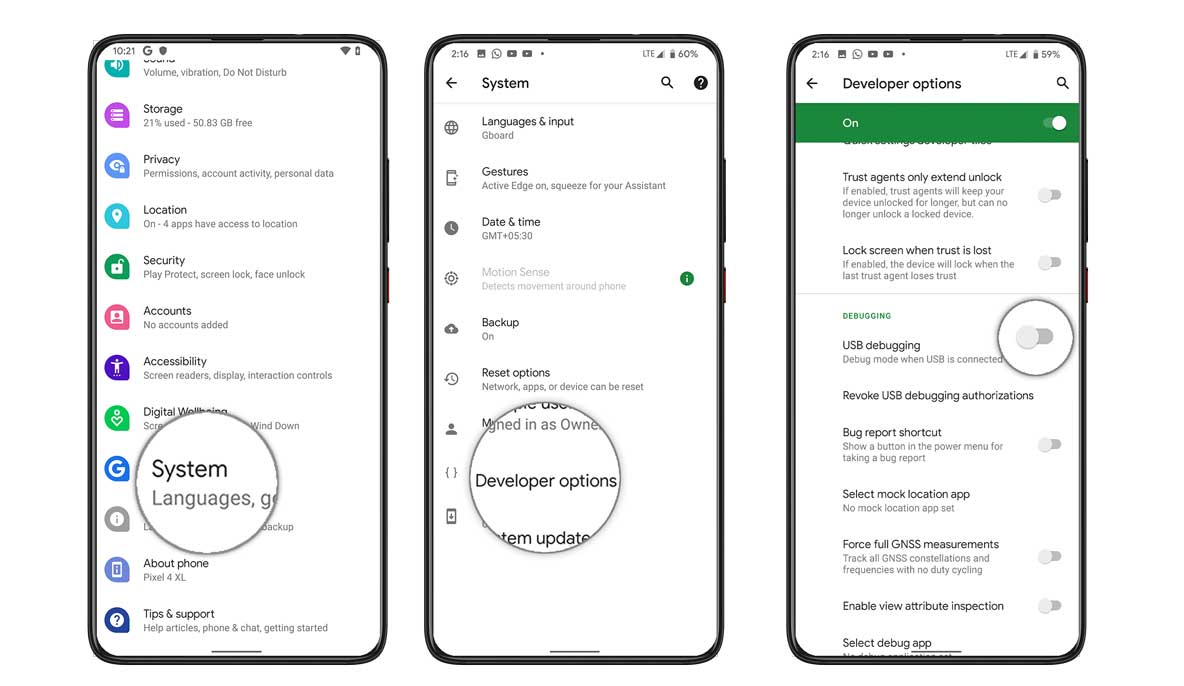
- Enable USB Debugging on your device. For that, head over to Settings > About Phone > Tap on Build Number 7 times > Go back to Settings > System > Advanced > Developer Options > Enable the USB Debugging toggle.

- Also, download and install the Android SDK Platform Tools on your PC. This will provide the necessary ADB and Fastboot binaries.
- Furthermore, create a complete device back up and keep it sufficiently charged, at least 50% is recommended.
These were the requirements. You may now proceed with the steps to flash the Treble A/B GSI Custom ROM on Sony Xperia 1 II.
STEP 1: Unlock the Device’s Bootloader
First and foremost, you will have to unlock the bootloader on your Sony Xperia 1 II device. So head over to our detailed guide on How to Unlock Bootloader on Any Xperia Device and carry out the mentioned steps. Once that is done, move over to the next step given below.
STEP 2: Placing the Files in the Right Directory
- Extract the downloaded Android Generic System Images that you had downloaded from Google’s site. You will see two files: system.img and vbmeta.img. Move both these files over to the platform-tools folder.

- Likewise, move the downloaded the AOSP Vendor Package inside the same platform-tools folder. With that, you have placed the three IMG files inside the said folder (two from GSI and one from the Vendor package).

STEP 3: Boot your device to Fastboot Mode
- You will now have to boot your device to the Fastboot mode. Here is how it could be done:
- Connect your device to PC via USB cable. make sure that Debugging has been enabled.
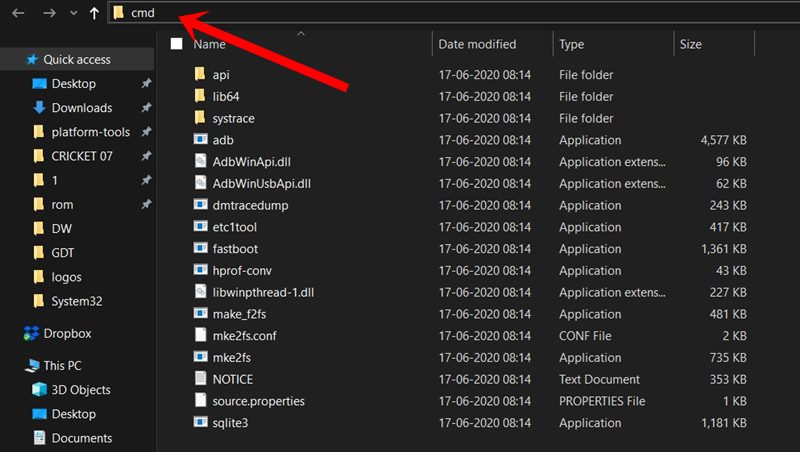
- Now head over to the platform-tools folder, type in CMD in the address bar, and hit Enter. This will launch the Command Prompt.

- Execute the below command to boot your device to Fastboot mode:
adb reboot bootloader
- You could also boot your device to Fastboot by powering off your device and pressing the Volume UP button and connecting the device to PC via USB cable. Anyways, once the device is this mode, its time to flash the Treble A/B GSI Custom ROM on Sony Xperia 1 II. Follow along.
STEP 4: Flashing the Required Files
- To begin with, you will have to disable the verified booting (AVB). This will be done by flashing the vbmeta.img file. Execute the below command to flash this file:
fastboot --disable-verification flash vbmeta vbmeta.img
- Next up, you will have to flash the Vendor file to the Primary A Slot OEM. Make sure to replace nameofthesonyoemimage with the actual name of the AOSP Vendor Package that you have downloaded from the Sony Developer site.
fastboot flash oem_a nameofthesonyoemimage.img
- Likewise, the Vendor file will also be flashed to the B Slot OEM (again rename the nameofthesonyoemimage file as mentioned above)
fastboot flash oem_b nameofthesonyoemimage.img
- Now, we will have to flash the GSI to the Primary A Slot System using the following command:
fastboot flash system_a system.img
- Likewise, flash this GSI file to the B Slot System:
fastboot flash system_b system.img
- You will now have to wipe off data and clear the user data and system partition. This could be done via the below-mentioned command:
fastboot -w
- Once that is done, you may now reboot your device to the newly installed OS:
fastboot reboot
With this, we conclude the guide on how to flash the Treble A/B GSI Custom ROM on Sony Xperia 1 II. If you have any queries, do let us know in the comments section below. Rounding off, here are some iPhone Tips and Tricks, PC tips and tricks, and Android Tips and Trick that you should check out as well.
