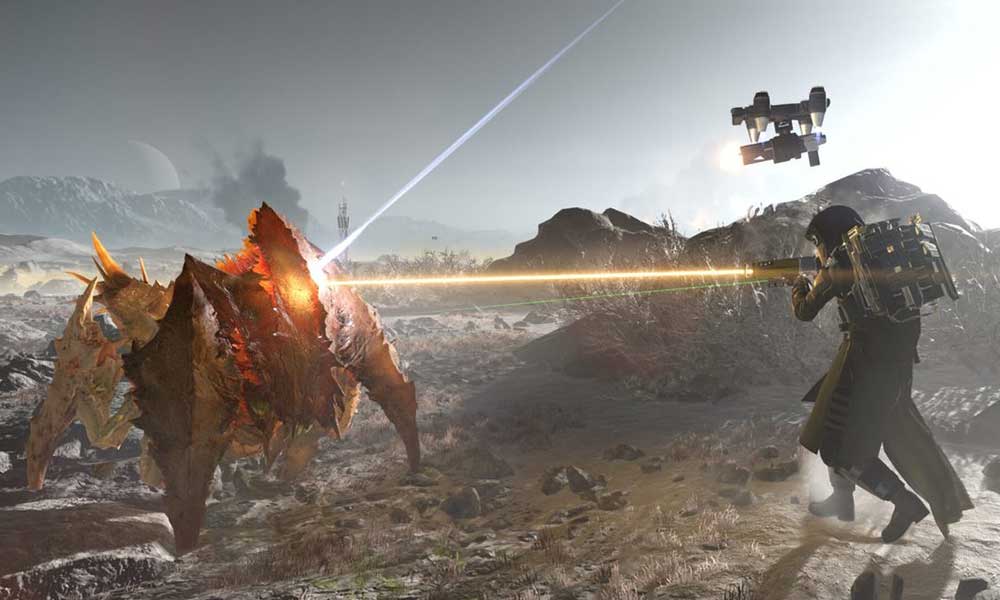
Arrowhead Game Studios and Sony Interactive Entertainment have recently released Helldivers 2, the new co-op third-person shooter for PC and PlayStation 5 in 2024. As a sequel in the Helldivers series, players eagerly anticipated its launch. However, like many other games, it is not without its share of bugs and errors. Many players are experiencing issues with Helldivers 2 Error Code 10003001 while attempting to join the game.
The Error Code 10003001 in Helldivers 2 appears to be a server-side problem, although other factors could contribute. While a permanent fix is not available, you may try some workarounds that could alleviate this error. An unexpected influx of players is likely straining the Helldivers 2 servers, resulting in connectivity errors and timeout issues in the queue.
How to Fix Helldivers 2 Error Code 10003001
Except for the potential server-related issues with Helldivers 2, the chances are high that somehow temporary networking glitches, slow internet connection, an outdated game patch version, corrupted or missing game files, firewall or antivirus blocking issues, in-game crossplay feature conflicts, in-game Steam overlay issues, etc can cause the Error Code 10003001.
As we’re now aware of the reasons, we can get into the troubleshooting methods below. Make sure to follow all steps until the error has been fixed. So, without further ado, let’s jump into it.
1. Restart the Gaming Device
You can try rebooting the specific gaming device like a PC or PS5 manually to clear temporary system glitches and cache data issues whatsoever. A normal reboot of the system can help in fixing multiple issues with the program launching most of the time. Just long-press the Power button on the gaming device and shut down the machine. Wait for a couple of minutes and then power on the device again.
Also Read
2. Run Helldivers 2 as an Administrator
You might also need to run the game application manually with the system admin access to avoid potential issues with the program startup. You should follow the steps below to ensure your game application is enabled for the system admin privilege. To do this:
- Head over to the installed game directory on the PC.
- Right-click on the Helldivers2.exe app.
- Go to Properties > Navigate to the Compatibility tab.
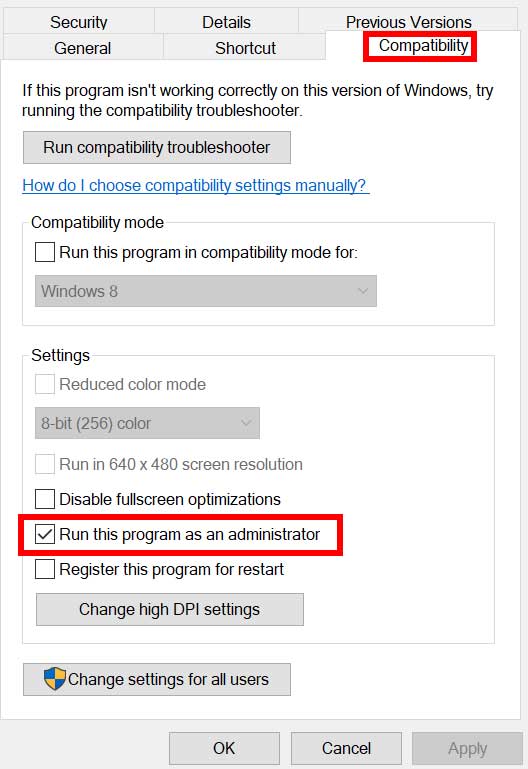
- Enable the Run this program as an administrator option.
- Click on Apply and select OK to save changes.
3. Check the Server Status
Another thing you can do is check out the official @helldivers2 X account to get notified about server conflicts or technical glitches reported by other players. You’ll also receive the upcoming patch update-related notifications. In case, there is an issue with the server, keep waiting for a couple of hours and then try again later.
4. Update Helldivers 2
Sometimes an outdated game patch version can also cause several issues with the game application launching on the PC or PS5. It’s suggested to check for the available game updates by following the steps below.
For Steam:
- Open the Steam client > Go to Library.
- Right-click on the Helldivers 2 game.
- Click on Properties > Click on Updates.
- Now, go to Automatic Updates.
- Choose Only update this game when I launch it.
- Once done, reboot the system to apply changes.
- Whenever the game update is available, it’ll be installed.
For PS5:
- Go to the Home screen.
- Navigate to Games > Choose Helldivers 2.
- Press the Options button on your controller.
- Select Check for Update from the drop-down menu.
5. Repair the Game Files
The chances are high that the corrupted or missing game files installed on the computer might cause the error code 10003001 while startup. So, verifying the integrity of the game files by following the steps below can help in fixing server connectivity conflicts.
- Open the Steam client.
- Go to the Library.
- Right-click on the Helldivers 2 game.
- Go to Properties.
- Now, click on Installed Files.
- Click on Verify integrity of game files.
- Wait for the process to complete.
- Once done, restart the system to apply changes.
6. Check Your Internet Connection
It seems that any kind of internet connectivity issue at your end can cause multiple errors with the server connectivity. Sometimes a poor or unstable internet connection can trigger errors with the game launching. So, try improving the internet speed and stability by contacting the service provider. Sometimes switching between the wireless and wired network can also help.
7. Try Using Another Network
You can also try using a different network on your gaming device to ensure if there is an issue with the internet connection or not. Sometimes the IP address issue on your existing network can cause server errors.
8. Update the Network Driver
An outdated or corrupted network driver on the PC can also trouble at times. It’s better to update the network adapter driver manually by following the steps below.
- Press the Win+X keys to open the Quick Link Menu.
- Click on Device Manager from the list.
- Double-click on the Network adapters category to expand the list.
- Right-click on the specific network device.
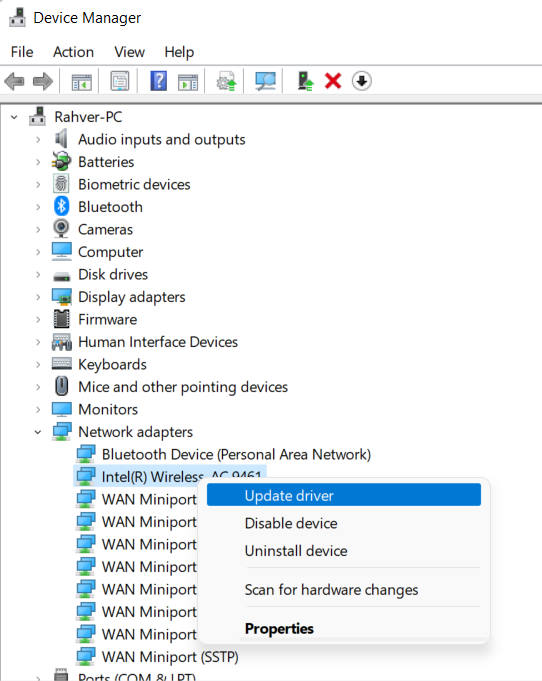
- Select Update driver > Choose Search automatically for drivers.
- If an update is available, it’ll automatically download and install the latest version.
- Once done, reboot your PC to apply changes.
9. Disable Crossplay
Sometimes turning off the in-game multiplayer crossplay feature might help in fixing the error code 10003001 in Helldivers 2 which prevents players from joining the servers. Multiple players have found that the problem with the crossplay feature is occurring issues in Helldivers 2. Therefore, disabling this feature may avoid server connectivity errors.
10. Turn Off Antivirus
You’ll need to turn off the antivirus protection on your computer manually to prevent blocking issues with the game application from running. Sometimes antivirus programs can aggressively scan for the files and delete suspicious files. So, you should follow the steps below to disable the real-time protection option.
- Press the Win+I keys to open Windows Settings.
- Click on Update & Security.
- Go to Windows Security.
- Click on Open Windows Security.
- Go to Virus & Threat Protection.
- Next, click on Manage Settings.
- Turn Off the Real-time Protection toggle.
- Click on Yes to confirm if prompted by UAC.
Please Note: If you’re using a third-party antivirus program on your PC then disable the real-time protection feature temporarily and run the game.
11. Disable Windows Firewall
It’s also suggested to disable the Windows Firewall manually on your computer by following the steps below to ensure there is no conflict with the program blocking it from running properly.
- Open the Start Menu on the computer.
- Search and open Windows Defender Firewall.
- Click on Turn Windows Defender Firewall ON or OFF.
- Select the Turn off Windows Defender Firewall (not recommended) option.
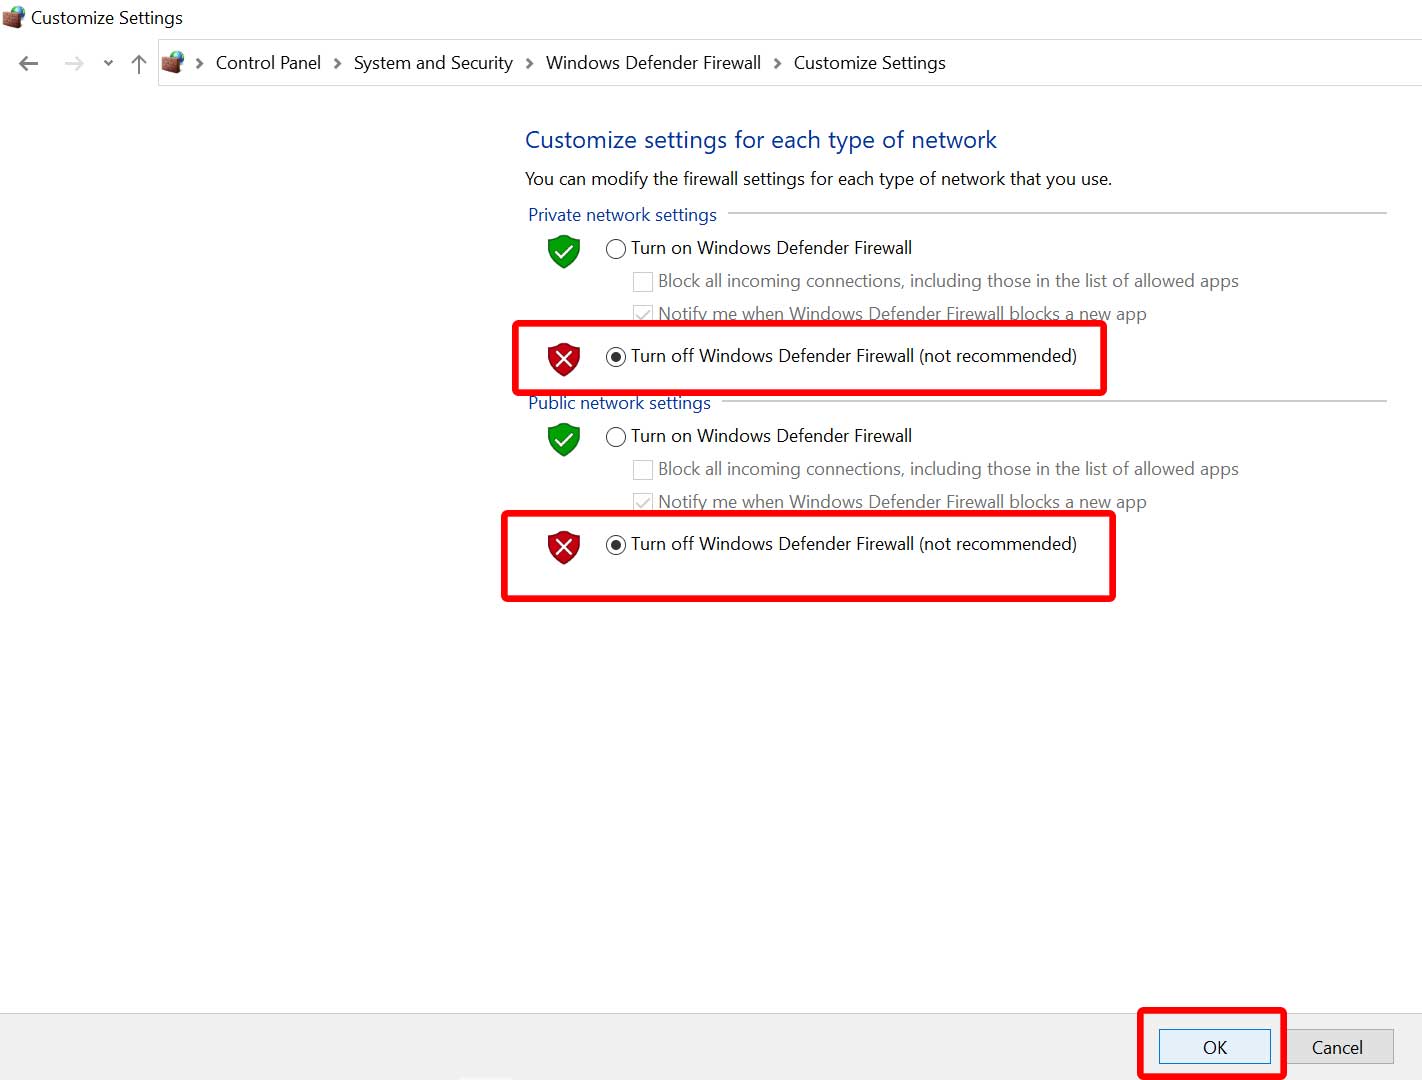
- Click on OK to save changes.
- Once done, reboot the PC to apply changes.
12. Try Joining Servers Multiple Times
Another thing you can try is joining the Helldivers 2 game servers multiple times during off-peak hours irrespective of the gaming platform to avoid any kind of potential server connectivity errors or technical faults up to some extent.
13. Turn Off Steam In-Game Overlay
The chances are high that somehow the in-game Steam overlay option is causing multiple issues with the game launching or even server connectivity errors. You can check the steps below to disable overlay.
- Open the Steam client > Click on Library.
- Right-click on Helldivers 2.
- Now, click on Properties.
- Click on General.
- Turn OFF the Enable the Steam Overlay while in-game option.
- Once done, restart the system to change the effects.
14. Contact Support
Last but not least, you’ll need to contact Steam Support or PlayStation Support and then submit a support ticket for the same error. This will allow the game developers to investigate the problem further and you’ll be able to get further assistance on it.
Conclusion
The Helldivers 2 Error Code 10003001 can be frustrating, but it is often related to connectivity issues, server downtime, or corrupted game files. By following the steps outlined in this guide—such as checking your internet connection, verifying the game’s server status, repairing game files, and ensuring your firewall or antivirus is not blocking the game—you can resolve the issue in most cases. If the error persists, reaching out to Helldivers 2 support with detailed information about the problem is the best course of action. This will ensure you get the help needed to return to the game seamlessly.