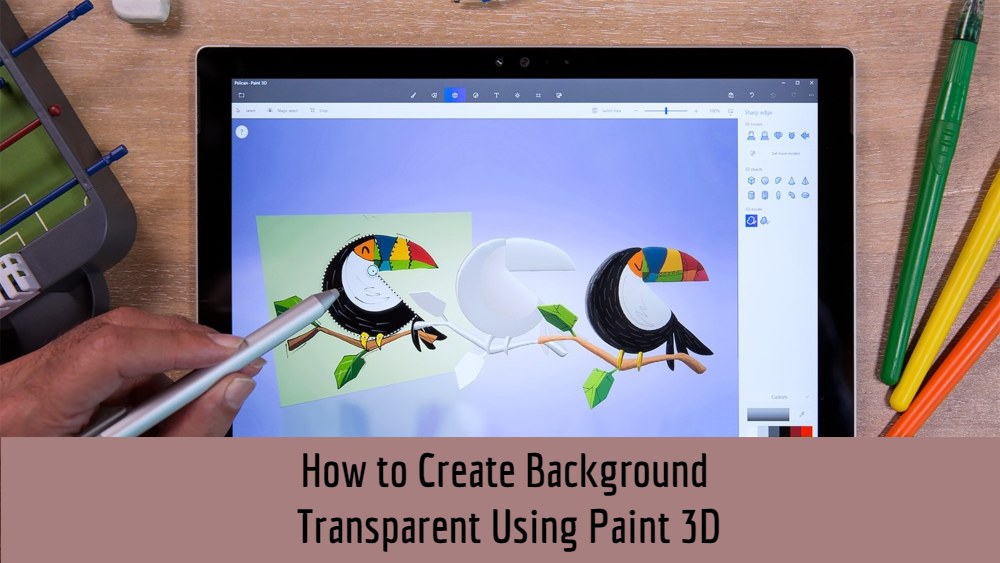
An image with a transparent background appeals more to creators like us in order to use it for different purposes. We as creators use it for featured images or for something else. But not every image is available without a transparent background and we need to purposefully search for it in order to have that particular image without a background. If you are a Windows user then, you might have heard about the Paint 3D application that comes pre-installed with it. And with the help of the Paint 3D application, you can create a background transparent of any images.
Also Read
This is a fun little guide by which you can make any image’s background transparent and use it for your task. In this guide, we will give you steps to create background transparent using Paint 3D. It is a guide that I would personally like to share as there will be quite a lot of people looking for such a cool and easy trick to get rid of the unwanted backgrounds of an image. So, without any further ado, let us get straight into the article itself:
Page Contents
How to Create Background Transparent Using Paint 3D
- First of all, open the Paint 3D application from the Start Menu.
- Load the image of which you wish to make a transparent background in Paint 3D.
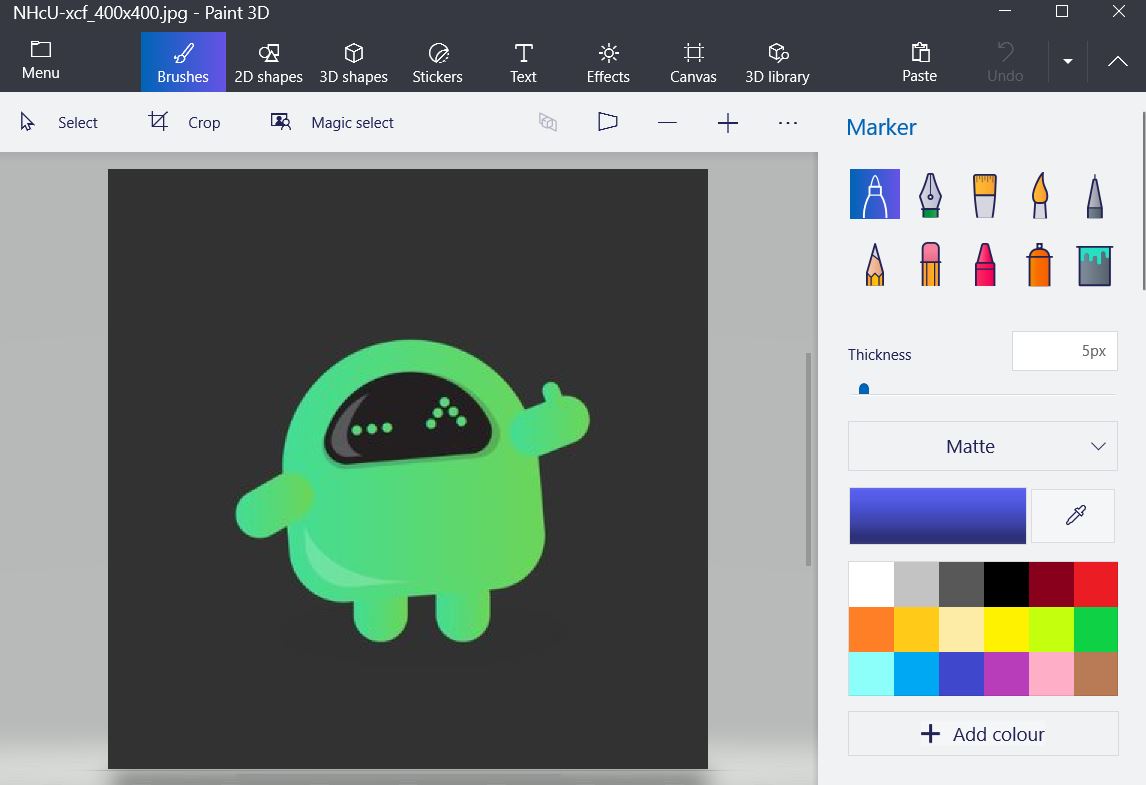
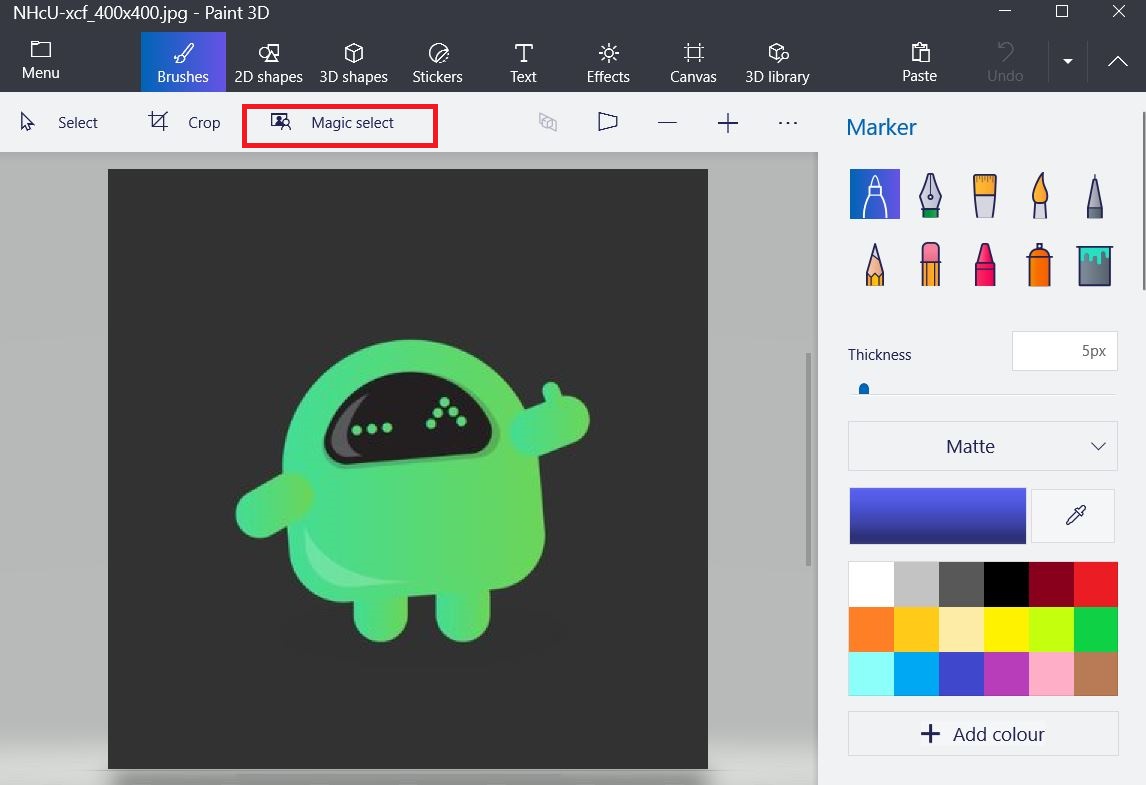
- Then once the image is loaded, tap on the Magic Select option located in the top bar.
- A selection box will appear which you need to adjust on the image of which you wish to delete the background.
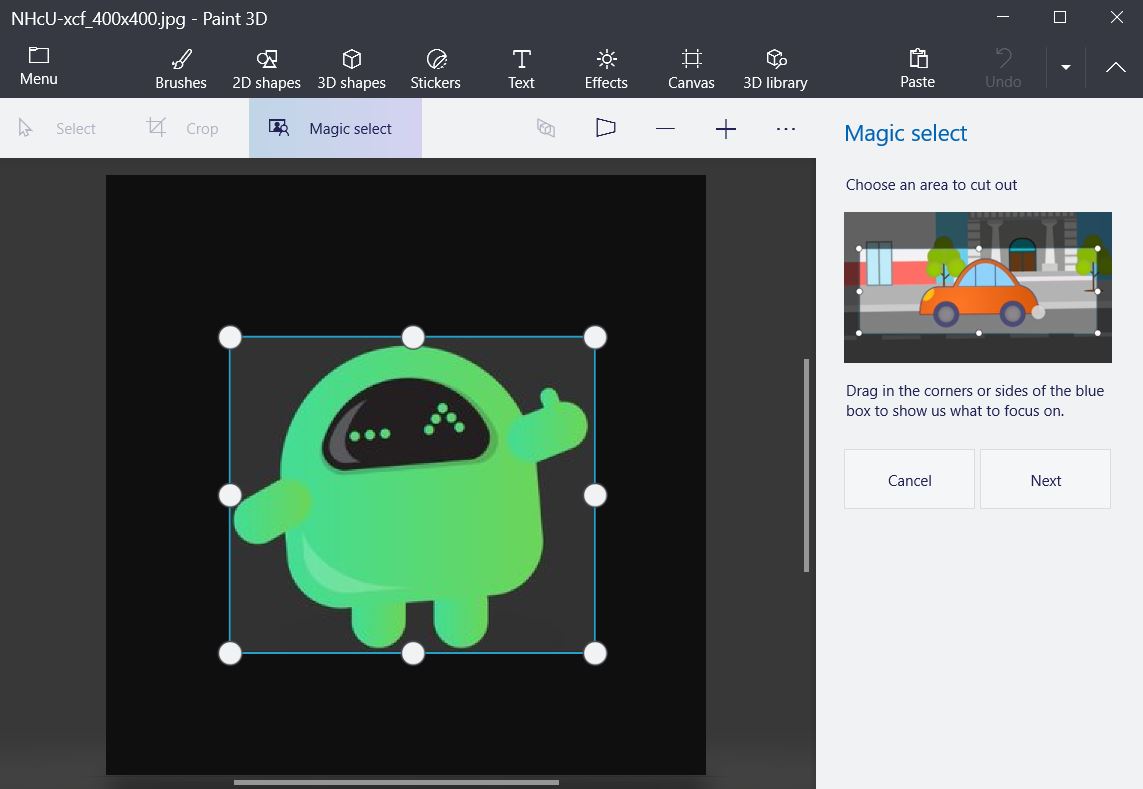
- Tap on the Next button as shown in the image above.
- Paint 3D will automatically detect the object inside the image.
- Once you are done with the selection, tap on Done.
- Click on the Remove tool and select the part of the image that you want to remove from your selection.
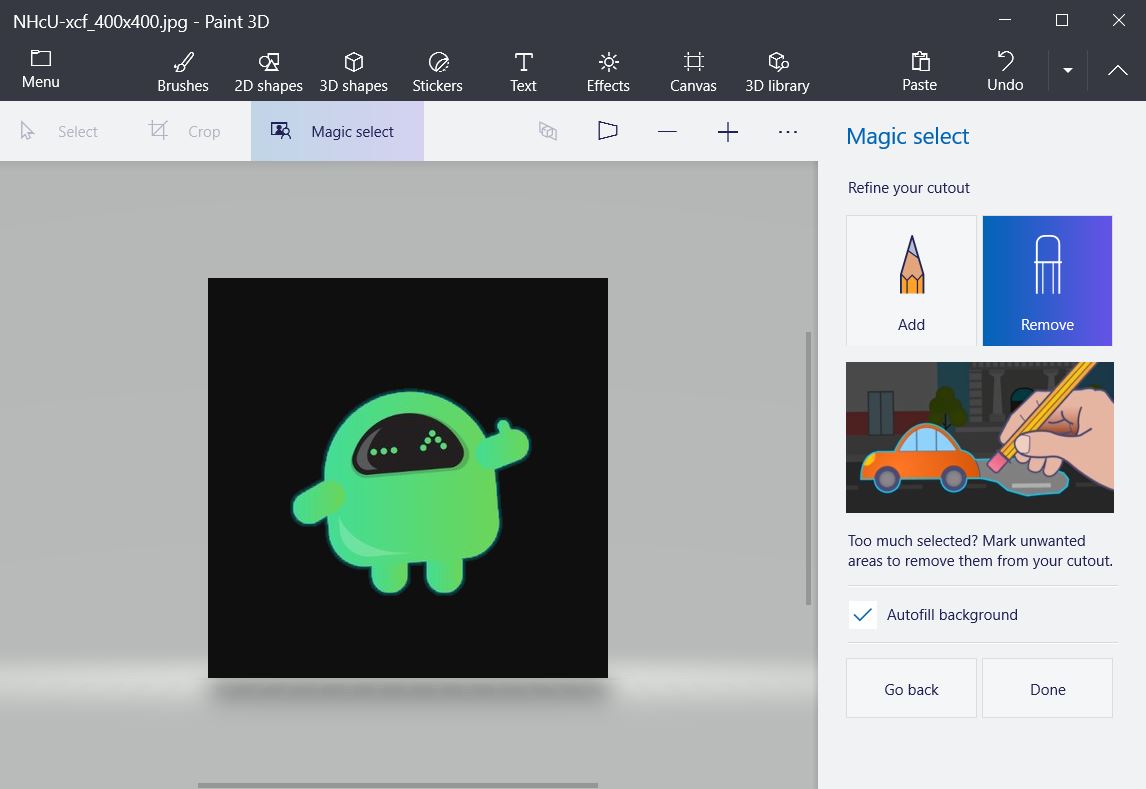
- Once you press the Done button, you will see another selection box. But this is a box that will indicate that the selected image is a separate object.

Remove the background
Method 1:
- Keeping the pic in the selection mode (step 9 above) drag it outside the box.
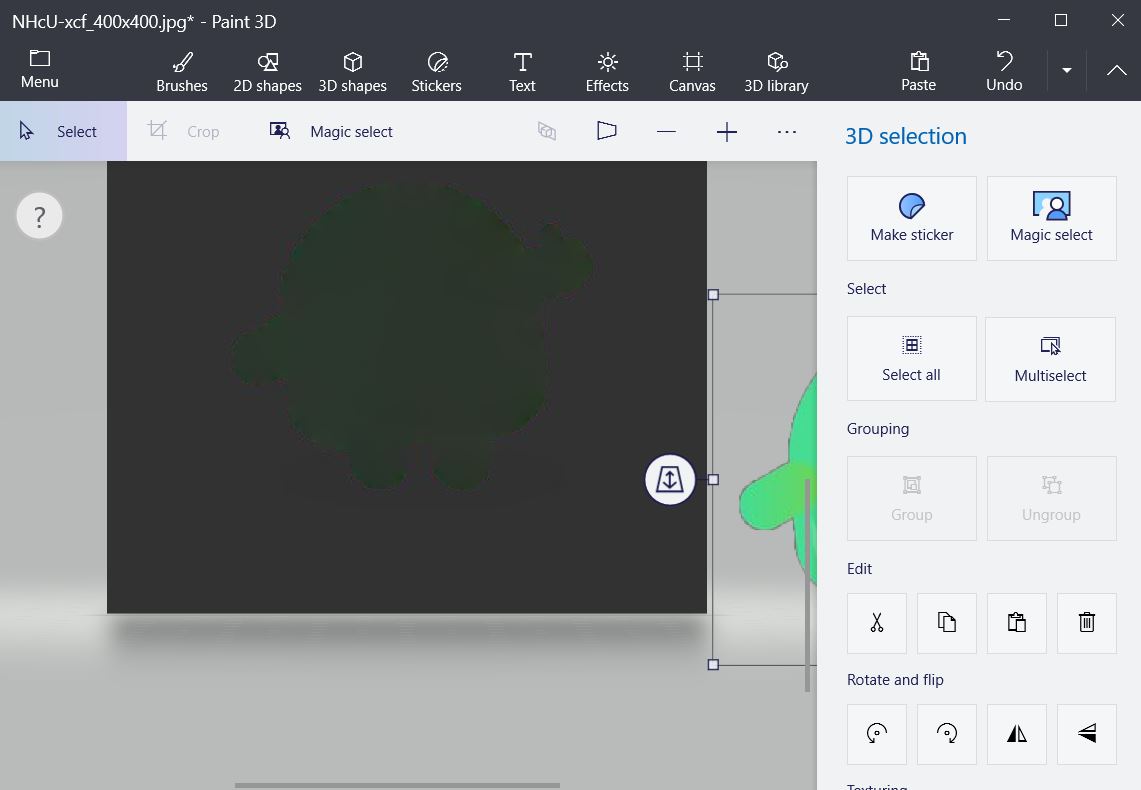
- Tap on the Select option and make a box across the background as shown.
- Either hit the Delete button on your Keyboard or the button on the right side.
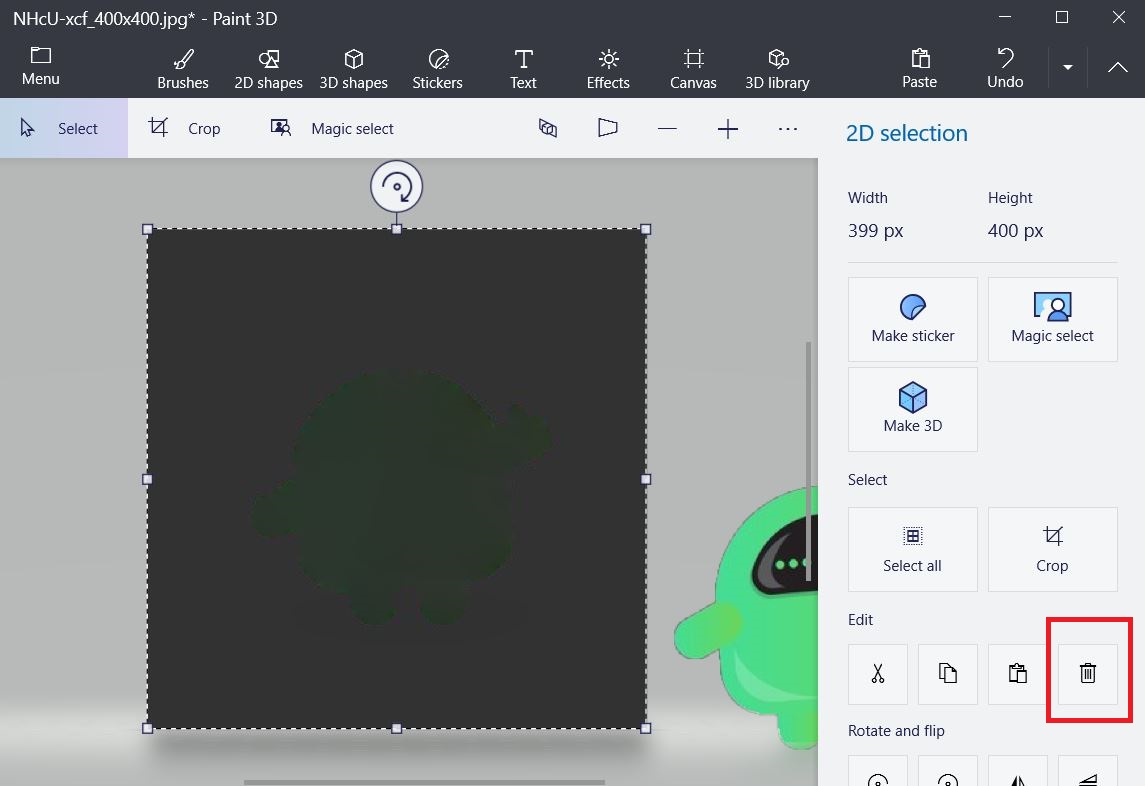
- You will notice that the background turns white.
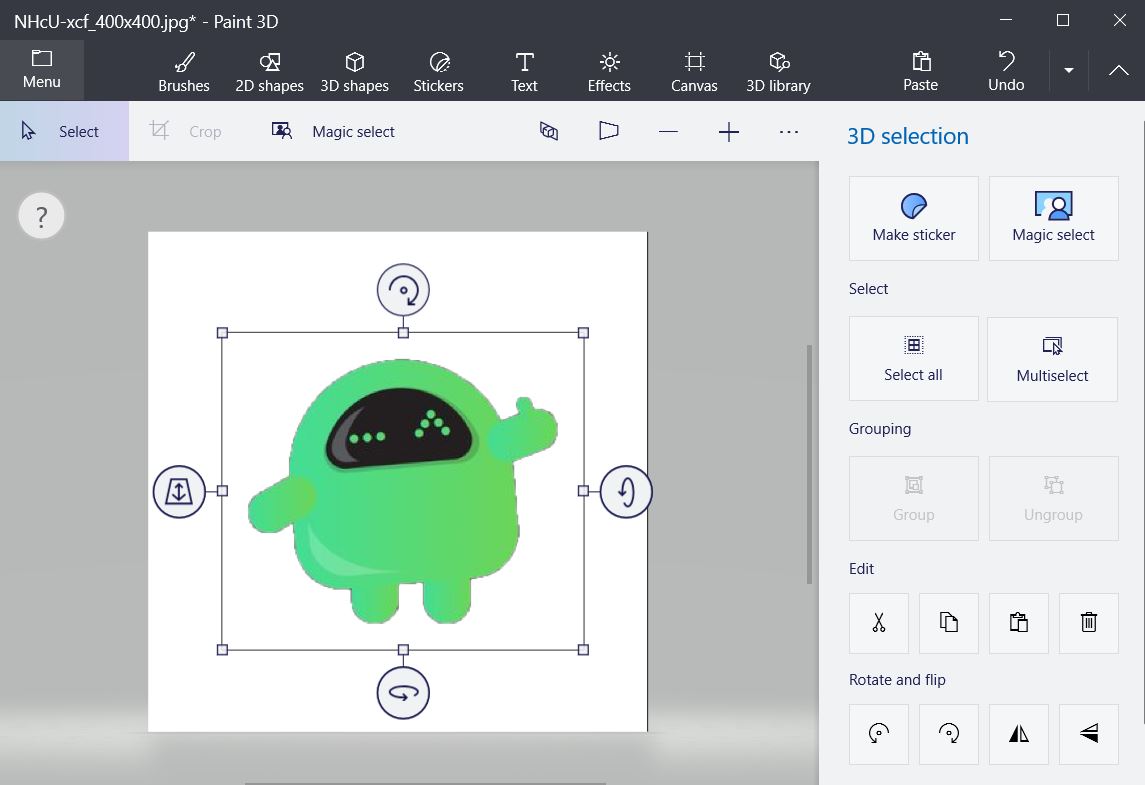
- Now you have removed the background.
Method 2:
- You can copy the extracted image.
- Paste it in a new file.
- That’s it! Your image is copied without any background image.
Make Background Transparent
- Click on the Canvas options as shown below.
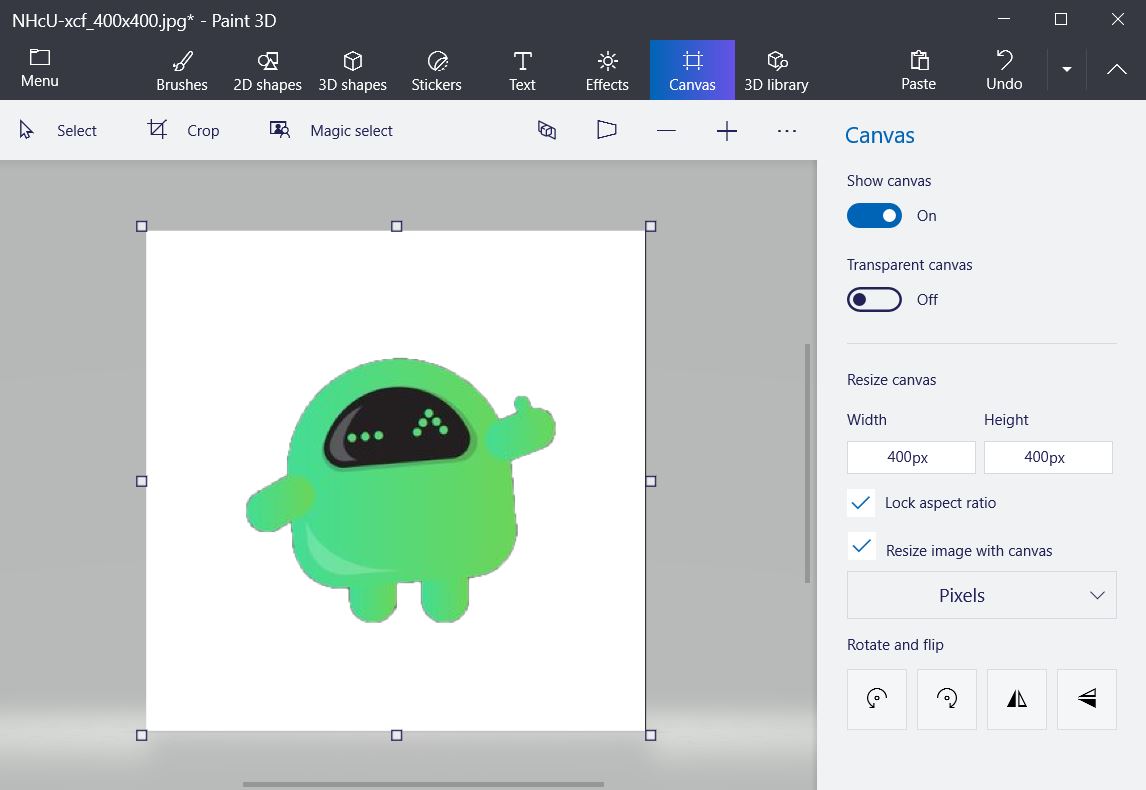
- Toggle the Transparent Canvas option.
- You will notice that the white background has disappeared.
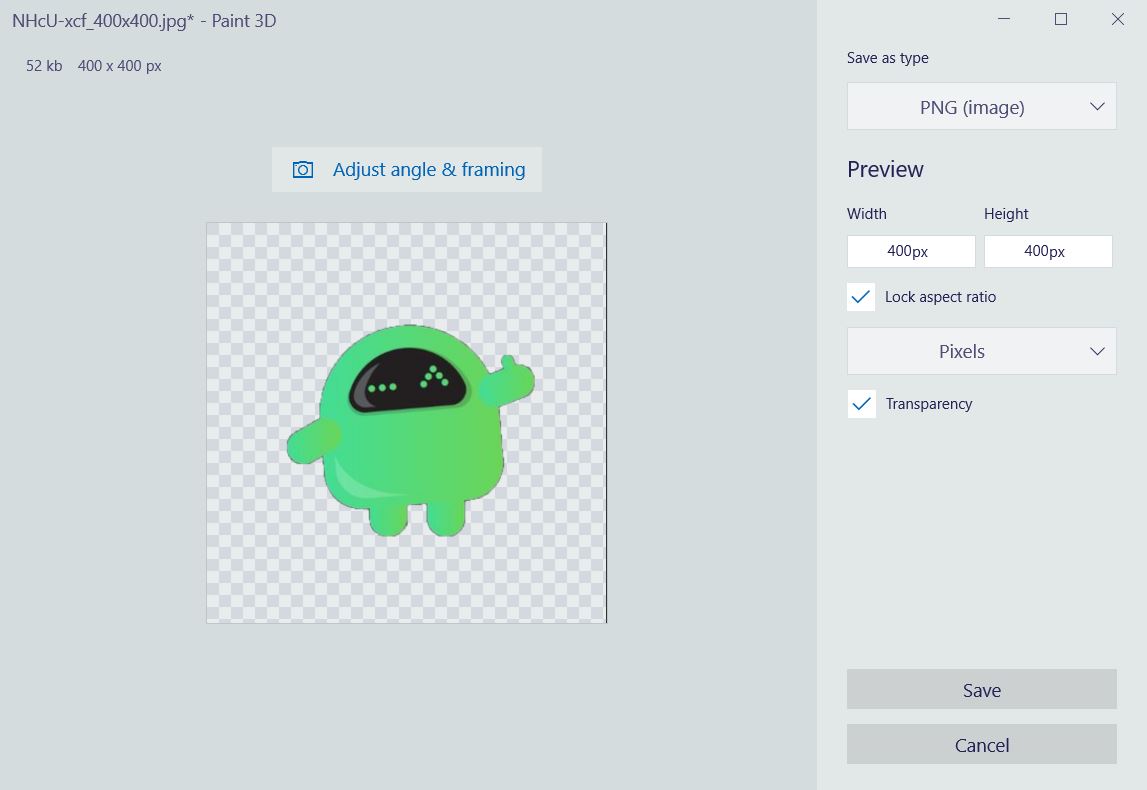
- Now, hit the Menu icon and Save the image.
- Select the format as PNG and make sure to tap on the Transparency option.
- That’s it!
So, there you have it from my side in this post. I hope you guys liked this post and were able to delete the background of an image and make it transparent using Paint 3D. Let us know in the comments below if you liked this post or not. Until the next post…Cheers!

