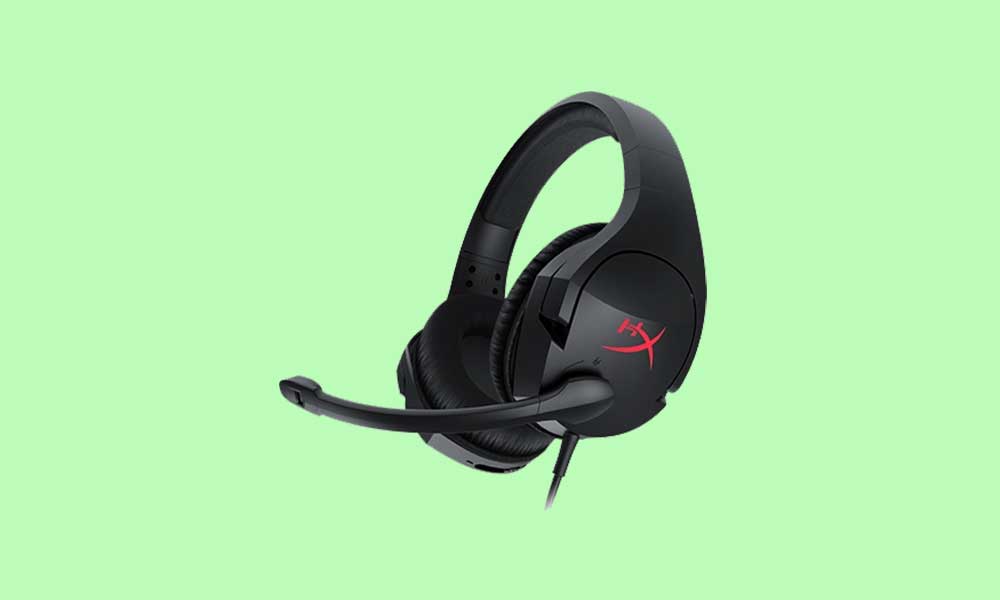
If you’re one of the HyperX Cloud Stinger users then you must know that it’s a budget category wired gaming headset with a microphone. It’s quite popular due to its gaming aesthetics, comfortable & lightweight design with superior sound quality. Even though it’s a wired headset, it has some issues that you may gonna encounter in some scenarios. It seems the HyperX Cloud Stinger Not Detected or Recognized issue is one of them and users are facing it a lot.
As per multiple reports on several online forums, affected users are mentioning that the HyperX Cloud Stinger headphone isn’t being detected or recognized at all which is quite unfortunate. Even after connecting the 3.5mm audio jack to the PC or the gaming console, this gaming headset seems to have some connectivity issues whatsoever. Now, if you’re also one of the victims to encounter such an issue then you can follow this guide to fix it.
Also Read

Page Contents
Fix: HyperX Cloud Stinger Not Detected or Recognized
A Redditor u/Furynator1 has mentioned some of the possible workarounds that we’ve provided below. Now, without wasting any more time, let’s jump into it.
1. Check for the connectivity
It seems that your HyperX Cloud Stinger headphone is either accidentally muted or not connected properly. You can check audio settings manually and especially for the audio mute settings. Sometimes the audio device may not be connected properly which can cause such troubles to you.
- Make sure you use the proper extension cable (splitter) with separate headphone and microphone jacks to connect your HyperX Cloud Stinger to your PC headphone output and input ports. [Or on other gaming devices]
- Check whether all your connections are properly plugged in which includes the extension cable connections. For the microphone, make sure it’s plugged in all the way and not hanging loosely.
- Check the volume knob on the right ear and ensure the microphone isn’t muted or the volume is not too low.
2. Check for any physical damage
Sometimes issues with the physical damage might gonna cause multiple audio-related problems whatsoever. If in case, you’re not sure whether your headset is physically intact or not, you can check for it.
3. Update Audio Drivers
If your audio drivers aren’t updated yet that means you’re having headphones not detected issues due to this. A corrupted or missing audio driver might gonna trouble you a lot.
- Press the Windows + X keys to open the Quick Link Menu.
- Now, click on Device Manager to open it > Double-click on Sound, video, and game controllers.
- Right-click on the active or problematic audio device > Select Update driver.
- Click on Search automatically for drivers > If there is an update available, the system will automatically check for it, and install the update.
- Once done, make sure to reboot the system to apply changes.
4. Update System Software
If none of the methods worked for you then you can try updating the system software on your device by following the steps below.
For Windows:
Updating Windows OS build is always essential for PC users as well as PC gamers to reduce system glitches, compatibility issues, and audio-related issues too. Meanwhile, the latest version mostly includes additional features, improvements, security patches, and more. To do that:
- Press Windows + I keys to open up the Windows Settings menu.
- Next, click on Update & Security > Select Check for updates under the Windows Update section.
- If there is a feature update available, select Download and install.
- It may take a while to complete the update.
- Once done, restart your computer to install the update.
For Xbox:
- Press the Home button on the Xbox console to open the Dashboard menu.
- Now, select Settings from the bottom of the menu > Select All Settings.
- Choose to System > Select Updates.
- Select Update Console (if available) > Follow the on-screen prompts to complete the update process.
- Once done, make sure to restart the console to apply changes.
For PlayStation:
- Go to the Settings menu on the PlayStation console.
- Select System Software Update > Make sure to check for available updates and follow the on-screen instructions to complete the update process.
- Once done, reboot the system to apply changes.
For Nintendo Switch:
- Select the System Settings on the HOME menu.
- Now, scroll down the menu and select System.
- Then make sure to select System Update to start the process.
- During the process, the system will first perform a check to determine if a new system update is available or not.
- If there is an update available, the download process will begin automatically.
- It may take some time, so wait for it patiently.
That’s it, guys. We hope this guide was helpful to you. For further queries, you can comment below.
