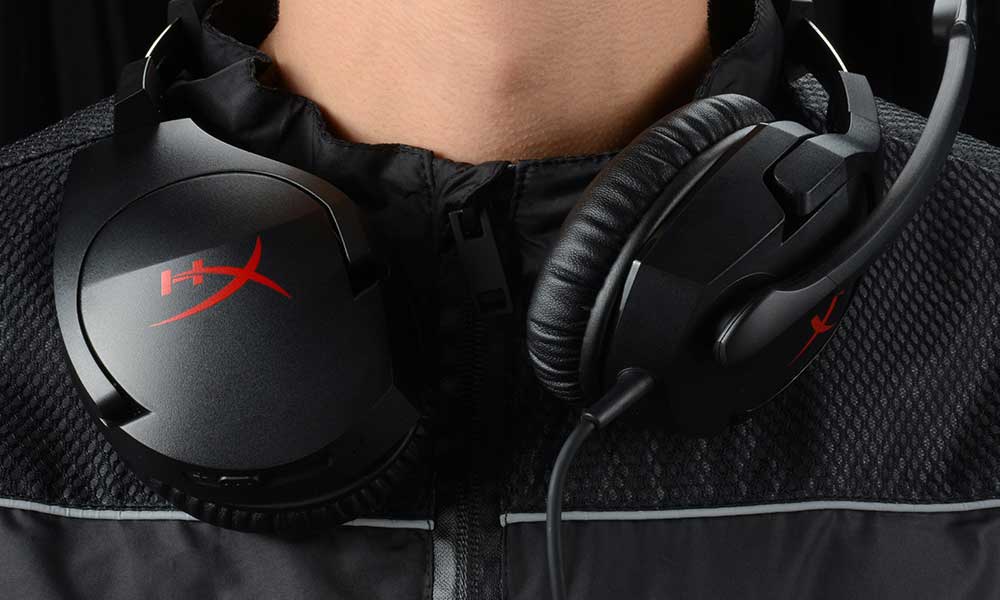
HyperX Cloud Stinger is one of the ideal gaming wired headsets for those who’re looking for a budget headphone with a microphone. It adds more value with comfort and superior sound quality. Although it’s a wired headset and simply connects with a 3.5mm audio jack, somehow multiple users are reporting that the HyperX Cloud Stinger Left Side or Right Side Not Working in some scenarios. If you’re also one of the victims then you can check this article.
It becomes one of the common issues among HyperX Cloud Stinger users because plenty of users are reporting about it. Out of nowhere either the left one or the right side of the headphone stopped working which is pretty much frustrating. Some users have also suggested checking out the audio balance settings and trying using the headset on a different device before going to any conclusion. Well, that might gonna work for you too apart from other ways.
Also Read

Page Contents
Fix: HyperX Cloud Stinger Left Side or Right Side Not Working
Here we’ve shared all the possible workarounds to easily resolve such an issue if only one part of the ear on your HyperX Cloud Stinger headset seems not working suddenly. So, without wasting any more time, let’s jump into it.
1. Check the Audio Source
First of all, you should check the audio source before jumping to any other conclusion. Sometimes issues with the headphone may arise if the audio source isn’t connected properly. So, check for the content whether it has enabled the sound and set to a higher audio volume level or not. You can also try connecting the headphone jack to another device.
2. Unplug and Reconnect the Headset
Try unplugging and reconnecting the headset to the device which might gonna useful in some cases. Improper connectivity to the audio port may also cause some issues whatsoever.
3. Reboot the Connected Device
You should also reboot the connected device because a system glitch or temporary cache data issue can trigger multiple connectivities and left/right ear hearing problems on the headset.
4. Check Audio Balance
Sometimes it’s also necessary to check out the audio balance on the system device by following the steps below:
- Right-click on the speaker icon on the System tray > Select ‘Open Sound settings’.
- Click on ‘Sound Control Panel’ under ‘Related Settings’.
- Now, go to the ‘Playback’ tab > Right-click on ‘Realtek High Definition Audio’.
- Select ‘Properties’ > Go to the ‘Levels’ tab > Click on ‘Balance’.
- Then adjust the levels accordingly so that the left and right audio combination on your ears sounds well.
- Perform a test by playing any audio from the computer to check for the issue.
5. Clean Audio Jack and Port
Try clearing the audio port and audio jack on the device or headphones because it may have some dirt or debris which can cause multiple issues with the connectivity or sound appearance.
6. Update Audio Drivers
Try updating audio drivers on the Windows PC if you haven’t done it for a while. Sometimes an outdated or corrupted sound driver can cause multiple issues. To do this:
- Right-click on the Start Menu to open up the Quick Access Menu.
- Click on Device Manager from the list.
- Now, double-click on the Sound, video and game controllers category to expand the list.
- Then right-click on the dedicated graphics card name.
- Select Update driver > Choose Search automatically for drivers.
- If there is an update available, it’ll automatically download and install the latest version.
- Once done, make sure to reboot your computer to change effects.
7. Check for Physical Damage
Try checking for any kind of physical damage on the headphone. Sometimes a torn condition wire or issues with the headphone drivers can cause the left or right side not to work.
8. Check for Manufacturer’s Warranty
If none of the methods worked for you then you can try checking for the manufacturer’s warranty and visit the nearest service center for repair or replacement. If in case, the headphone is out of warranty or you can’t find the warranty documents then you can go to a local repair shop to do so.
That’s it, guys. We assume this guide was helpful to you. For further queries, you can comment below.
