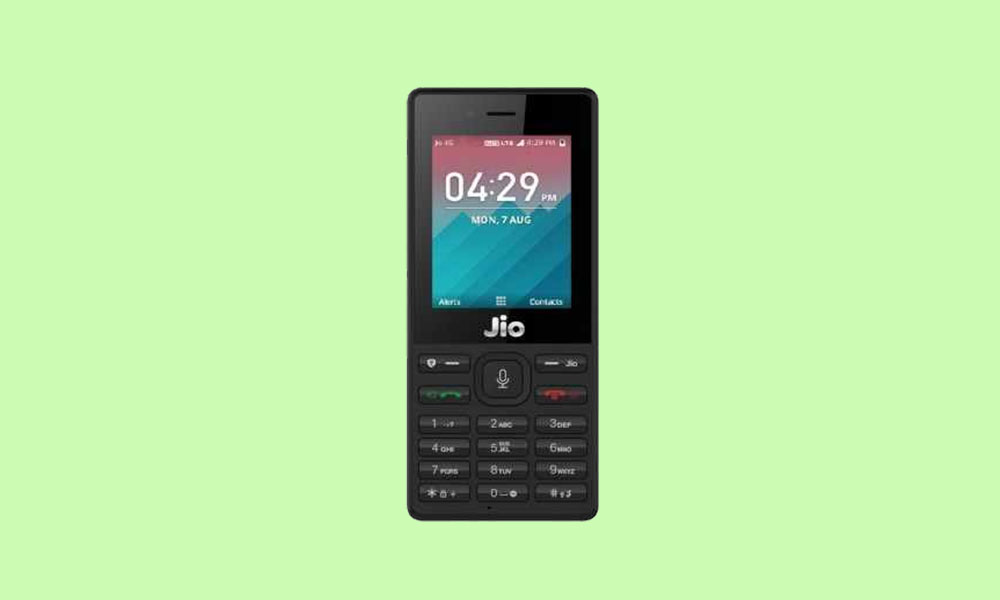
The smart feature phones from Reliance Jio are among India’s popular devices when it comes to enjoying an internet pack. As the title suggests, if you’re a Lyf Jio F120B user and want to install the stock ROM on it, then you’re in the right place. This article will share the download links and steps to install the stock firmware on your Jio feature phone.
Now, some of the users may ask why they need to flash the stock firmware? If your device gets heated quickly or has some battery draining issues or charging, then it’s probably a software bug or any system glitch. Additionally, users may also experience bricking or boot loop issues that can be fixed by flashing the stock firmware quite easily.
Meanwhile, if your feature phone isn’t running well or gets slow, then reinstalling the stock ROM will do the job quite nicely. These issues are very common, and plenty of users can face them. So, if you’re also one of them and want to fix it as early as possible, then check this guide. As the Lyf Jio F120B has a Snapdragon chipset on the board, we will follow the QFlash Tool method below for flashing.

Page Contents
Stock Firmware Advantages:
- Flash Stock To Unbrick your Lyf Jio F120B
- Flash Stock ROM to Fix the Bootloop problem
- Upgrade and Downgrade Lyf Jio F120B
- Unroot or Fix Bugs on your phone
- To fix the lag or stutter on Lyf Jio F120B
- By flashing Stock ROM, you can solve software problems
- Revert to stock to gain your warranty
Download Links:
Warning!
Steps to Install Lyf Jio F120B Flash File (Stock ROM)
- First, download the latest Lyf F120B Flash File from the link above on your PC. It has all the required files like tools, drivers, etc.
- Then install the required drivers on your PC/Laptop.
- Next, press * & # and attach your feature phone to the PC via a USB cable simultaneously.
- Now, you can see the port name “Qualcomm HS-USB Diagnostics 9091”. If yes, then you can assure that the driver has been installed successfully.
- Next, install the ‘MegafoneSWDownload’ tool (flash tool).
- Click on Search File and select the actual flash file location.
- Choose the .mbn file extension from the list.
- Connect your device again > Press * & # as Boot Key > Click on Download.
- Your device will boot into EDL mode, and the flashing process will start automatically.
However, if the firmware flashing doesn’t start or gives any error, then ensure to rename the flash file folder with an easy name to execute.
That’s it, guys. We hope you’ve found this article useful and successfully flashed the stock firmware on your Jio feature phone. You can comment below for additional queries.
