If you are looking to switch over to a new email client or just wish to get rid of a decade-old email ID, then this guide will come in handy. In this tutorial, we will list out detailed instructions set that will help you to permanently delete your Gmail address. But before that, let’s address a few important things. As you might be aware of, your Gmail ID might be associated with a lot of other Google services. So what will happen to those products?
Well, they will remain unaffected and all their data will remain intact. It’s just that Google will ask you to provide an alternate email address through which you could log into these services from now on. So your purchases from Play Store, the Google Drive files all will remain as it is. Only your emails and other Gmail settings associated with that ID will be deleted. So with that in mind, here are the steps to permanently delete your Gmail address.
Page Contents
How to Delete your Gmail Address
One thing is obvious, you wouldn’t be able to send or receive emails on this ID once it is deleted. If anyone ends up sending a mail to your old deleted address, they will get a delivery failure message. Furthermore, your Gmail address can’t be used by anyone else in the future.
As mentioned before, all the other Google apps, services, and products will continue to function normally. You are just deleting one of the services associated with your account and not the entire Google account. On that note, here are the steps to permanently delete your Gmail address. Follow along
Also Read
Prerequisite: Take a Backup of your Emails
First and foremost, you should download all the data associated with that Gmail ID. To do so, head over to the Google Takeout page and sign in with the Gmail ID that is about to be deleted. By default, all Google services will be selected. Since this guide is focusing on emails, you may click on the Deselect All button situated at the top right. Then scroll to the Mail section and only select this section.
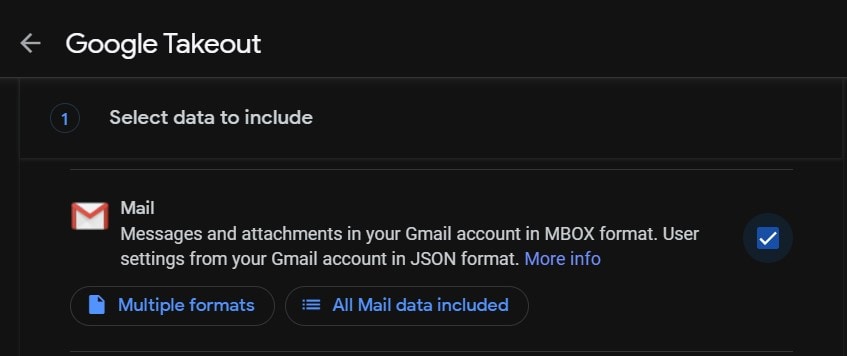
You may also click on the All Mail Data Included button and select the desired folders (Inbox, Sent, Drafts, etc) that you wish to backup. After this scroll to the bottom of the page, click on the Next button, and follow the on-screen instructions to take a backup of your emails. Once you have downloaded the backup, you may proceed with the below steps to permanently delete your Gmail address.
Instructions Steps
- To begin with, head over to the Google Account Settings.
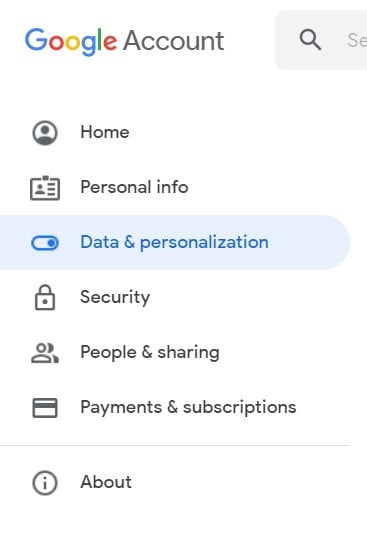
- Login with your account and select the Data & Personalization option from the left menu bar.
- Within that, scroll to the Download, delete, or make a plan for your data section.
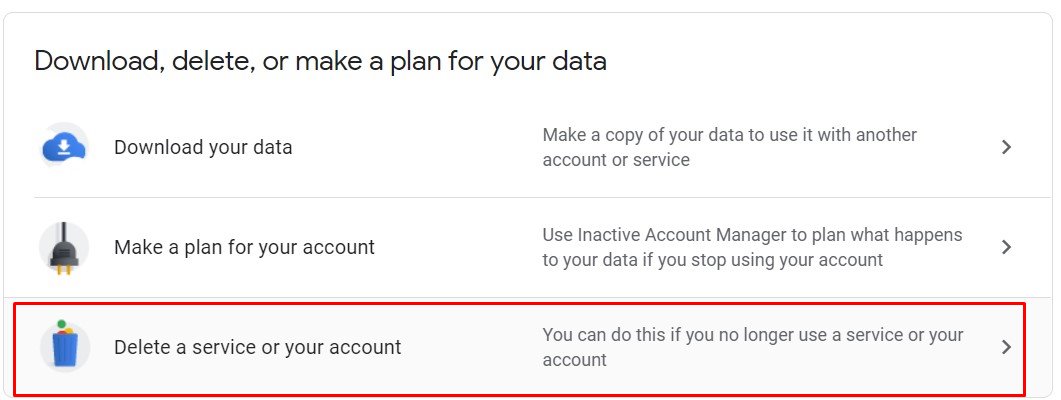
- Then click on Delete a service or your account.
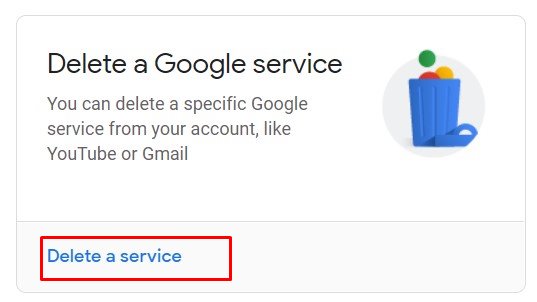
- Now click on Delete a service option. You will now have to sign with your Google Account.
- Once that is done, Google will list out all the services that you could delete. Click on the trash icon next to Gmail. Make sure you have downloaded the data corresponding to your account. Otherwise, you could click on the Download Data option on that page as well.
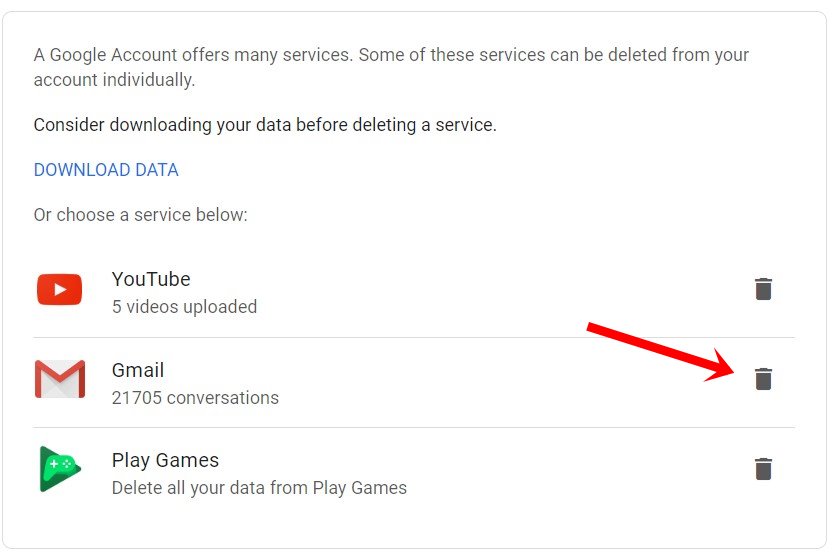
- Moving on, once you have clicked on the Bin icon, Google will ask you to provide an alternative ‘non-Gmail’ email address. This email ID will then be used to login to your Google services that were earlier associated with the account you are about to delete.
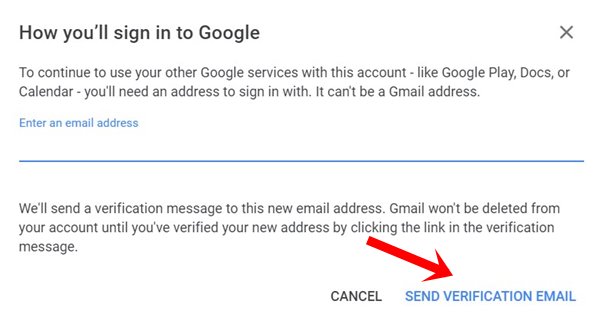
- Then upon entering the email address, click on the Send Verification Email button. You will now receive a verification message on the provided email address. Open the email and click on the verification link.
- In the confirmation dialog box that appears, click on Yes, I want to delete xx@gmail.com.
- Finally, click on Delete Gmail followed by Done. That’s it.
These were the steps to permanently delete your Gmail address. If you still have any queries, do let us know in the comments section. Rounding off, don’t forget to have a look at our iPhone Tips and Tricks, PC tips and tricks, and Android Tips and Trick as well.
