There are hundreds of repetitive tasks that we do on our computers daily. Ever thought of a system that could Automate these tasks for you so that you could instead focus on more important and pressing tasks. Microsoft has released just the tool you have so longed to automate your time-consuming, repetitive tasks.
Originally developed by Softomotive, this automation tool has been rolled out with the Microsoft brand and named Microsoft Power Automate Desktop. Microsoft wants to bring task automation to everyday computing and has announced that Power Automate will be available to all windows users free of cost.
If you are wondering how to utilize the Power Automate tool, we bring a step-by-step tutorial for you to learn how to set up and use Power Automate Desktop on Windows 10.

Page Contents
How to Set up Power Automate Desktop on Windows 10?
Before you can utilize the Power Automate Desktop to automate your tasks and organize your workflow, you must first install it on your system. Here are all the steps to set up Power Automate Desktop on your Windows 10 Pc.
Step 1: Install Power Automate Desktop on your Computer
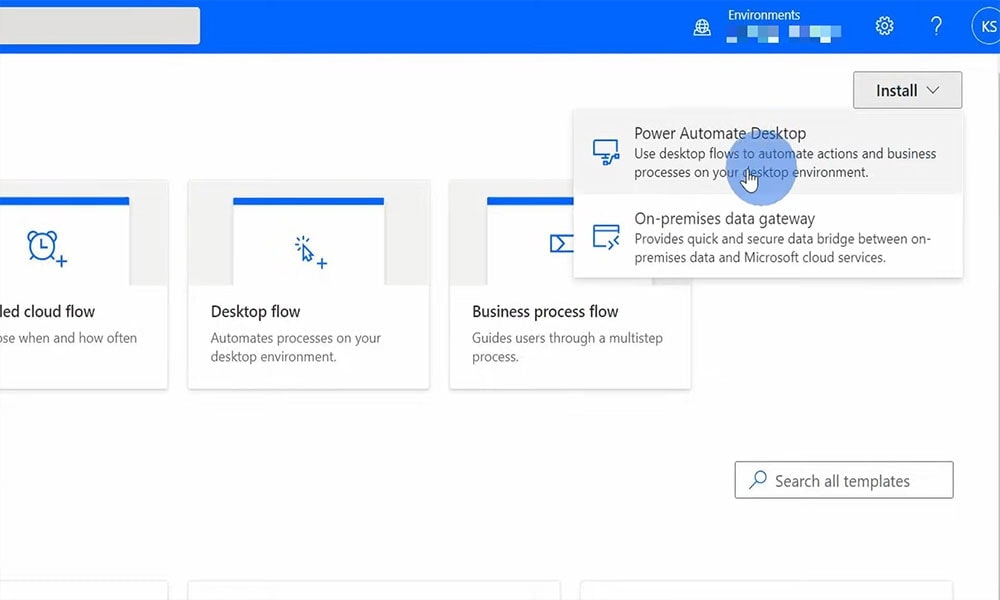
- Get the Power Automate Installer from the Microsoft website or the App Store.
- Locate the ‘Setup.Microsoft.PowerAutomateDesktop.exe’ file from the download folder.
- Double click the Power Automate Desktop Installer file to start the installation.
- Proceed with the instructions provided by the Power Automate Desktop setup Installer.
- If you agree to send the data to Microsoft, keep the settings as it is, otherwise uncheck the “Allow Microsoft to collect usage data to improve Power Automate” option.
- Next, choose your preferred language for Microsoft Power Automate. By default, the language is set the same as that of the windows system.
Step 2: Install Browser Extension for Power Automate
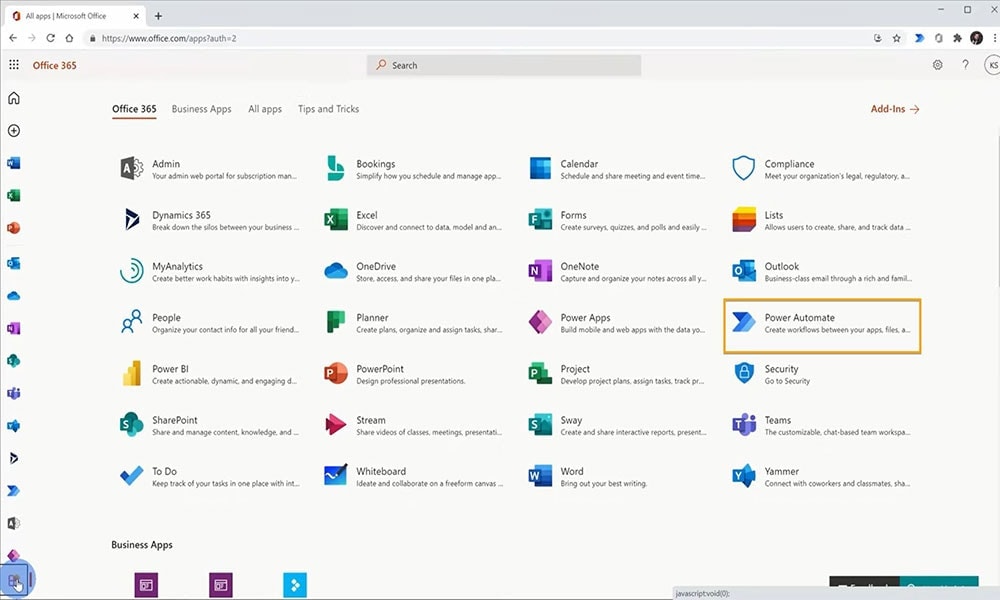
- To install the Power Automate extension of Microsoft edge, follow the link, Microsoft Edge Power Automate Extension.
- To install the Power Automate extension of chrome, follow the link Power Automate Extension for Chrome.
- To install the Power Automate extension of Firefox, follow the link Power Automate extension for Firefox.
Step 3: Configure the Desktop Flows Connections for Power Automate
- Launch the Power Automate site and go for the sign-in option.
- Enter your Microsoft login credentials and click the sign-in button.
- Once logged in, expand the Data menu located on the left side of the window.
- From the menu, choose the Connection option, then click on New Connection.
- Search for the Desktop Flow option, then click on it.
- Next, enter your device and gateway information.
- Choose the type of gateway you want to use, then click on the Create button.
How to use Power Automate Desktop on Windows 10?
After the Power Automate Windows setup is complete, you can now use it to automate around 370 pre-built actions. To get started with the Power automate, follow the steps;
Create a New Flow and Start with Automating a Task
- Launch the Power Automate app and log in with your Microsoft account credentials.
- On the app’s home screen, click on the New Flow option.

- Give a name to the new flow, then click on the Create button.
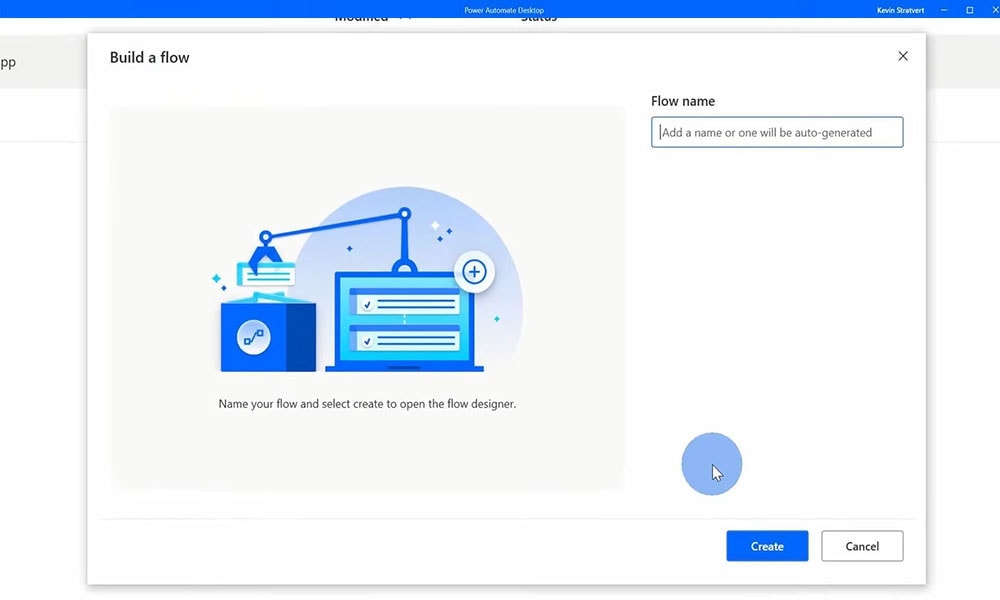
- Now you can select any of the pre-built actions to automate from the left pane.
- You also have actions as trivial as taking a screenshot or shutting down the computer.
- Select any of the actions you want to automate, then proceed with the instructions on the screen.
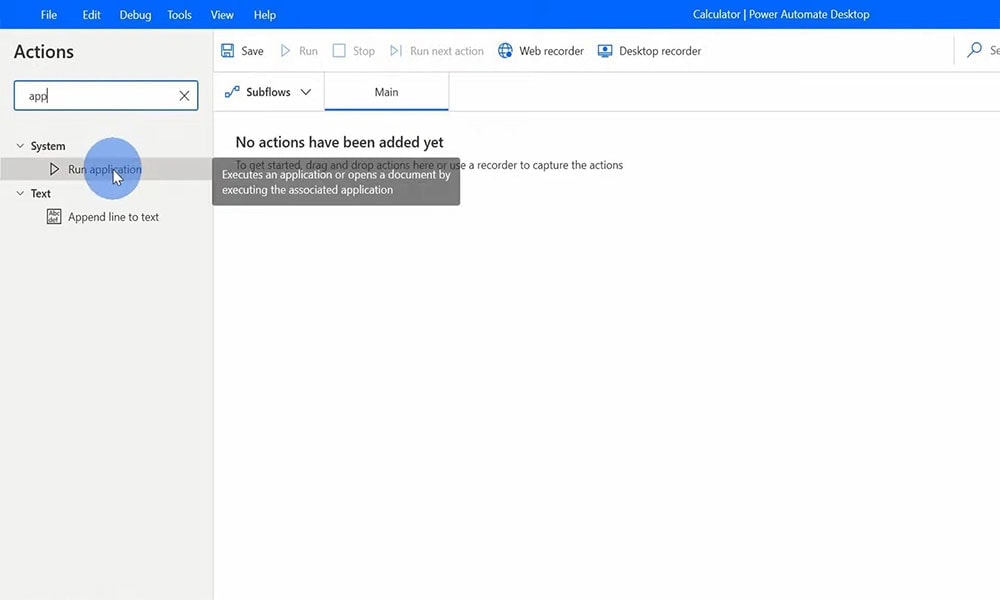
- Once the Flow is ready, you can click on the Run button. Power Automate will take care of the rest and complete the actions according to the specified preferences.
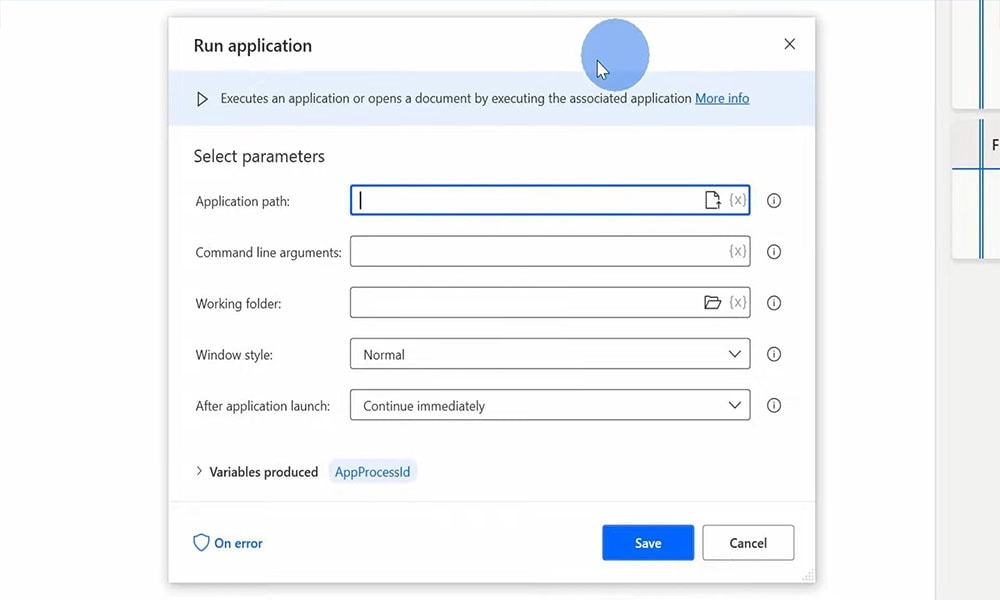
Power Automate: Gateway to Task Automation and Scheduling
While still in its early days, Power automate has a promising start and can turn out to be a real game-changer in task automation. Integrating it in windows shows the seriousness of Microsoft with this tool.
At times, we have all felt the need for a Codeless Tasks Automation Tool, and Microsoft Power Automate armed us with a system to do that easily. It’s free; it’s simple to set up and easy to use.
Why not give it a try and automate some tasks to see how effective and productive it proves for you. That’s all we had with the setup and use of power automate desktop on Windows 10.
Now, you should subscribe to our YouTube Channel. Don’t miss out on our Windows Guides, Gaming Guides, Social Media Guides, Android Guides, and iPhone to know more.
