Recently, Google Pixel 8 and Google Pixel 8 Pro have been launched in the market and these devices come with Android 14 out of the box. The Pixel device has the reputation of giving the best ROM experiences. But rooting these devices is extremely hard and it’s difficult to unlock the full potential of its hardware capabilities. Rooting your Pixel smartphone opens up a world of possibilities, allowing you to customize your phone to your heart’s content, access advanced features, and enhance overall performance. One popular method to root these smartphones is by using Magisk and a patched boot image. Today in this guide, we will share you step by step guide on How to Root Pixel 8 and 8 Pro Using Magisk Patched Boot Image.
Rooting your device opens the door for various customizations and tweaks. With this, you can overclock your CPU, install unique 3rd-party apps, improve battery performance, and much more. Overall, rooting unlocks the full potential of the device, allowing access to features that are not available on the stock ROM. As the phone was recently released, many of the users were unaware of the steps to root their Google Pixel 8 and 8 Pro using the Magisk patched boot image method. If you are also wondering how to root Pixel 8 and 8 Pro using Magisk Patched Boot Image and unable to figure it out, then do not worry; we have explained all the steps that will help you root your Pixel 8 and 8 Pro using the Magisk patched boot image.
![]()
Page Contents
- Prerequisites for Rooting Pixel 8 and 8 Pro
- How to Root Pixel 8 and 8 Pro Using Magisk Patched Boot Image
- Root Pixel 8 and 8 Pro Using Magisk Patched Boot Image FAQs
- Conclusion
Prerequisites for Rooting Pixel 8 and 8 Pro
Before you start rooting your Pixel 8 or 8 Pro, make sure you have these prerequisites; otherwise, you may face a failure or dead device issue. We also recommend you take a complete backup of your device including texts, contacts, any multimedia content, etc. Also, beware that rooting your device may void the warranty and can also put your device at risk of device failure. This article is only for educational use, GetDroidTips will not be responsible if you damage your device by following the steps below.
Unlocked Bootloader
![]()
Make sure you have unlocked your Pixel or Pixel 8 Pro’s bootloader. Without unlocking it, you cannot proceed to other steps. You will find various guides and videos on the internet on how to unlock the Pixel 8 or 8 Pro’s bootloader. The process of unlocking the bootloader is quite simple and we already have covered it in some of our previous guides as well.
Enable Developer Options
![]()
Make sure the developer option is enabled on the Pixel 8 or 8 Pro to access advanced settings. Here is how you can do it.
- Head to Settings. Go to About Phone, tap on Build Number, and wait until it says “You are now a developer”.
- Now go back to settings and scroll down to find developer options.
- Under Developer Options, make sure to enable USB debugging.
How to Root Pixel 8 and 8 Pro Using Magisk Patched Boot Image
You might have heard that there are different ways to root the phone – one of them using custom recovery, so why Magisk? Let me clarify it for you. Magisk offers systemless root access, keeping your device’s core system untouched. This means that Magisk only patches your boot file and not the whole system. This all makes things hassle-free for you and your device. Magisk comes with a Magisk manager that supports different tweaks and modules that are easy to install and update. Now if you wish to root your Pixel device with Magisk, then follow the steps below:
Step 1: Download Required Files
For rooting your Pixel 8 and Pixel 8 Pro, you are required to download some files. Here is the list of files:
Download File Manager
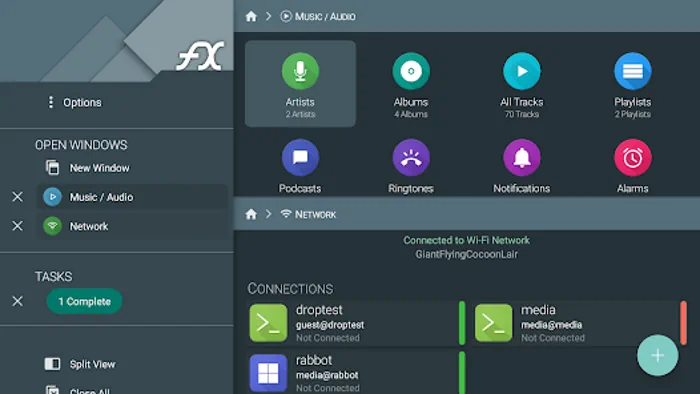
For extracting files, you will need a file manager that can do the job well. I suggest you download “Fx File Manager” from the Play Store. This has almost all the features that are required during the rooting process.
Download Magisk
To root Pixel 8 and 8 Pro using the Magisk Patched Boot image, we need to download Magisk Manager. To download, follow these steps.
- On your browser, search for “Magisk GitHub”.
- Open the first link and look for the latest Magisk version.
- Under the latest version, look for the assets section, expand it, and click on the first file named “Magisk.APK” to download.
- Once you have downloaded it, go to the file manager and install the Magisk application on your device.
Step 2: Download Boot or Init_Boot file for patching
The factory boot image file of the Pixel 8 or 8 Pro is required to initiate the Magisk Root process. Before downloading the factory image, it is important to make sure that the factory image you are downloading matches the current version of the build.
You can go to Settings > About Phone > Build Number to find this information. Make sure to note it or keep it in mind, as we will be downloading the factory image of the Pixel 8 or 8 Pro that matches your current build number. To download, follow these steps.
- On your browser on your smartphone, search for “Pixel 8 and 8 Pro factory image”.
- Now click on the first link and look for the “Acknowledge” button.
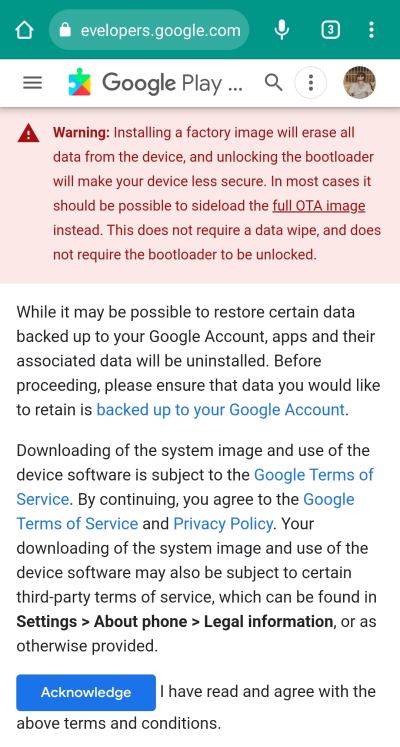
- Once you click on the acknowledge button, a new page will be opened listing the code names for the Pixel 8 (Shiba) and Pixel 8 Pro (Husky).
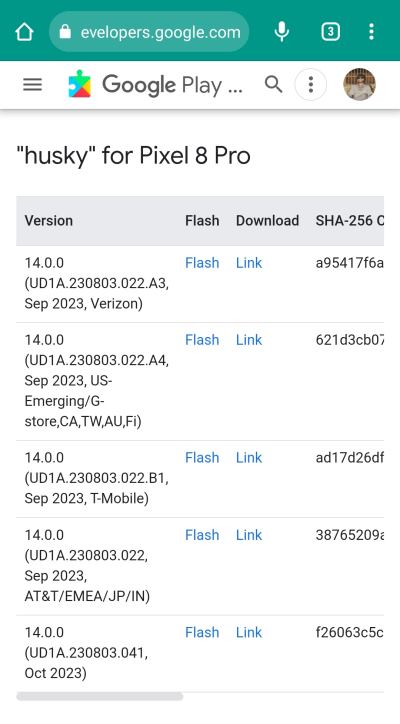
- Choose the version according to your device and your current version and click on Download.
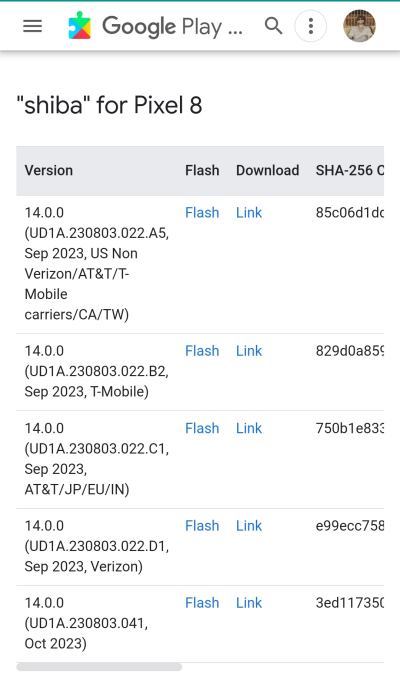
- After the download completes, head to the folder where you have downloaded the factory firmware file (the factory firmware will be downloaded in.zip format).
- Now extract it into the same folder. After the extraction is complete, you will find another or a second zip file.
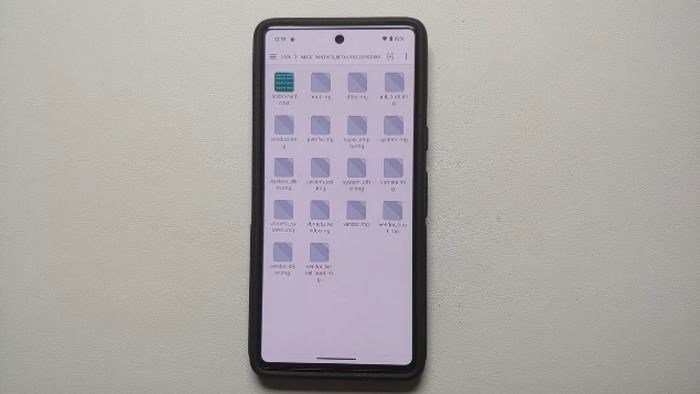
- Extract the second zip file. In the extracted folder, you will find Boot.img or Init_Boot.img.
- Now you can copy both files to a separate folder or keep them in the same folder; that’s up to your preference.
Step 3: Download & Setup Platform Tools
Platform tools are necessary to perform the adb operations on the devices, like booting into fastboot or recovery mode. To download platform tools, follow these steps.
- On your PC, search for platform tools. Click on the first link and select the OS for which you have to download (if you are on Windows, select platform tools for Windows and the same for others).
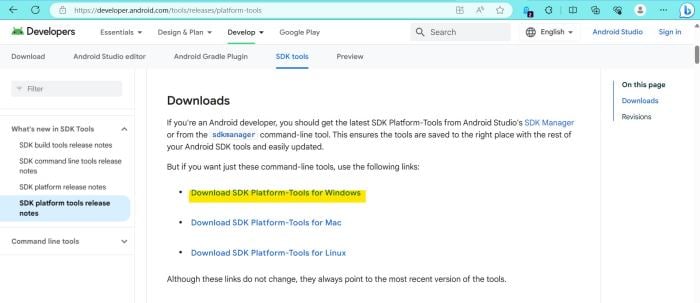
- Click on the download (I will go with SDK platform tools for Windows).
- Now accept the terms and conditions and start downloading the platform tools.
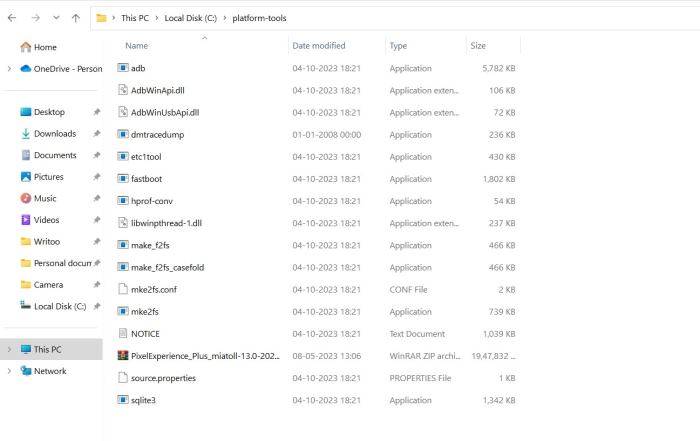
- After the download is complete, extract the zip file and copy the folder to your Windows installation disc (mainly the C drive).
Step 4: Patch Boot/init_Boot using Magisk
Make sure to follow each step carefully to avoid any malfunctioning issues with your Pixel 8 or 8 Pro.
- Launch the Magisk application and click on the install button beside Magisk.
- Now choose “Select and Patch File.” (The file manager will be opened.)
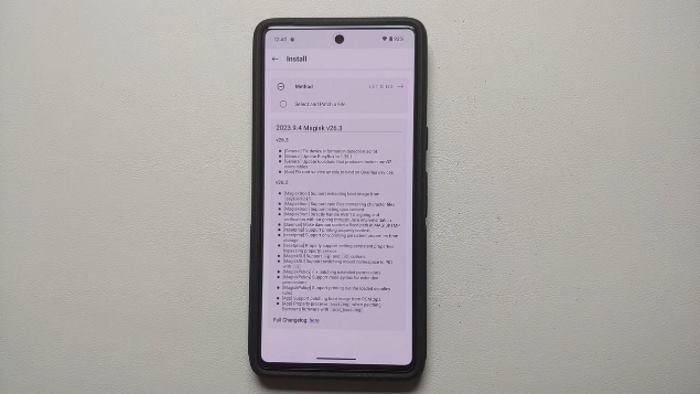
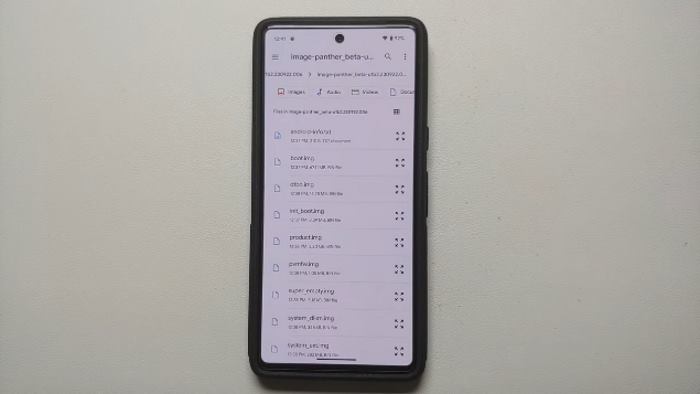
- Navigate to the location where you have stored or extracted the init_boot file.
- Now select the file and click on the “let’s go” button at the top right.
- Wait until the boot file is patched; after patching is complete, it will be placed under your Downloads folder.
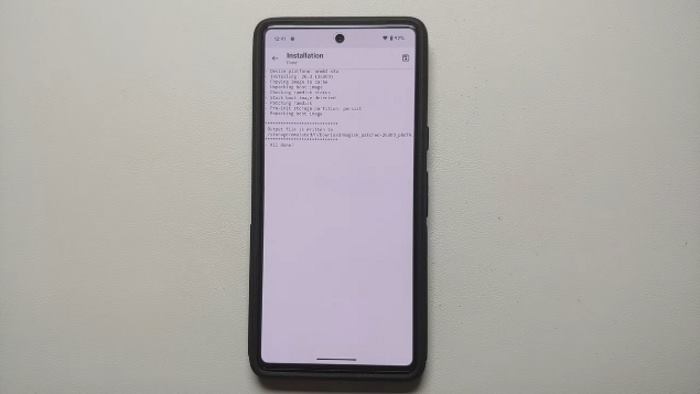
- Now transfer the patched boot image and the original init_boot file to the platform tools folder (if anything goes wrong, you can flash the original init_boot file).
Rename the patched boot image file to “magisk_patched”; ignore if it already has the same name.
Step 5: Boot Pixel 8 or 8 Pro into Fastboot mode
- Connect your device via the USB cable. (Make sure USB debugging is enabled.)
- Navigate to the Platform Tools folder and type “cmd” on the address bar and hit enter. (It will launch up the cmd.)
![]()
- Now type the following command and press enter to boot your device into fastboot mode.
adb reboot bootloader
- After the device boots into fastboot mode, type the following command shown below and press enter.
fastboot devices
- Now you should get a device ID followed by the fastboot keyword; this means your connection is safe and sound.
Step 6: Flash the boot/init_boot file to a Pixel 8 or 8 Pro
- Now type the following command, as shown below, and press enter.
fastboot flash init_boot magisk_patched.img
- Finally, you will get a success message on the CMD screen, and your device will be successfully rooted using the Magisk patched boot image file.
- Now enter the following command and press enter to boot your device into the main screen.
fastboot reboot
- After your device turns on, you can check the root status by downloading the root check app from the Play Store or opening Magisk to see the root status.
Root Pixel 8 and 8 Pro Using Magisk Patched Boot Image FAQs
Q: What is a Magisk-patched boot image?
A: Magisk-patched boot image is the stock boot image of an Android device that has been modified (patched) with Magisk Manager. This modification allows you to gain root access without modifying the system partition, ensuring you can use apps that check for root status.
Q: Is rooting my device with Magisk safe?
A: Rooting your device with Magisk is generally safe if you follow the instructions carefully. However, keep in mind that rooting your device voids its warranty and might make your device more vulnerable to security threats if you don’t use it responsibly.
Q: Can I receive OTA updates after rooting with Magisk?
A: If you root your device using Magisk and only modify the boot image, you can usually receive OTA updates. However, you will need to re-patch and re-flash the boot image after updating to maintain root access.
Q: Will I lose data when patching and flashing a new boot image?
A: Patching and flashing the boot image usually do not affect your data, but it’s always recommended to back up your important data before making any modifications to your device.
Q: Can I unroot my device after using Magisk?
A: Yes, you can unroot your device by simply removing Magisk. In Magisk Manager, select ‘Uninstall’ > ‘Restore Images’ to revert the boot image back to its original state. This process will unroot your Pixel device.
Conclusion
This brings us to the end of this guide for How to Root Pixel 8 and 8 Pro Using Magisk Patched Boot Image. Please note that Rooting your Pixel 8 or Pixel 8 Pro smartphone voids the warranty and may cause issues if not done correctly. So, make sure you read the article fully & take a complete backup of your device, and proceed with caution.
Also Read
