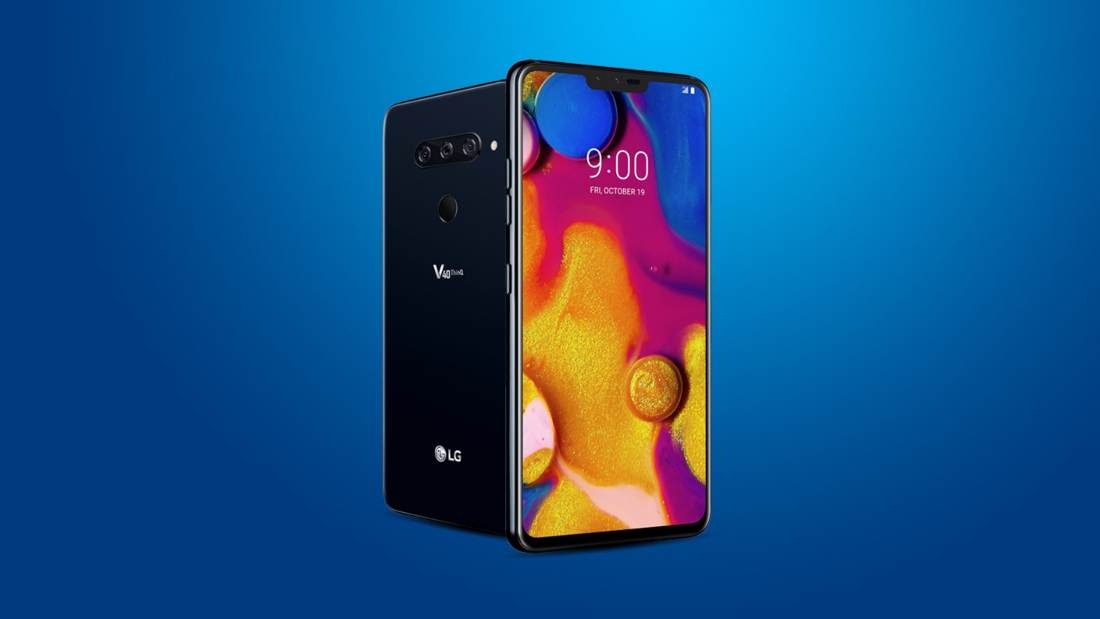
If you are the owner of the LG V40 ThinQ smartphone and are looking for ways to root the device then, you are at the right place. As in this post, we bring to you a guide on how to unlock the bootloader, install TWRP and root your LG V40 ThinQ. Rooting is a complicated process and it requires a few methods before, to actually go ahead and root the device. But, with the help of rooting, you can install modded apps, custom ROMs, restricted apps, etc on your device.
Thanks to XDA developer, SGCMarkus, for this method and sharing this with us. Note that this post is an in-depth guide on the complete root process for the LG V40 ThinQ smartphone. We would recommend you to follow the guide carefully and stepwise to avoid any issues on your smartphone. So, without any further ado, let us get straight into the article itself;

Page Contents
LG V40 ThinQ – Device Overview
The LG V40 ThinQ is powered by the Qualcomm Snapdragon 845 SoC processor which is paired with 6GB of RAM. In the display department, it sports a P-OLED display of 6.4 inches with 1440 x 3120 pixel resolutions. The LG V40 ThinQ is available in options of 6GB/64GB, and 6GB/128GB of memory and storage. It runs on the Android 8.1 Oreo out of the box and is upgradale to Android 9 Pie. Note that there is a dedicated memory card slot on this device as well.
In the camera section, it has a triple camera setup that houses 12MP+12MP+16MP lens which comprises of a standard, telephoto, and an ultra-wide sensor, respectively. For selfies, there is a dual camera setup with an 8MP+ 5MP lenses. Moreover, the device also has an rear mounted fingerprint scanner. Under the hood, this phone comes with a non-removable Li-Po 3300 mAh battery and supports fast battery charging 18W (Quick Charge 3.0).
Steps to unlock the bootloader of LG V40 ThinQ
Warning
Pre-requisites
- ADB and Fastboot tools
- A Windows Laptop/Desktop
- Make sure to charge the device to at least 50% or more
- Install proper USB drivers
Downloads
Instructions:
- Firstly, install the ADB and Fastboot tools along with the USB drivers for the LG V40 ThinQ smartphone.
- Now, grab your phone and open the dialer app. Dial *#06# to obtain the device’s IMEI number. Note it down.
- Connect your device to the PC/laptop.
- Open cmd in the same folder where you have extracted the contents of the ADB and Fastboot tools.
- Type the below command:
adb reboot bootloader - Now, type in the below command to get the device ID:
fastboot oem device-id - You will get something like this on the CMD:
$ fastboot oem device id

( bootloader )—————————————————

( bootloader ) Device ID.

( bootloader )————————————————— - In place of the Device ID, you will get the actual device ID of the device.
- Go to LG Developers website and scroll down and click on the Start Unlocking the Bootloader button.
- Fill in all your details along with the IMEI and Device ID.
- Click on the confirm button and then, you will receive an email ID from LG along with the “unlock.bin” file.
- Download the file and type the following command on the CMD:
fastboot flash unlock unlock.bin - Hit enter and then, finally enter the last command:
fastboot reboot - That’s it! You have officially unlocked the bootloader of the LG V40 ThinQ.
Steps to root the LG V40 ThinQ
- Open the CMD on your PC with your device connected via a USB cable.
- Reboot to bootloader by typing the below command:
adb reboot bootloader - To find out the currently active slot on your device, type:
fastboot getvar all - The current slot name would be either “a” or “b“.
- Now, once you know the active slot, type in the following command:
fastboot flash boot_a TWRP.img
(the boot_a or boot_b depends on the currently active slot) - Confirm reboot by typing:
fastboot reboot - Once the device reboots, type in:
adb reboot recovery - Confirm if it asks for system modifications. However, press cancels if it asks for a password.
- That’s It!
Features
- Install recovery ramdisk:
Selecting this, and then an image (e.g. of TWRP) allows you to install the ramdisk (where TWRP is placed) into both currently installed kernels/boot images - Inject TWRP after install:
Automatically injects current installed TWRP into the boot image of the ROM/zip you are installing when ticked.
What is Broken in TWRP?
- LG’s encryption on Stock
- Encryption on other ROMs(?)
- exFat for external SDs
Steps to flash ROMs
- Reboot your device to TWRP.
- Make a complete backup of the device.
- Now press Install>>select ROM.zip>>tick Inject TWRP>>Swipe to begin the installation.
- Wait for the installation to get finished.
- Note that the ROM will be installed on the NON-ACTIVE slot (either a or b)
- Reboot your device.
Steps to flash Gapps, Magisk or Mods
- Reboot your device to TWRP.
- Make a complete backup of the device.
- Now press Install>>select ROM.zip>>tick Inject TWRP>>Swipe to begin the installation.
- Wait for the installation to get finished.
- Note that the ROM will be installed on the NON-ACTIVE slot (either a or b)
- Head to reboot>>select the non-active slot (where you have installed the ROM)>>select recovery.
- Install gapps, Magisk or mods or anything you want.
- Reboot the device.
So, there you have it from my side in this post. Hope you guys liked this post and were able to successfully unlock the bootloader, install TWRP and root the LG V40 ThinQ smartphone. Let us know in the comments below if you face any difficulties while following any of the above-mentioned methods. Until the next post…Cheers!

Yhea the phone won’t reboot to fastboot it keeps restarting