Unlocking the smartphone bootloader has become a common practice among tech enthusiasts and developers, offering a gateway to customization and experimentation. Among the latest iterations of Google’s acclaimed Pixel series, the Pixel 8 and 8 Pro are powerful devices, showcasing cutting-edge technology and innovative features. In this article, we suggest How to Unlock the Bootloader on Google Pixel 8 and 8 Pro. The steps are very simple, and if you follow this article carefully, you can open the device’s Bootloader. But before doing that we will talk about the significance of unlocking the bootloader first.
The New Google Flagship is already here, with the stock ROM experience and true Android Experience. The Pixel 8 and the 8 pro are promised to have 7 years of Android updates, which is just groundbreaking. The Pixel 8 and 8 Pro are launched with a hefty price tag due to the advanced features promised by Google. By default, manufacturers lock the bootloader to ensure the integrity and security of the device’s software. However, unlocking it provides users with the ability to modify the device’s firmware, install custom ROMs, and gain administrative control, commonly known as root.
![]()
Page Contents
What Is Bootloader on Google Pixel 8 and 8 Pro
Before unlocking the bootloader, you should know what is meant by the unlocking of the Bootloader. The bootloader, a fundamental piece of software embedded in every smartphone, serves as a security checkpoint during the device’s boot process. For your security, the bootloader is always locked.
When you unlock the Bootloader, you get access to the internal working of your device, which allows you to make changes to the device enhancing performance, tweaking system settings, and installing specialized applications that require elevated privileges.
How to Unlock Bootloader on Google Pixel 8 and 8 Pro
As the Google Pixel 8 and 8 Pro are the same device when we talk about the software, the process to unlock the Bootloader for both devices will be the same. Here is the step-by-step process for unlocking the Bootloader of the Google Pixel 8 series. Ensure that you follow all the steps carefully.
Warning
The process of unlocking the bootloader and rooting may void the warranty of your Google Pixel. We at GetDroidTips won’t be responsible for any damage/error to your handset while/after following the guide. Please take a complete backup of your phone to avoid any unforeseen situations.
Step 1: Backup Data
Take a complete backup of your Google Pixel 8 or Pixel 8 Pro and save it to your PC or cloud storage. Don’t know what to back up or how to back up your Android phone? Read our detailed guide on how to take a full backup of any Android device.
Step 2: Download Required Drivers
- Download Android USB Drivers for your PC
- Download ADB Fastboot Setup and extract it in C:/Drive
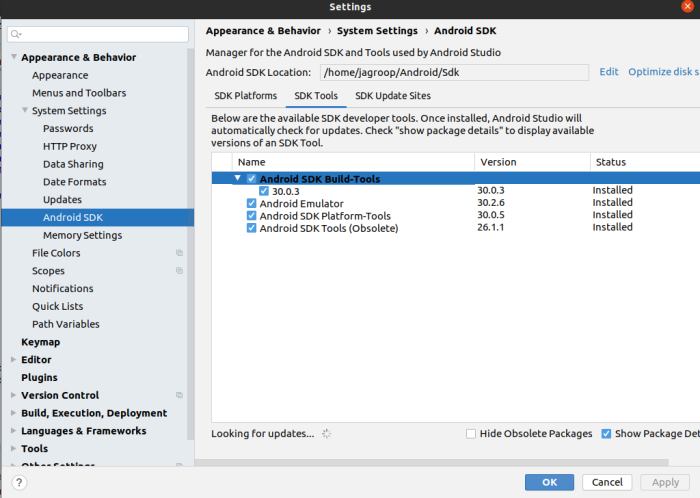
Step 3: Install Android SDK

You must know about the Android SDK tool if you have heard about the bootloader and other terms. This is vital software to unlock the bootloader on any Android device. Just download the Android SDK platform tool on your computer. This tool includes the ADB (Android Debug Bridge) and the fast boot which is essential for the bootloader unlocking in the Android device.
Download Android SDK platform-tools from the official website. Extract the downloaded files to the convenient location on your PC which lets you access the necessary platform tool folder.
Step 4: Enable the USB debugging and OEM unlocking
![]()
The USB debugging and the OEM unlocking should be unlocked before we proceed with the bootloader unlocking of the Pixel 8 and the 8 Pro. To unlock the OEM unlocking and the USB debugging, follow these steps.
- Open settings on your Google Pixel 8 series.
- Scroll down and find About Phone and Now tap seven times on the Build Number which will activate the developer’s settings.
- Return to the main menu select the system and choose the developer option.
- Now scroll and enable USB debugging and unlock the OEM which will allow your phone to be accessed by the computer.
Step 5: Boot Your Device Into Fastboot mode
You have prepared all the necessary steps required for unlocking the bootloader. And you have to boot your device into the fastboot mode. Here’s how you can boot into Fastboot mode.
- Connect your device to the PC using the data cable.
- Open the Platform-tools folder on the PC and type CMD in the address bar.
- Double-click on the CMD to open Command Prompt.
- Type adb reboot bootloader and hit enter.
You can verify your connection by entering the fast boot device in the command prompt. If you see your device ID followed by the fastboot keyword, your connection is successfully established.
Step 6: Unlock the Bootloader on the Pixel 8 and 8 Pro
Now your device is already in the fastboot mode, you can proceed with these steps to unlock the Bootloader.
- Open the command prompt and enter the following commands.
fastboot flashing unlock
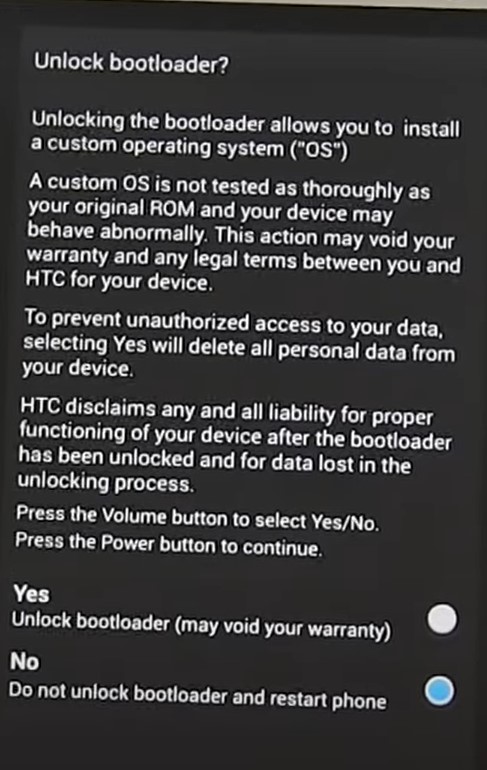
- You will see a confirmation message on your Pixel device. Use the volume keys to select the “Unlock the Bootloader” and confirm it by power key.

- Once you confirm it, your phone will reset. Once done, Your phone bootloader is successfully unlocked.
- Now, reboot your device by entering the fastboot reboot in the command prompt.
fastboot reboot
![]()
- Set up your device like you did it for the first time.
Conclusion
This brings us to the end of this guide for How to Unlock Bootloader on Google Pixel 8 and 8 Pro. The Google Pixel 8 and 8 Pro is a great smartphone but there are some functions that are limited for the security of your device and that is why you need to unlock the bootloader of your device and get full access to the device. I hope that this article was helpful and helped you successfully unlock the bootloader of the Pixel 8 and 8 Pro.
