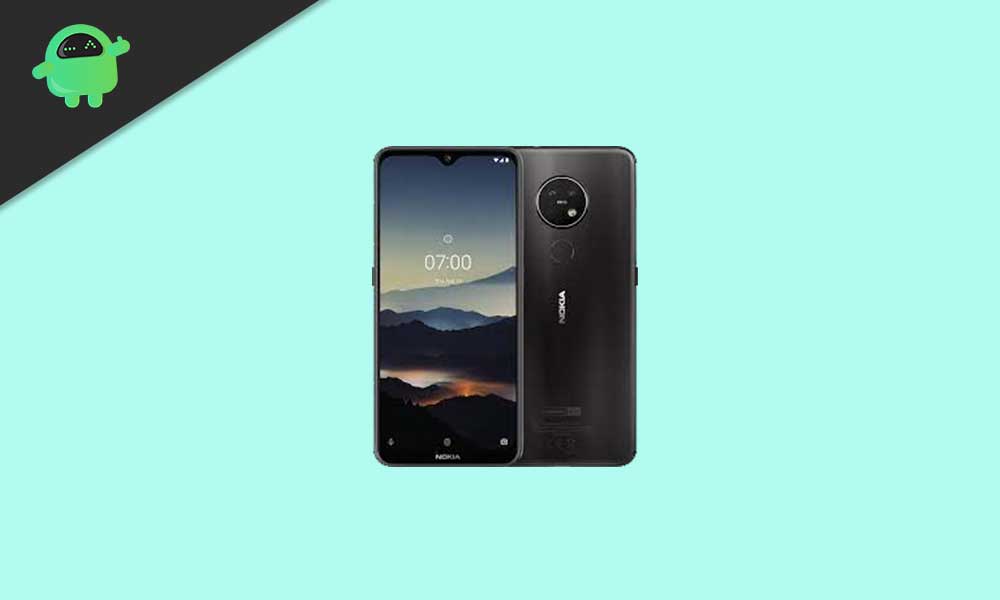
Two years ago, HMD Global has released the Nokia 7.2 that came with Android 9.0 Pie out of the box using the Android One platform and then upgraded to Android 10. Now, if you’re interested to Install Android 10 Firmware on Nokia 7.2 (DDV) Using Recovery/Flash Tool over the custom firmware or the same stock firmware then you should follow this in-depth guide.
Here we’ve shared all the possible and easy to perform stock firmware (Android 10) flashing methods so that you can successfully install the ROM. It may possible that your stock firmware becomes corrupted or full of glitches due to some unexpected reasons. Alternatively, somehow you’re not satisfied with the Custom ROM or even fully erased the data and want to flash the Stock ROM.
Also Read
If you’re not aware, there are a couple of handy tools available that are useful for firmware flashing on Nokia devices like Nokia Tool or Nokia Flash Tool. We’ll not only mention how to install stock firmware without using any flashing tool but also provide you two different methods to use Nokia Tool and Nokia Flash Tool. So, that you can go with any of these methods according to your preference.

Page Contents
What is a Stock ROM and Its Advantages?
Well, Stock ROM or Stock Firmware is official software that comes with the specific Android OS version out of the box. OEMs designed the stock firmware for each model so that the stock firmware can work properly & remains stable for years with additional software updates.
Generally, it doesn’t have too much bloatware or any unnecessary customization options out of the box. The Stock ROM always comes with a locked bootloader and a stock recovery mode. It’s the best firmware that remains so smooth and stable for your daily usage.
Talking about the advantages, the Stock ROM offers a clutter-free stable user experience, future software updates via OTA, official software support under warranty, a locked bootloader offers a secure device state from third-party flashing files, improved battery life, optimized app operations, and more.
How to Install Android 10 Firmware on Nokia 7.2 (DDV) Using Recovery/Flash Tool
Before heading over to the firmware flashing guide, make sure to read carefully and follow all the requirements properly for a successful firmware installation without any issue.
Pre-Requirements:
- This ROM will only work on Nokia 7.2 (DDV). Don’t try it on other models.
- Make sure to have a computer and a USB cable for connecting the device to the PC in the later part.
- Charge your device battery at least 50% or higher to avoid occasional shutdowns.
- Ensure to take a complete backup of your device data (Internal Storage) before starting the flashing process.
- Grab Nokia USB Drivers, ADB Platform-tools, Android 10 stock firmware file, and Boot img file below.
Download Links:
- Nokia USB Drivers for PC
- ADB and Fastboot Binaries
- Android 10 Firmware – Nov 2020 – 00WW_2_410_SP02 (OTA Package)
- Boot.img
Warning: GetDroidTips won’t be responsible for any kind of damage or error that may happen on your device by following this guide. An improper flashing process using the flash tool may lead your device to a bricked condition or stuck in the bootloop. So, do this at your own risk.
Steps to Install Stock ROM on Nokia 7.2 using Recovery
This method is really easy and useful if you’re not an advanced user to use flashing tools or extracting payload.bin, repacking, etc. If you want to install the Stock ROM without using tools, follow this method. Those who want to flash firmware using Nokia Tool or Nokia Flash Tool can jump into the next method below.
- First of all, make sure that you’ve downloaded all the mentioned files from the download links given above.
- So, you should keep the Boot img file on your PC.
- Install both the Nokia USB Drivers as well as ADB and Fastboot tool on your PC.
- Move the downloaded Android 10 firmware (Full OTA file) to the external MicroSD card and insert it into the phone.
- Now, power off the Nokia 7.2 smartphone > Press and hold the Volume Down + Power button together for a few seconds until the device boot into the bootloader mode.
- Then make sure to simply connect the device to the PC using a USB cable.
- Next, head over to the installed ADB and Fastboot folder.
- Press the Shift key + Right-click on the mouse > Click on Open command prompt window here or Open PowerShell window here.
- Once the command prompt window opens, you’ll need to flash the boot.img file by executing the following fastboot command:
fastboot flash boot boot.img
- Now, just Reboot to Recovery mode by selecting “Recovery mode” from the bootloader. To do so:
- Once the Android logo appears on the screen, press the Volume Up + Power button together for a few seconds to boot your device into Stock Recovery mode.
- Select the “Apply update from SD card” option from the Stock Recovery mode.
- Then head over to the downloaded firmware OTA zip file inside the MicroSD card and select it.
- Wait for the firmware installation process to complete. It may take a couple of minutes or so. Please have some patience.
- Now, the recovery may ask you to perform a factory data reset of your device. If so, just confirm it to perform a factory reset.
- Once done all, make sure to simply restart your handset to boot into the Stock Android 10 firmware that you’ve just flashed.
- Enjoy!
Steps to Install Stock ROM on Nokia 7.2 using Flash Tool
As this is a Full OTA package firmware, it contains the payload.bin file. You can extract the payload.bin file using Payload Dumper and flash using the Nokia Tool or compress the extracted contents as a zip file to flash using the Nokia Flash Tool (NFT) according to your choice. We’ve shared both of them.
Extract Payload.bin File using Payload Dumper
- Payload Dumper tool is a Python-based program. Make sure to download Python and install it on your computer.
- Select the ‘Add Python to PATH’ option within the installer while installing Python on your Windows computer.
- Download the Payload Dumper Tool (zip) file on your PC and extract it.
- Here you’ll find out a folder called ‘payload_dumper’.
- Now, make sure to download the Full OTA Android 10 firmware package (zip) that we’ve already given in the download links section above.
- Once downloaded the firmware zip file, just extract it > Here you’ll get the ‘payload.bin’ file.
- Simply copy the ‘payload.bin’ file and paste it inside the ‘payload_dumper’ folder.
- Now, from the ‘payload_dumper’ folder, just press and hold the Shift key + Right-click on the mouse on the blank space.
- Select Open PowerShell window here > The Windows PowerShell window will open.
- Next, you’ll have to install the ‘Protobuf’ (Google’s Data Interchange Format) on your computer by typing the following command and hit Enter on the PowerShell window:
python -m pip install protobuf
- Once executed this command, the Protobuf will be downloaded and installed on your PC.
- Now, you’ll have to extract the Android OTA payload.bin file by executing the following command line:
python payload_dumper.py payload.bin
- The tool will now start extracting all the individual partition images from the payload.bin file. Let the extraction process complete.
- Once extraction completed, you can see the payload.bin extracted files inside the ‘payload_dumper’ folder.
Now, you’re able to flash the firmware using Nokia Tool or Nokia Flash Tool. Both methods are different. So, follow one of them to flash the stock Android 10 OTA firmware on your Nokia 7.2 device.
Use Nokia Tool for Nokia 7.2 (DDV) to Flash Stock OTA
- Make sure to charge the battery and take a complete data backup too.
- You’ll have to unlock the bootloader on your Nokia 7.2 first.
- Now, download the Nokia-Tool-20200407-V2.zip and extract it on your PC.
- Download the Nokia-SDM660-Tool.zip on your PC.
- Next, you’ll need to download the latest HOME BREW Stock ROM and extract it in a new folder. Just rename the folder name to STOCK ROM.
- Then copy and paste the extracted Nokia-Tool.exe & ADB Platform-Tools inside the newly created STOCK ROM folder.
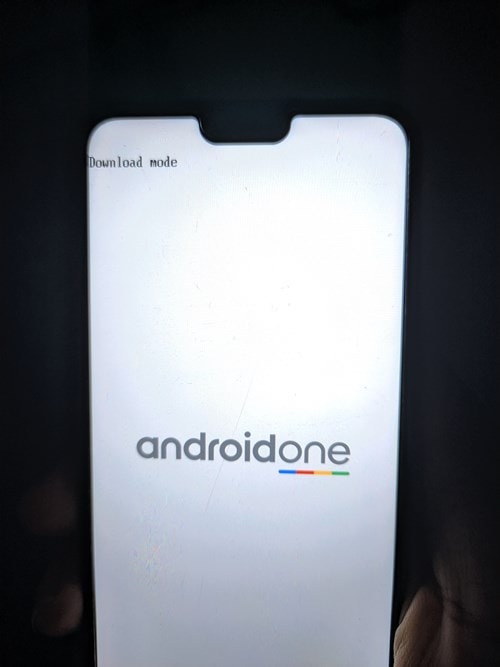
- Now, go to the Download Mode.
- To do so, power off your device and then connect it to the PC via a USB cable. Once your device starts charging, press and hold the Volume Down + Power buttons together for a few seconds until your device boots into the Download Mode.

- Then open the Nokia-Tool.exe file on your computer and select the Button according to your Phone Code. (Nokia 7.2 & 6.2 phone code is DDV SLD)
- Now, click on [DRG SLD] according to your phone code and wait for around 5-10 minutes.
- As it may take some time, please have some patience, and do not touch your phone or remove the USB cable.
- The Nokia Tool will flash the Stock ROM (OTA) successfully.
- Finally, your phone will reboot to the system as usual.
- You’re good to go.
Use Nokia Flash Tool for Nokia 7.2 (DDV) to Flash Stock OTA
As already mentioned, if you want to flash the Android 10 Stock Firmware OTA package on your Nokia 7.2 using the Nokia Flash Tool (NFT) then after extracting the payload.bin file, you can flash using the Nokia Flash Tool.
- Make sure to extract the Android 10 firmware (Full OTA package zip) file on your computer.
- Now, power off your device and then connect it to the PC via a USB cable. Once your device starts charging, press and hold the Volume Down + Power buttons together. This should then boot your device to the Download Mode.
- Open the Nokia Flash Tool on the PC by double-clicking on the exe application file.
- Select the ‘Use payload.bin’ option from the Flash Mode section.

- Next, select the payload.bin file from the extracted firmware OTA folder.
- Make sure to choose the Slot > Then click on the Flash button to start flashing the firmware.
- Wait for the process to complete > Once done, your device will reboot into the system. (If not, manually restart the device)
That’s it, guys. We hope you’ve found this guide helpful. For additional queries, you can comment below.
Credit: XDA

Doesn’t work as those instructions are not for Adb they are for updating via SD card, Adb you must use a PC to issue manual commands. The file is also missing Google update libraries.
Did you actually try to install it manually? Manual install is blocked on Nokia 7.2 ! Could be good to check your facts before posting an article.
Hello, thank you for the tutorial, unfortunately the boot.img link is dead, could you reupload please?
Hello! Thank you for the tutorial. Unfortunately the boot.img link is dead, could you reupload please?